Your first project
This page makes a first project in the EK9 IDE and runs a program in it. It follows Help > Getting Started, and every picture is of the IDE doing each step.
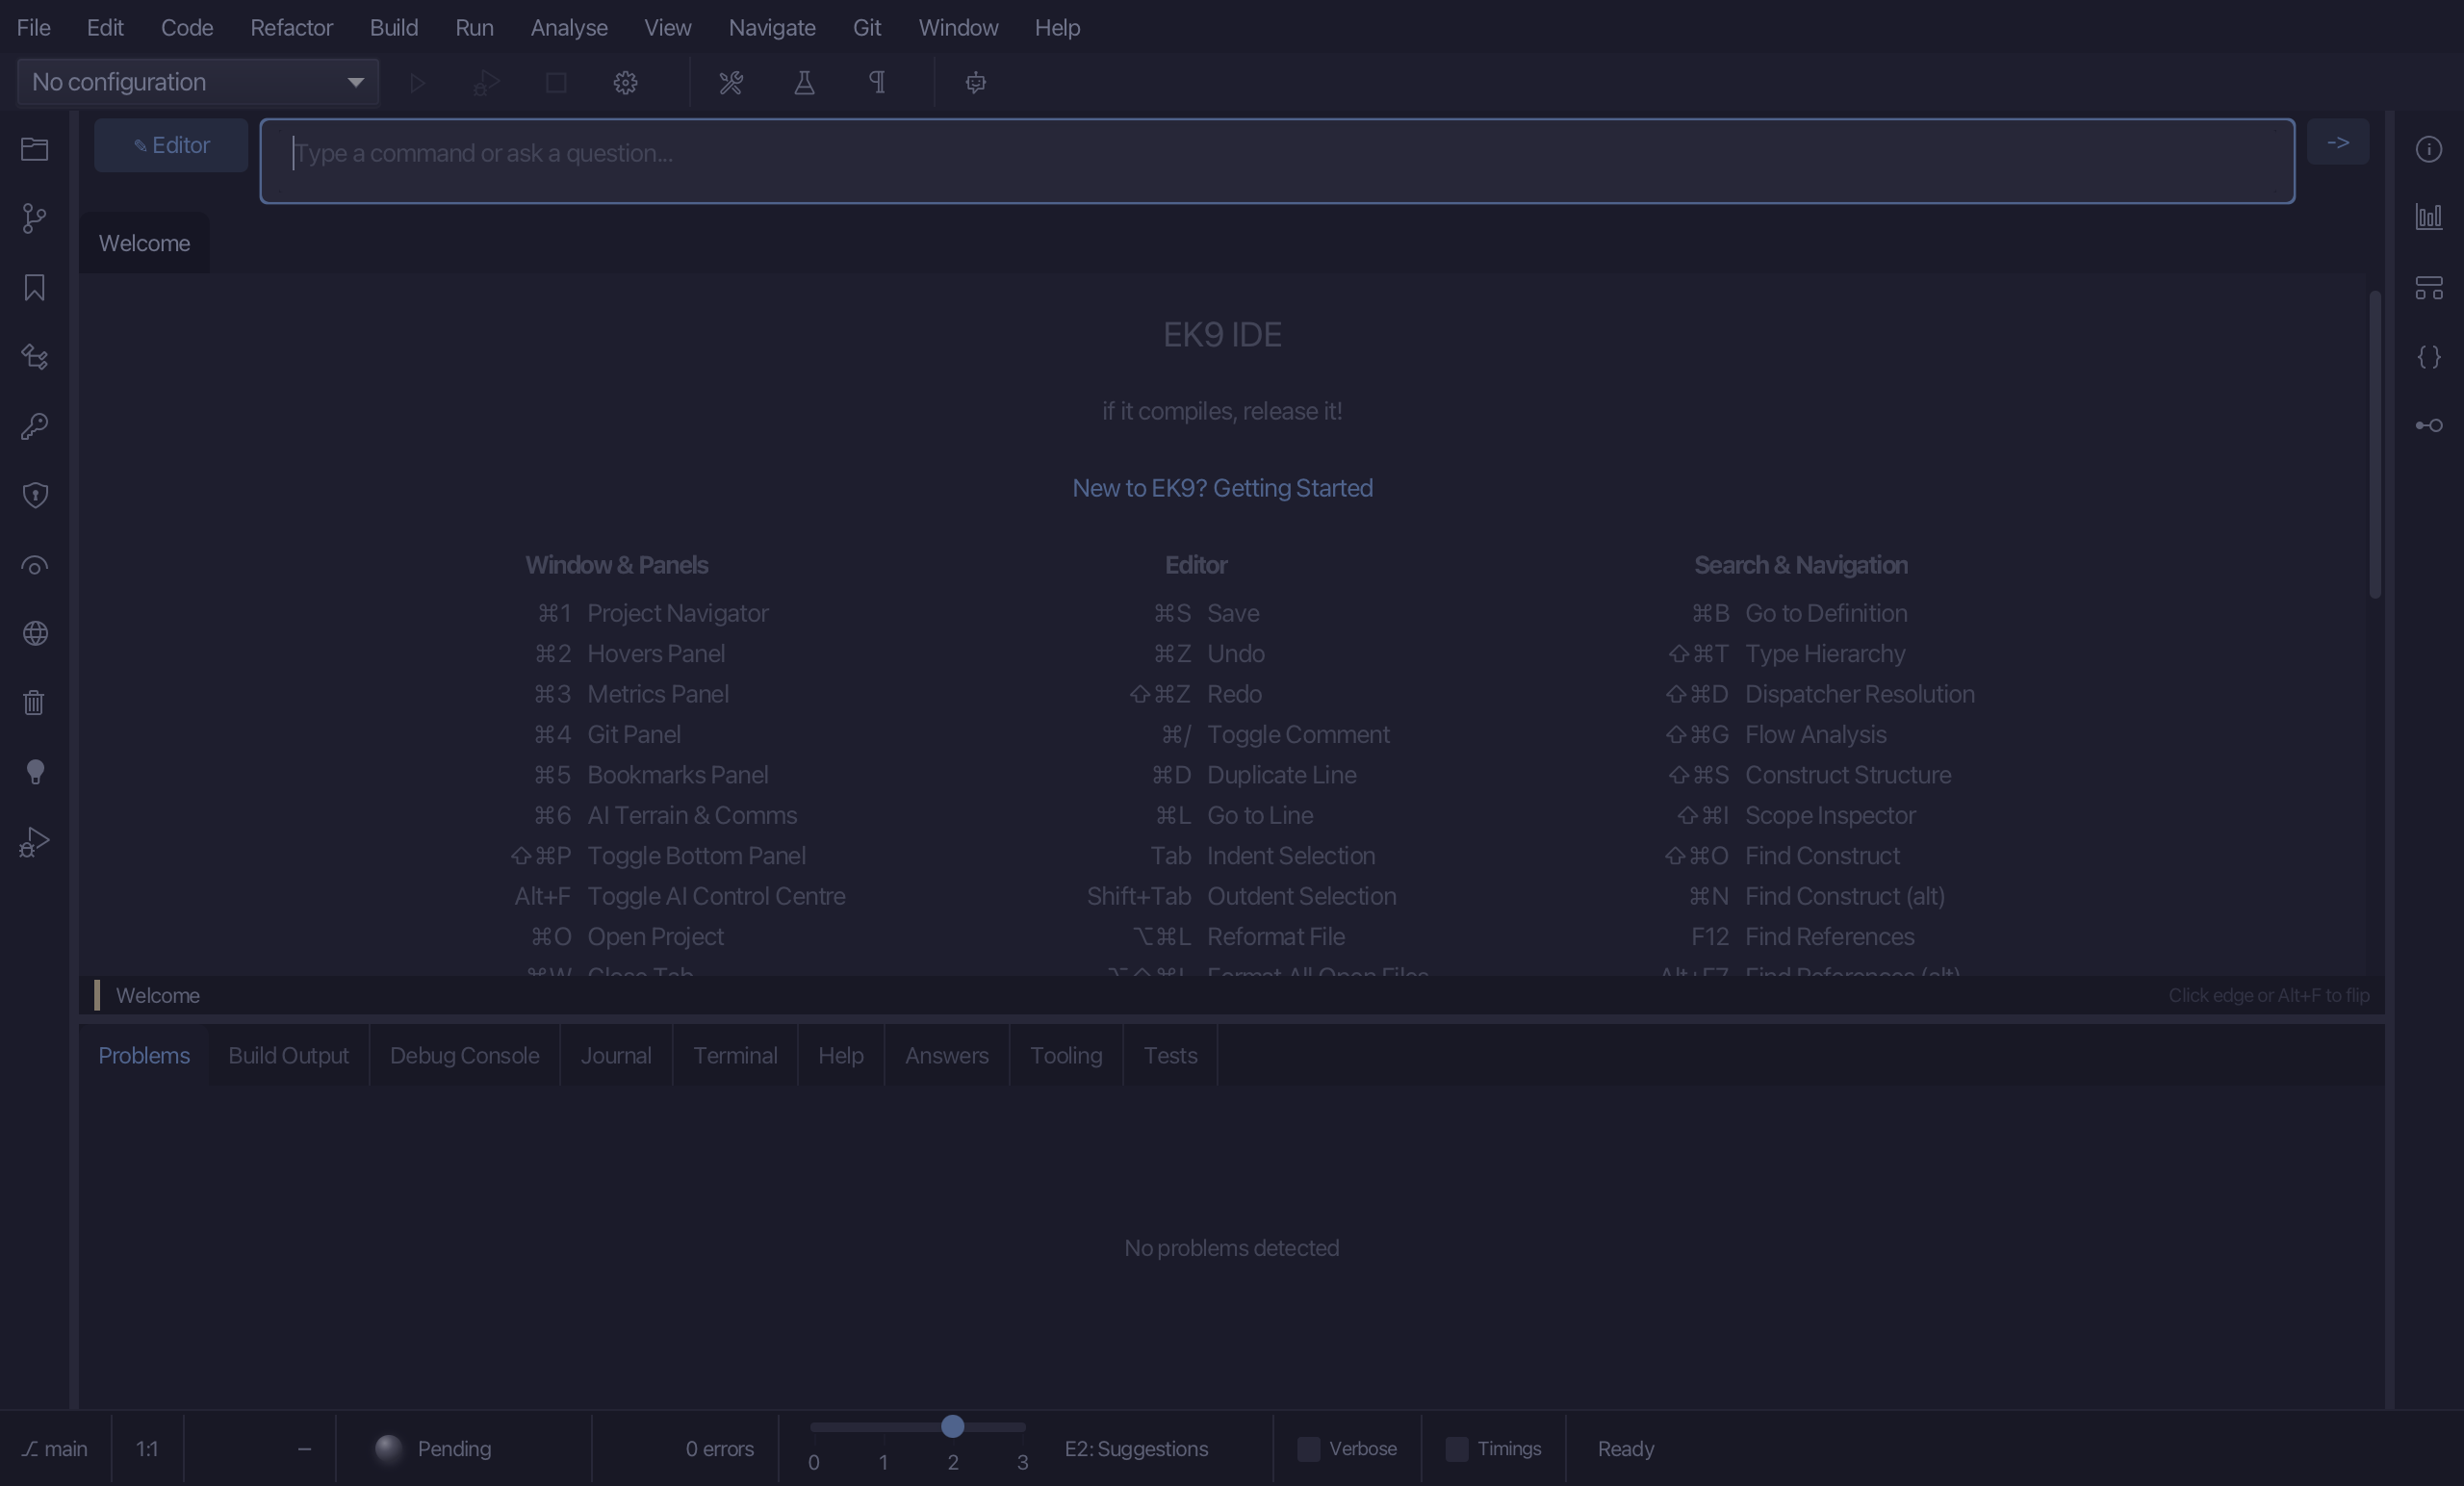
The IDE as it first opens
Start the IDE with ek9 -ide. With no project open it shows the Welcome page, with the keys for the most used
actions and, under the title, New to EK9? Getting Started, which shows these same steps in the IDE's Help tab.
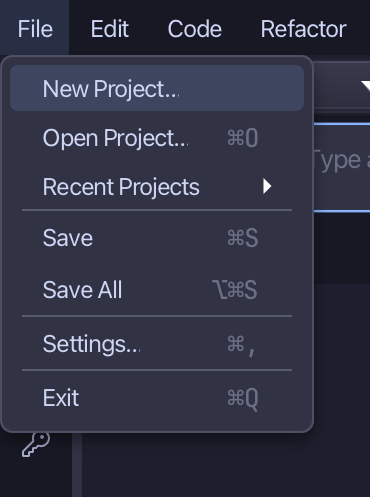
Step 1: A new project
A project is a folder that holds your .ek9 files. Choose File > New Project….
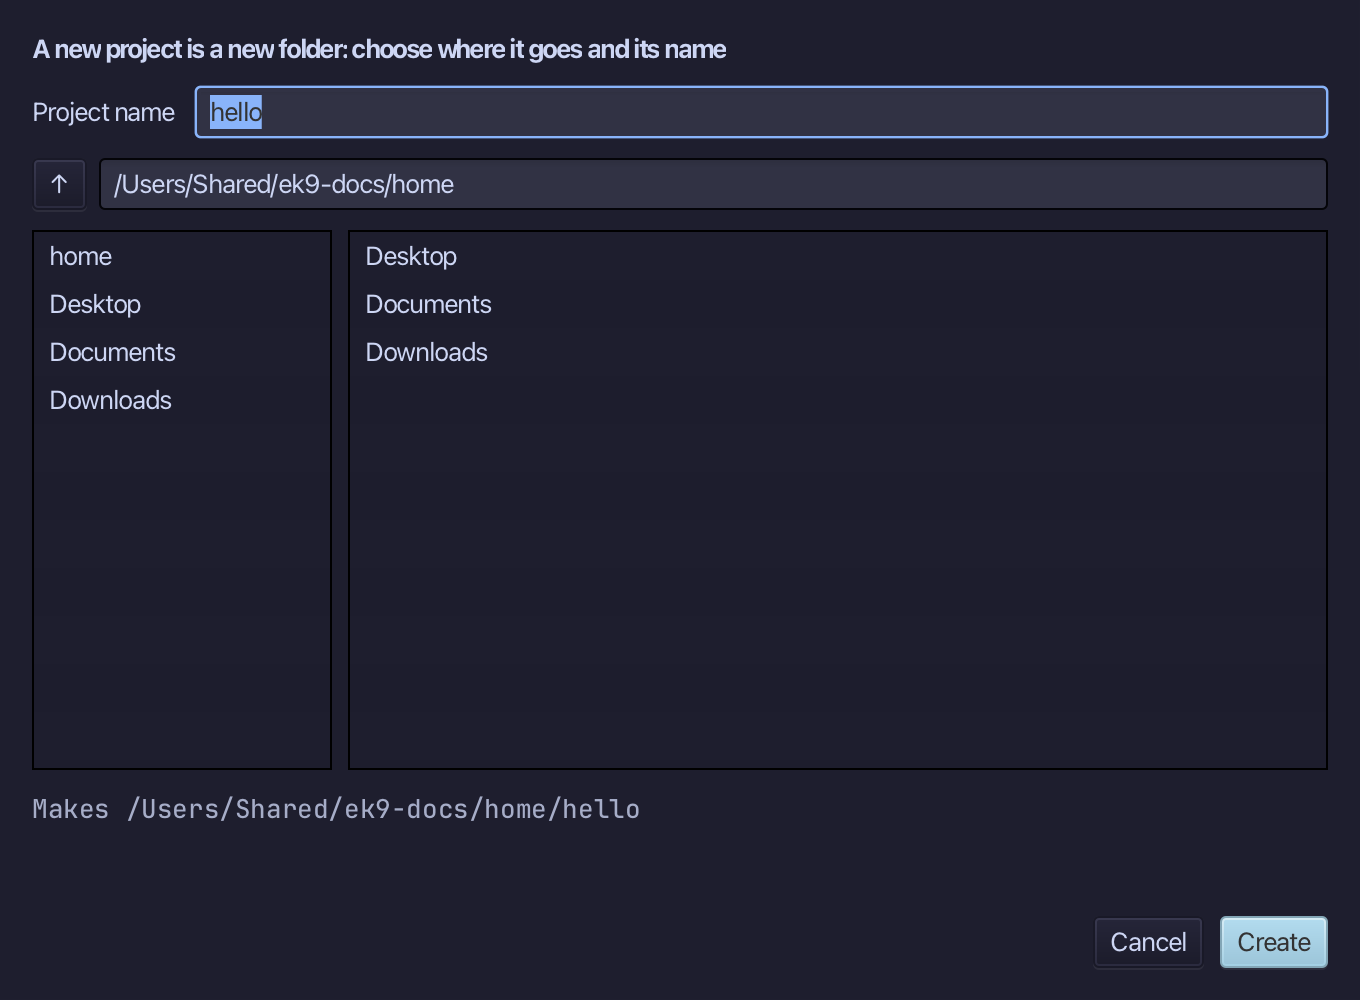
Choose where the folder goes and give it a name. The name is hello to start with; the line at the bottom shows the
folder that Create will make.
Choose Create. The folder is made and opened as the project.
Step 2: A new EK9 file
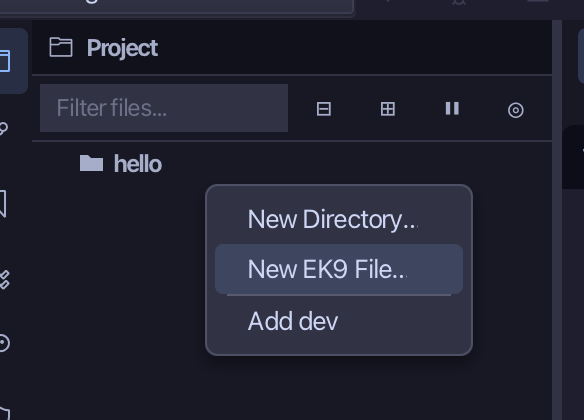
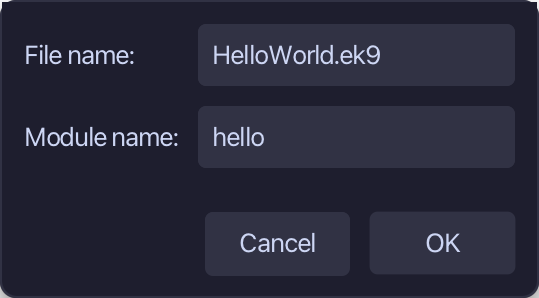
In the Project panel, right-click the project and choose New EK9 File….
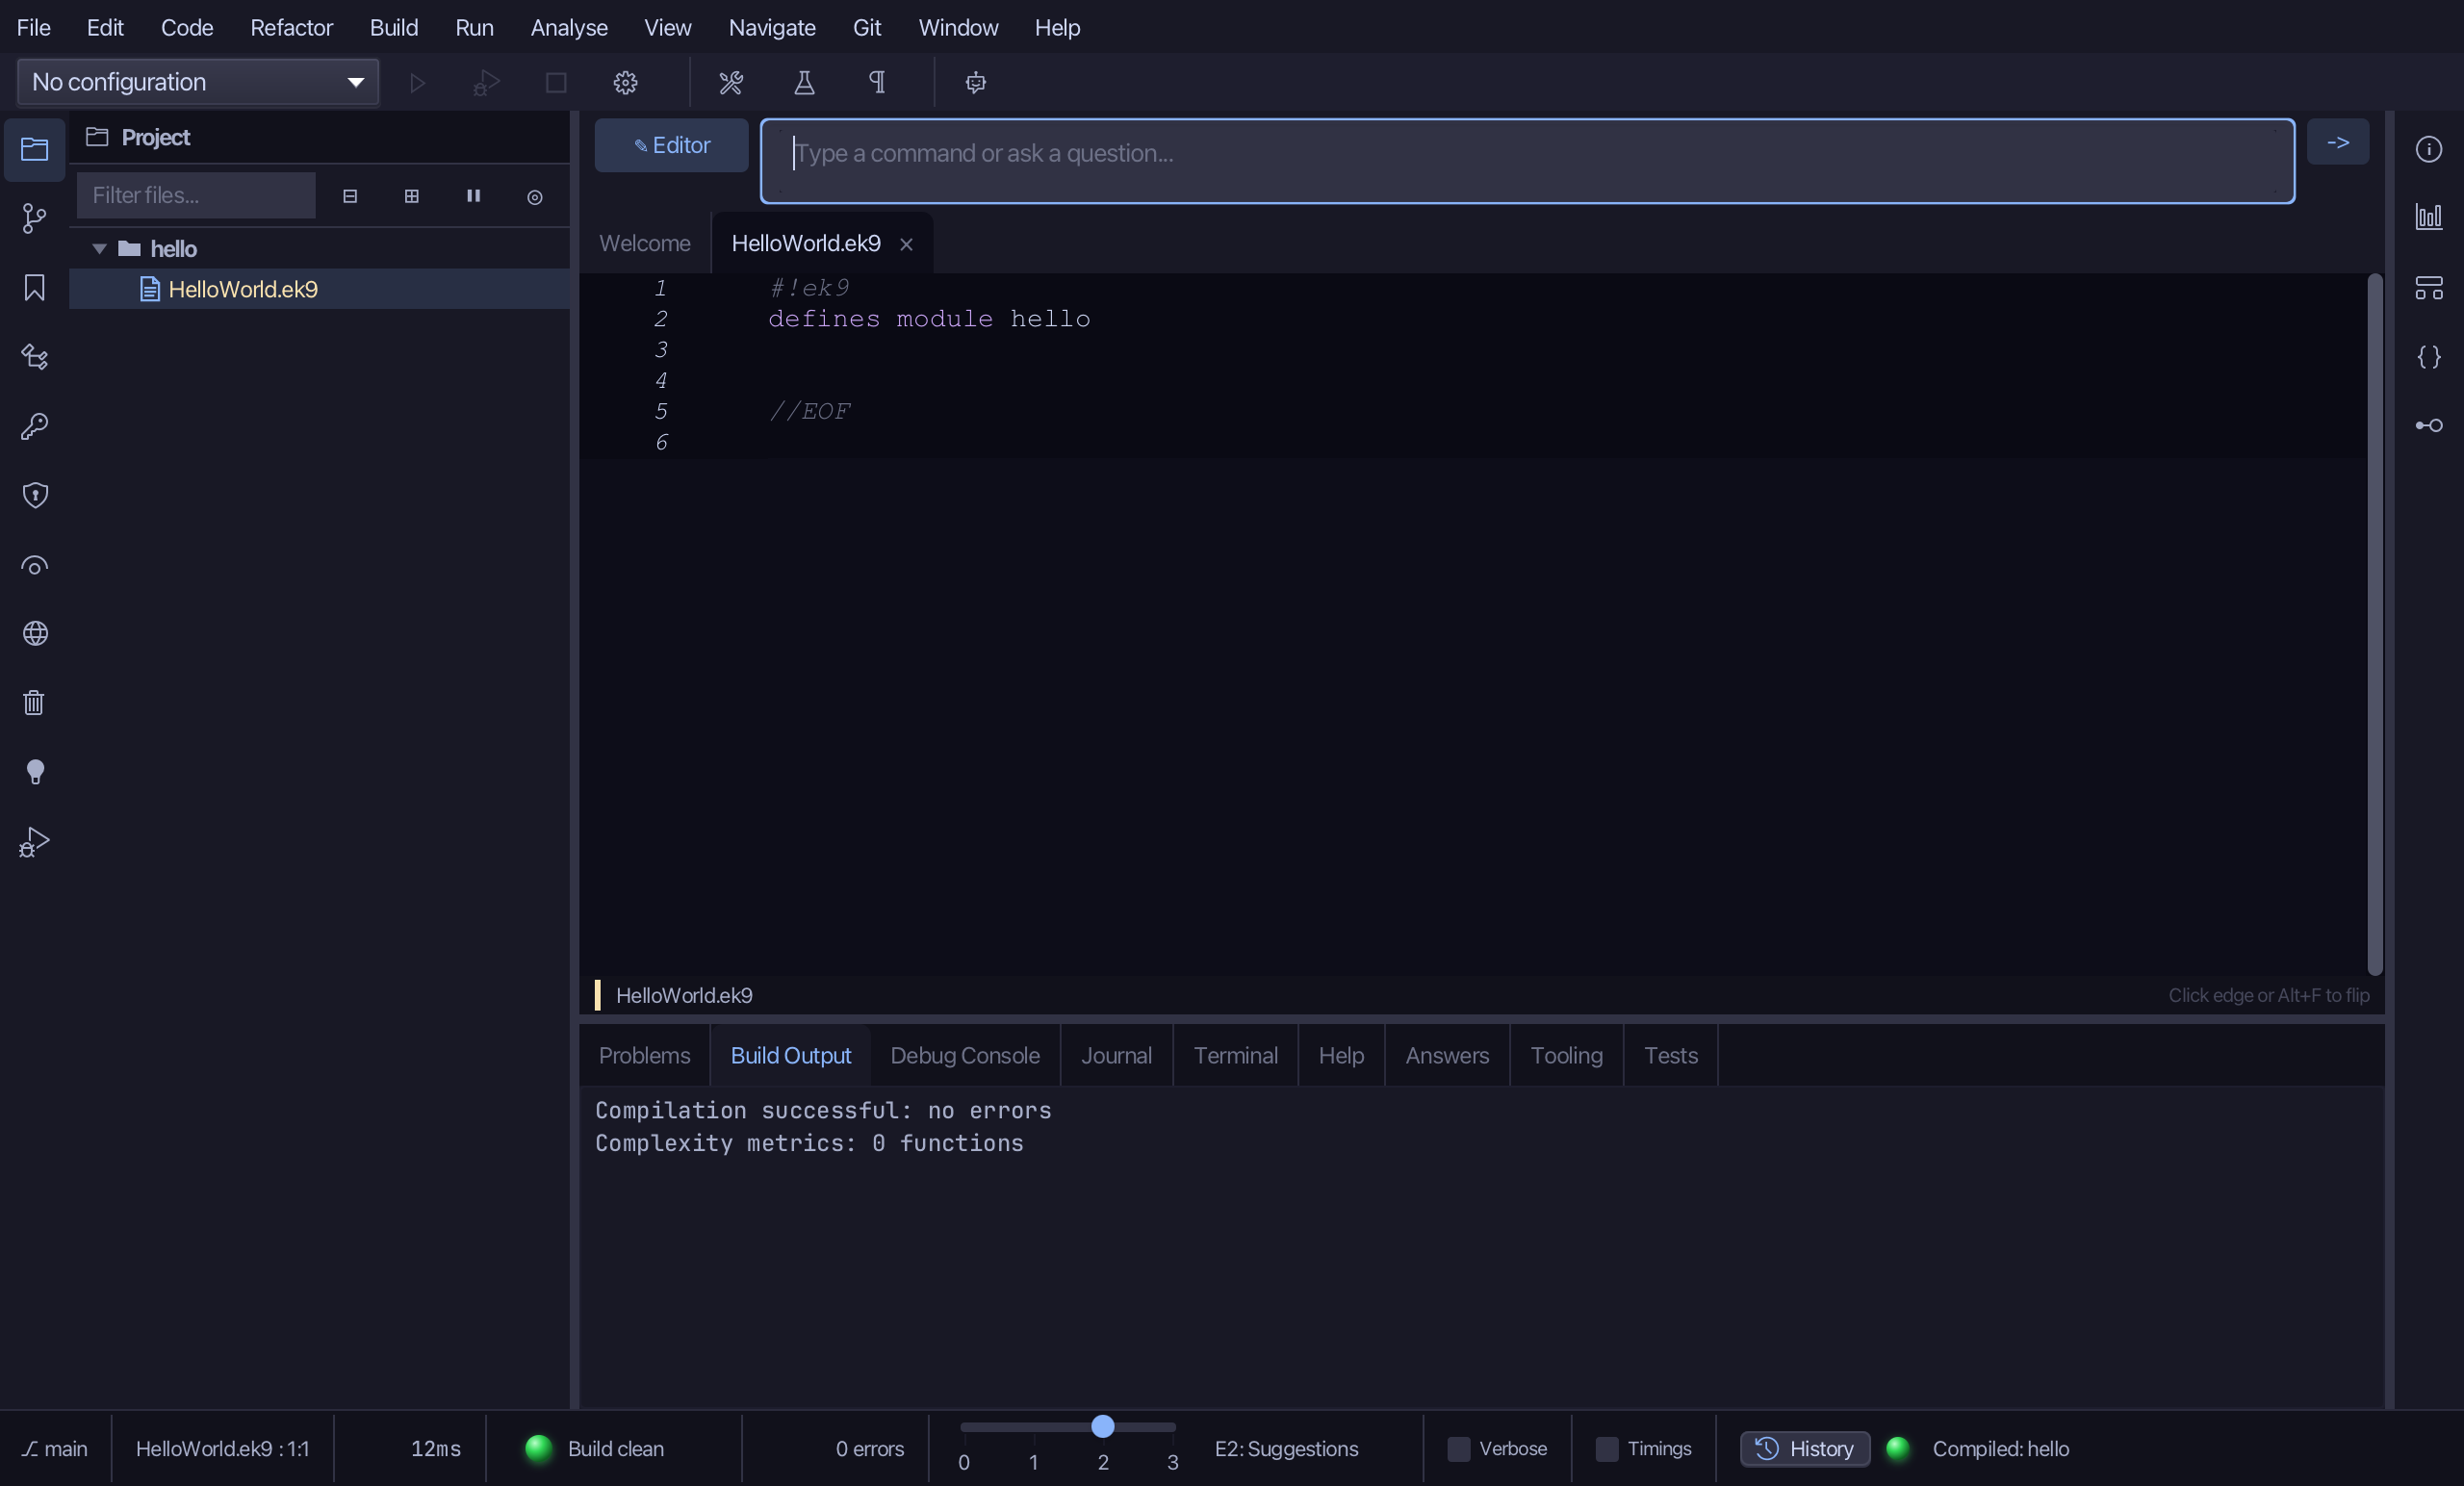
Name it HelloWorld.ek9. The module name is filled in from the project, and the file opens with its first and last
lines already written.
Step 3: The example program
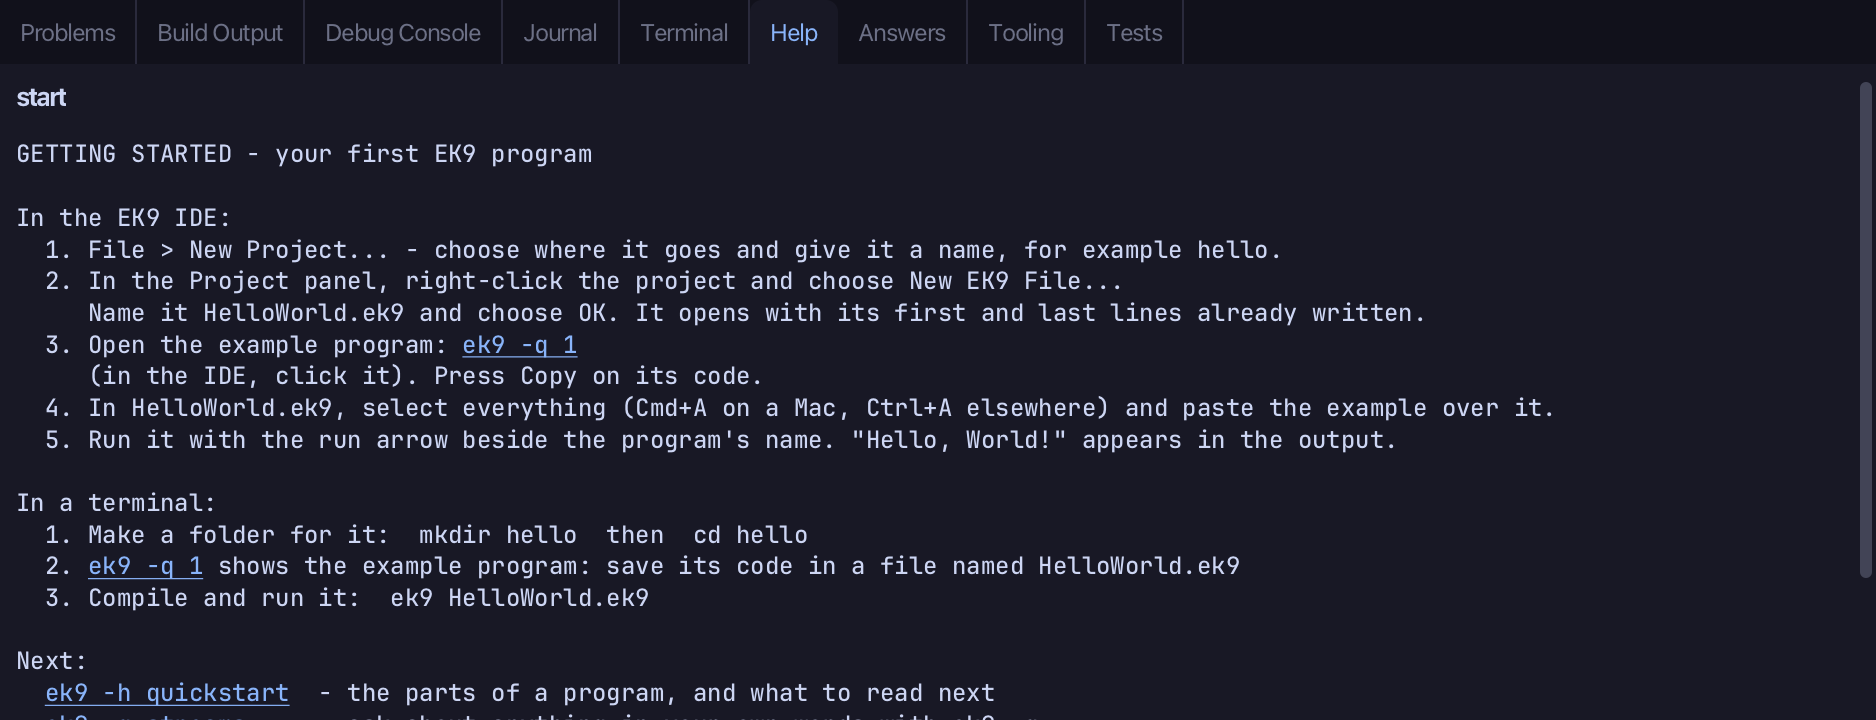
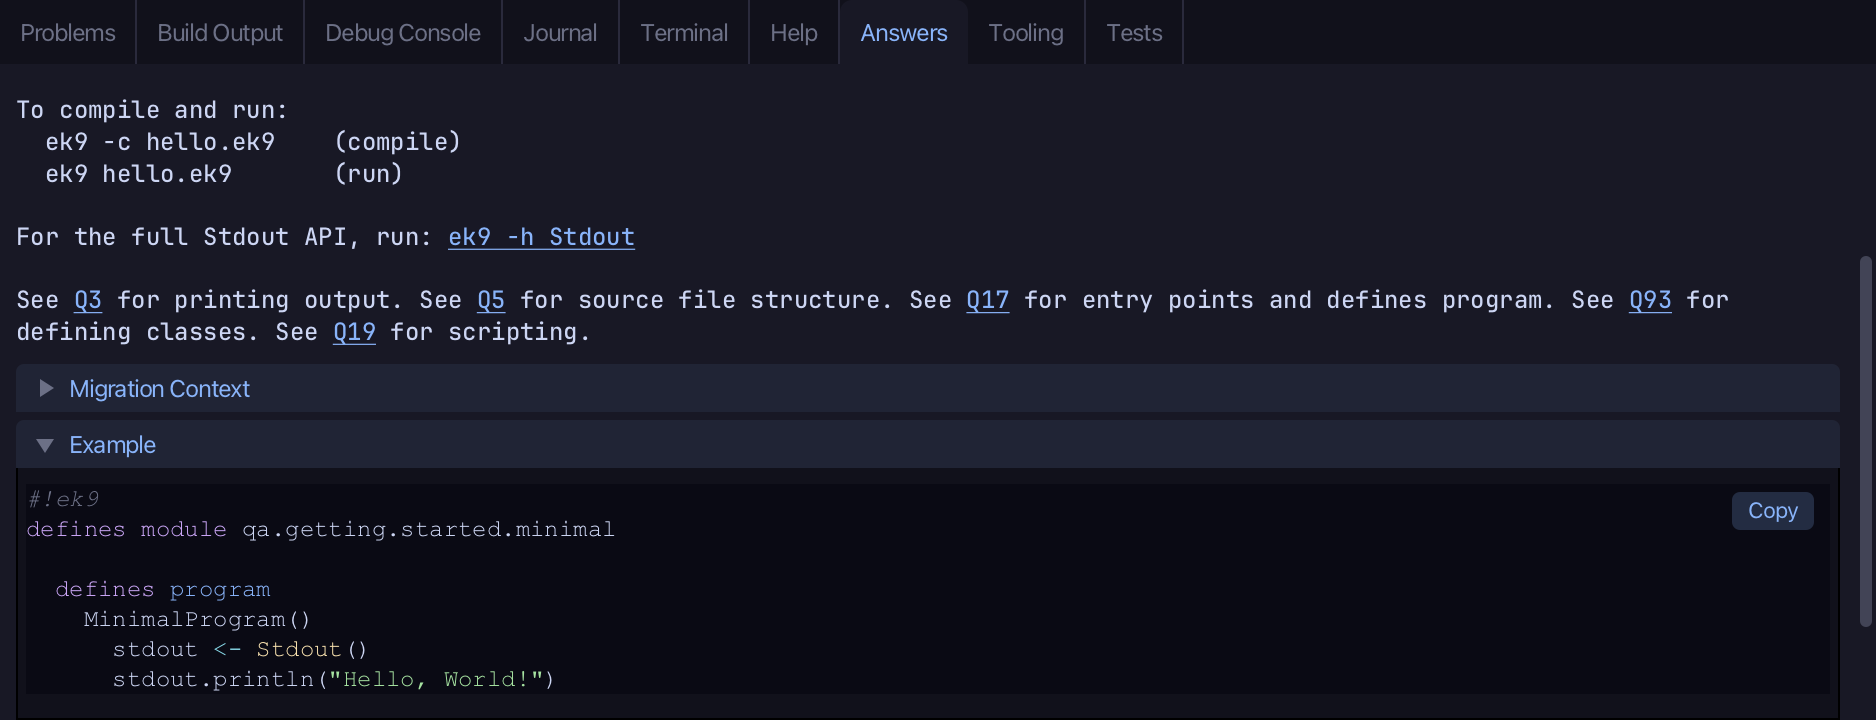
Help > Getting Started shows the steps in the Help tab. Click ek9 -q 1 in step 3.
The Answers tab opens at the answer to What does a minimal EK9 program look like?. Its sections start closed: open Example.
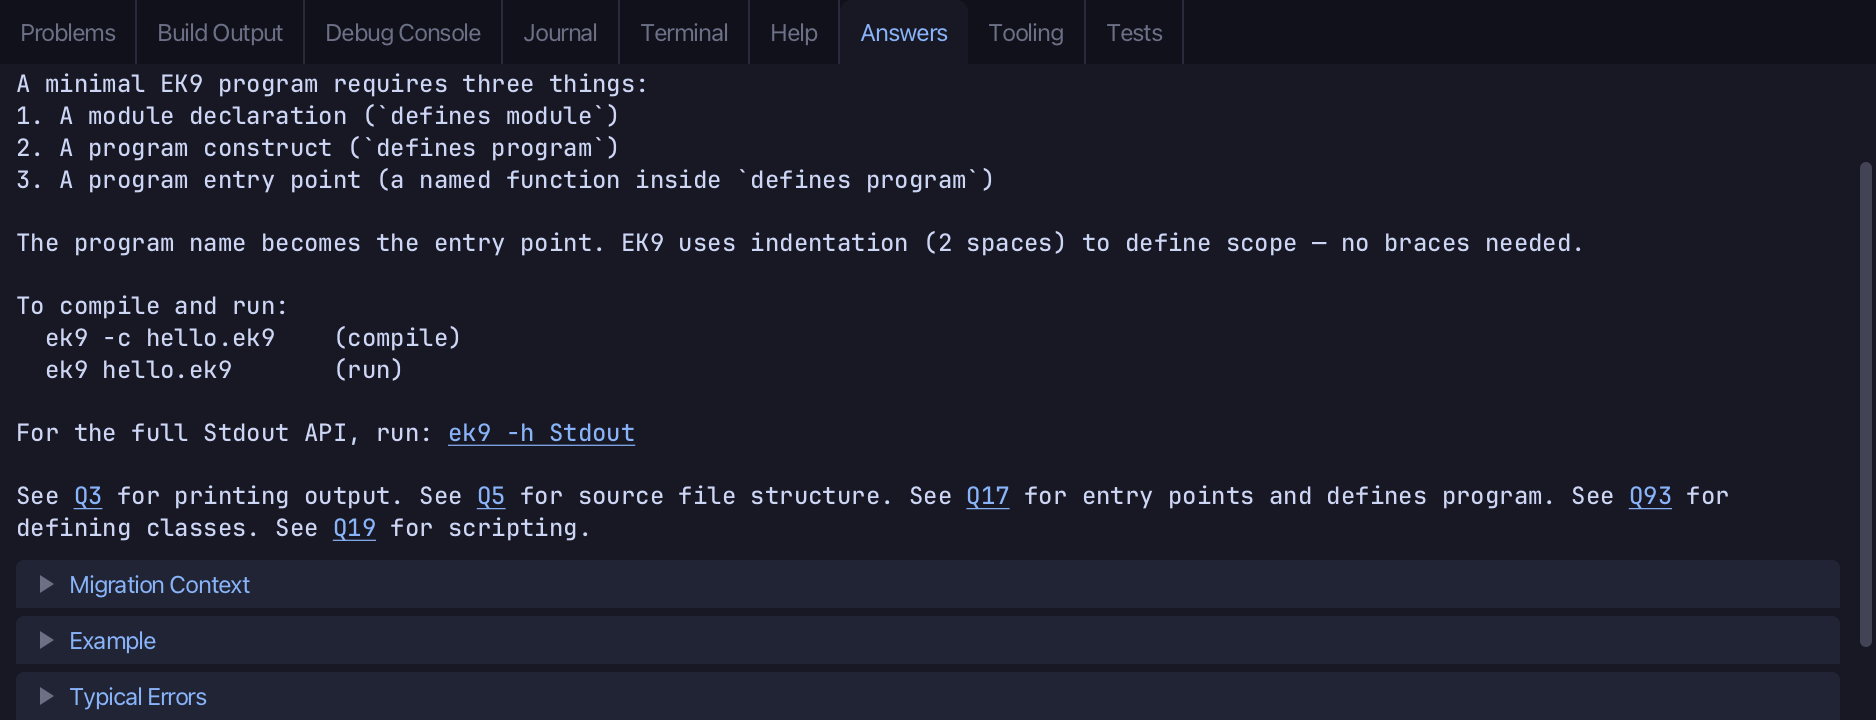
The example is a whole program. Press Copy on it.
Step 4: Paste it in
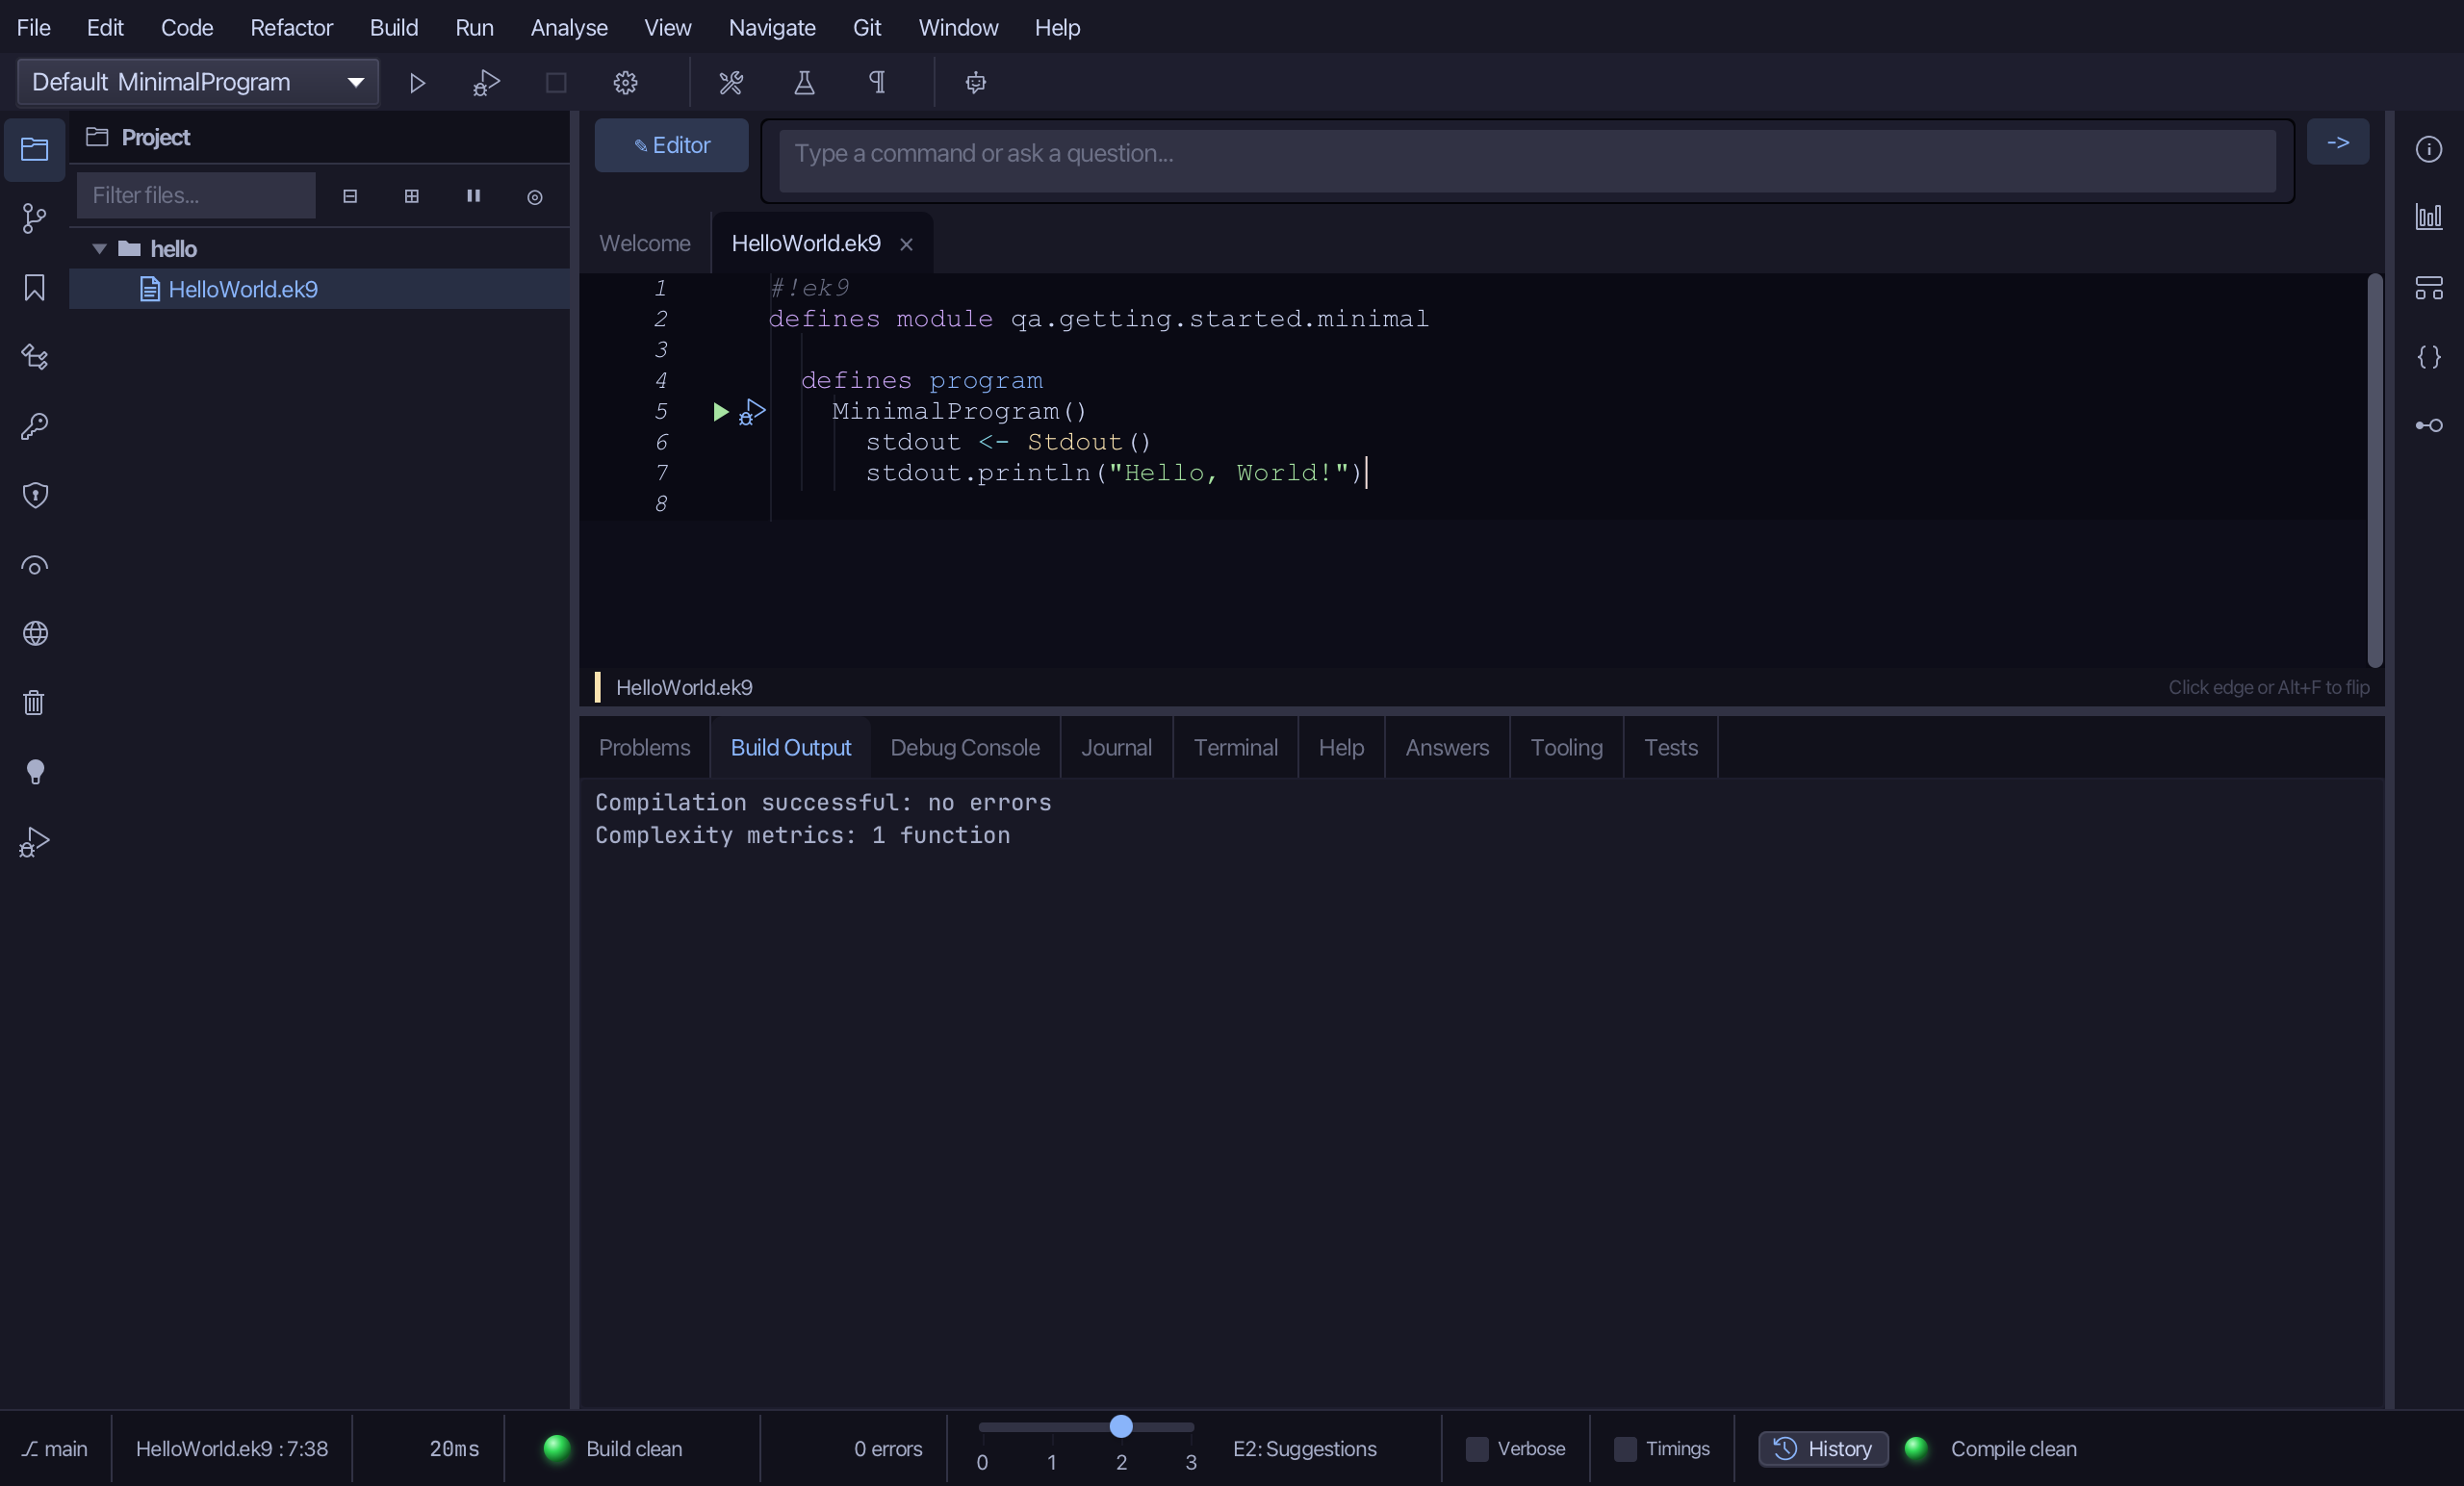
In HelloWorld.ek9, select everything (Cmd+A on a Mac, Ctrl+A elsewhere) and paste (Cmd+V or Ctrl+V)
the example over it, then save (Cmd+S or Ctrl+S). Saving compiles it: the status bar says Build clean,
and a green run arrow appears beside the program's name, MinimalProgram().
Step 5: Run it
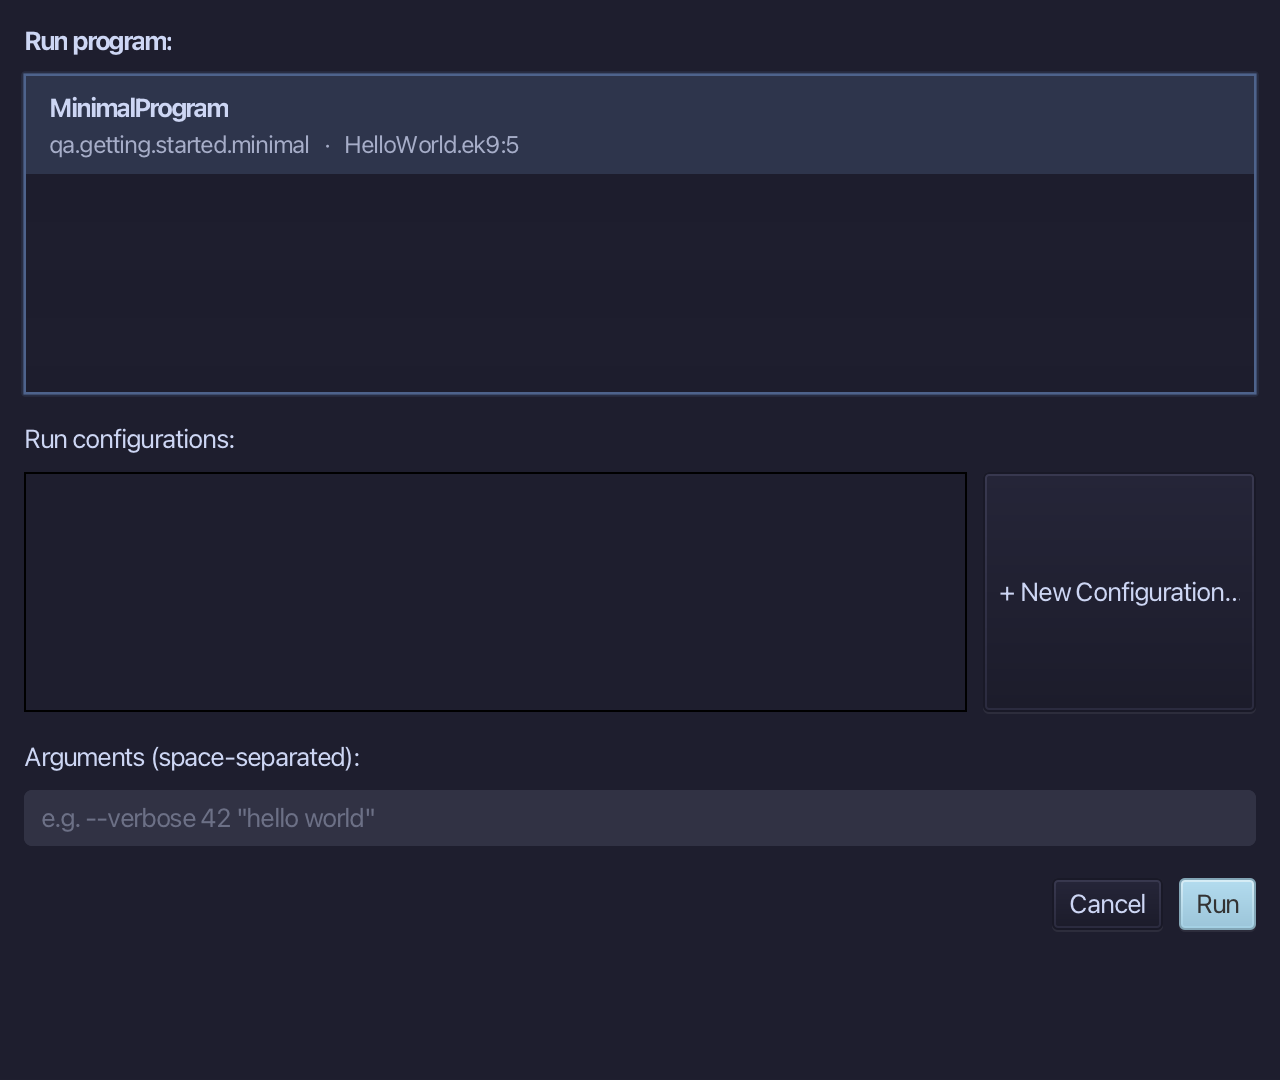
Click the run arrow. Run Program opens with the program chosen; a program that takes arguments has them typed here. Choose Run.
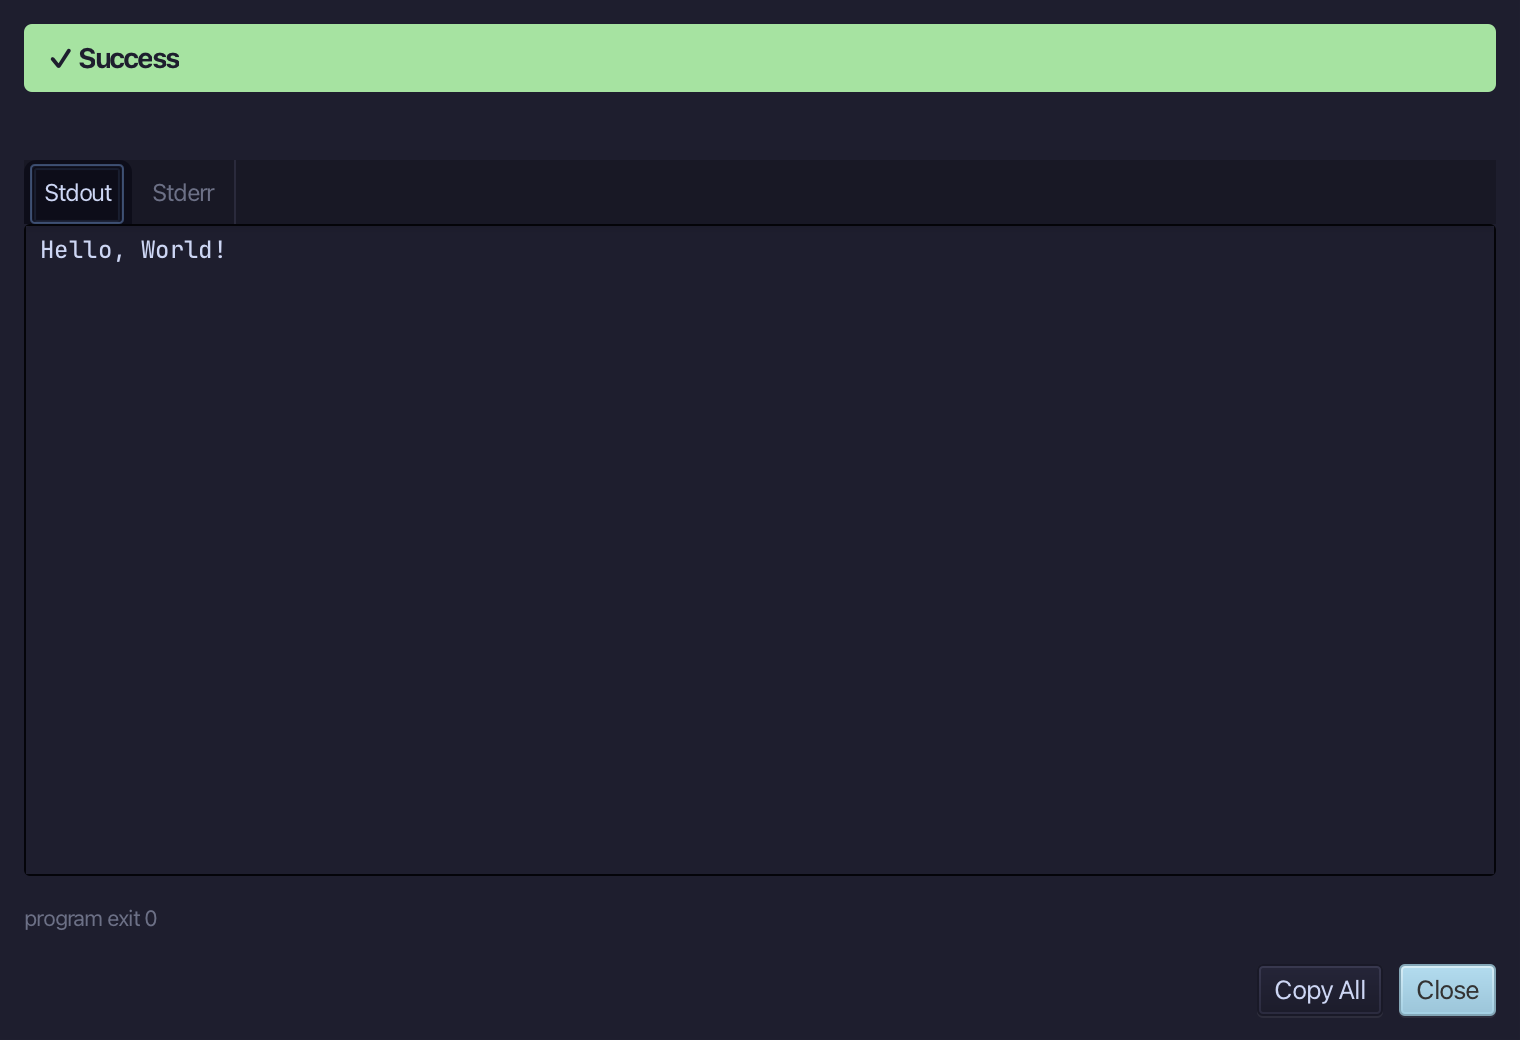
The program runs and its output shows: Hello, World!
Next
- The program's parts, and what to read next:
ek9 -h quickstartin a terminal, or the Structure of an EK9 program in the language reference. - Ask about anything in your own words: type it in the bar at the top of the IDE, or
ek9 -qand your question in a terminal.