Chapter 17: an abstract type and its subtypes, built
Chapter 17 builds a type hierarchy: Shape, an abstract contract with no body of its own, and two subtypes - Circle and Rectangle - that each complete it in their own way. The IDE's own tools make the structure - the constant, the abstract class and its two abstract methods, each subtype's field, constructor and overriding methods, the program's shell - so what is left to type is only the logic no tool can write: each constructor's precondition, and what each override actually answers. To play it in the IDE: Help > Lessons > Writing code…, or ek9 -ide -lesson book-polymorphism.
What you'll build
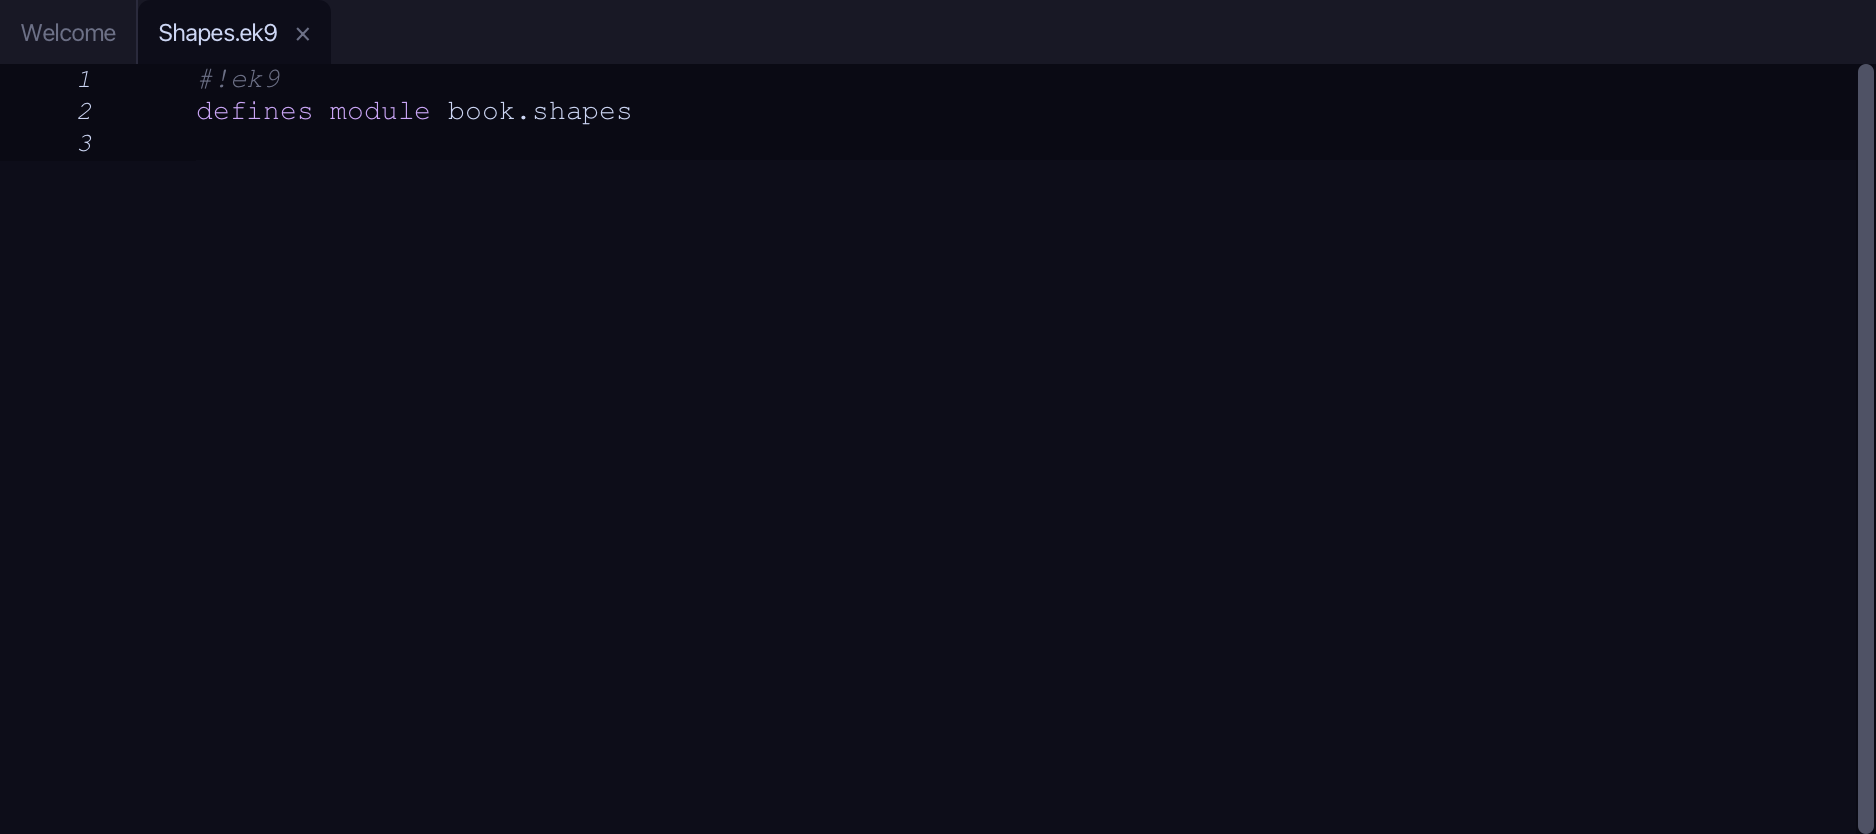
The lesson builds this program from a file holding only its module line - the finished file, as the book prints it.
#!ek9
defines module book.shapes

  defines constant
    PI <- 3.14159

  defines class
    Shape as abstract
      name() as pure abstract
        <- rtn as String?

      area() as pure abstract
        <- rtn as Float?

    Circle extends Shape
      radius as Float: Float()

      Circle() as pure
        -> r as Float
        require r > 0
        radius :=? Float(r)

      override name() as pure
        <- rtn as String: "circle"

      override area() as pure
        <- rtn as Float: PI * radius * radius

      default operator ?

    Rectangle extends Shape
      width as Float: Float()
      height as Float: Float()

      Rectangle() as pure
        ->
          w as Float
          h as Float

        require w > 0 and h > 0
        width :=? Float(w)
        height :=? Float(h)

      override name() as pure
        <- rtn as String: "rectangle"

      override area() as pure
        <- rtn as Float: width * height

      default operator ?

  defines program
    Show()
      stdout <- Stdout()

      shapes <- List() of Shape
      shapes += Circle(2.0)
      shapes += Rectangle(3.0, 4.0)

      for shape in shapes
        stdout.println(`a ${shape.name()} has area ${shape.area()}`)
Step 1: A constant
Choose Code > New Construct > Constant…
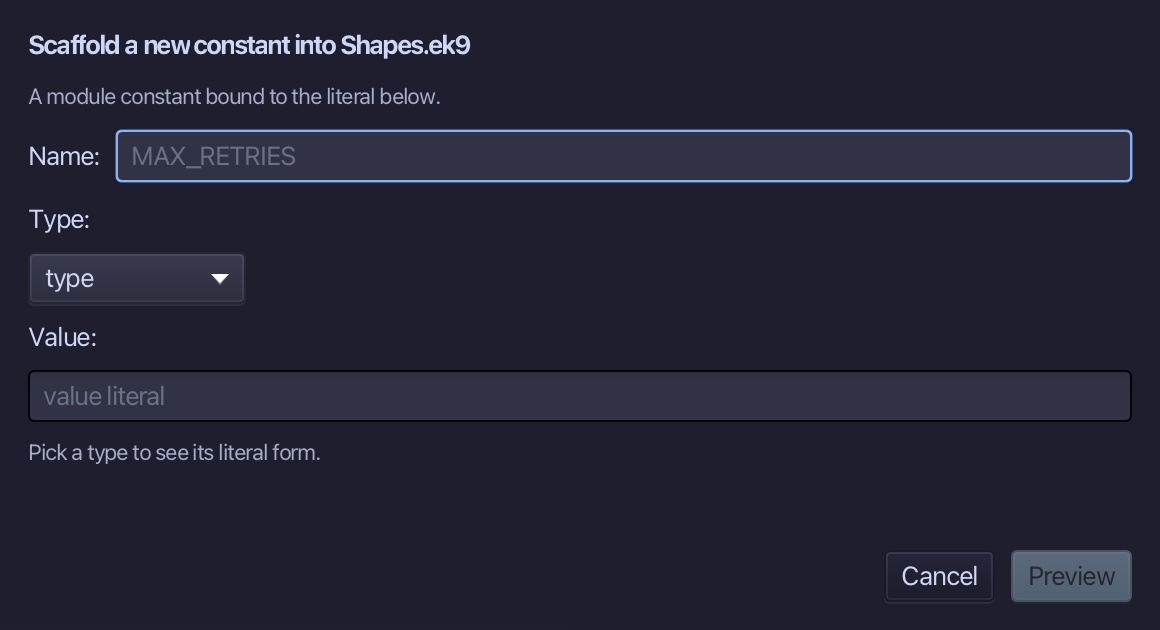
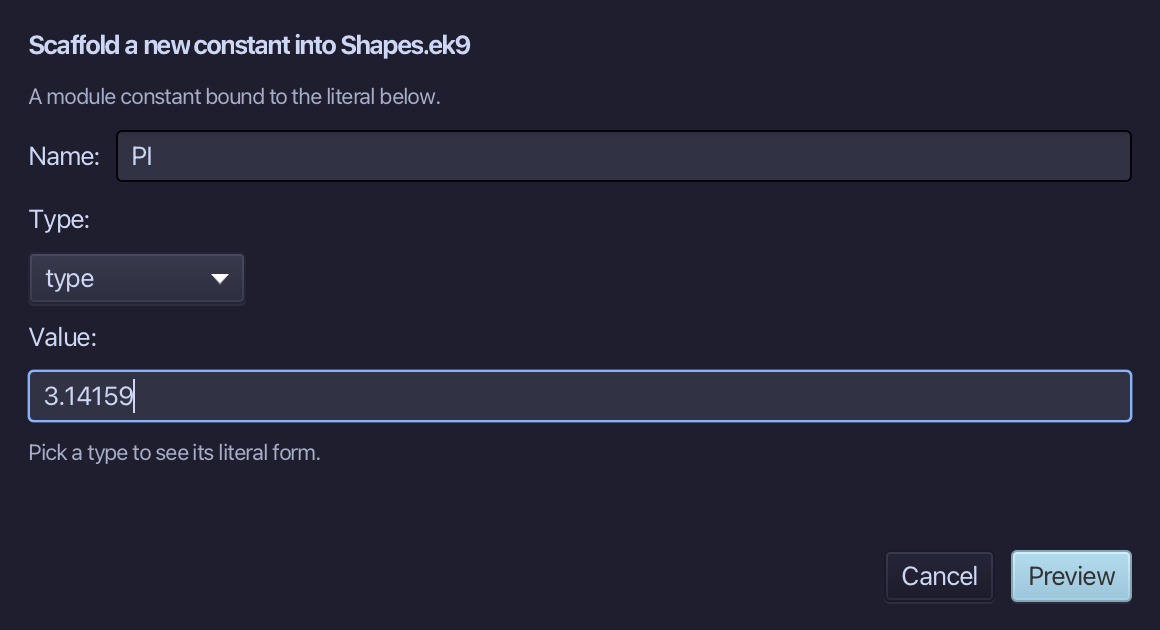
PI is the constant's name, and 3.14159 its value - a Float literal, typed into the Value field below it. Type PI, then the value, and choose Preview.
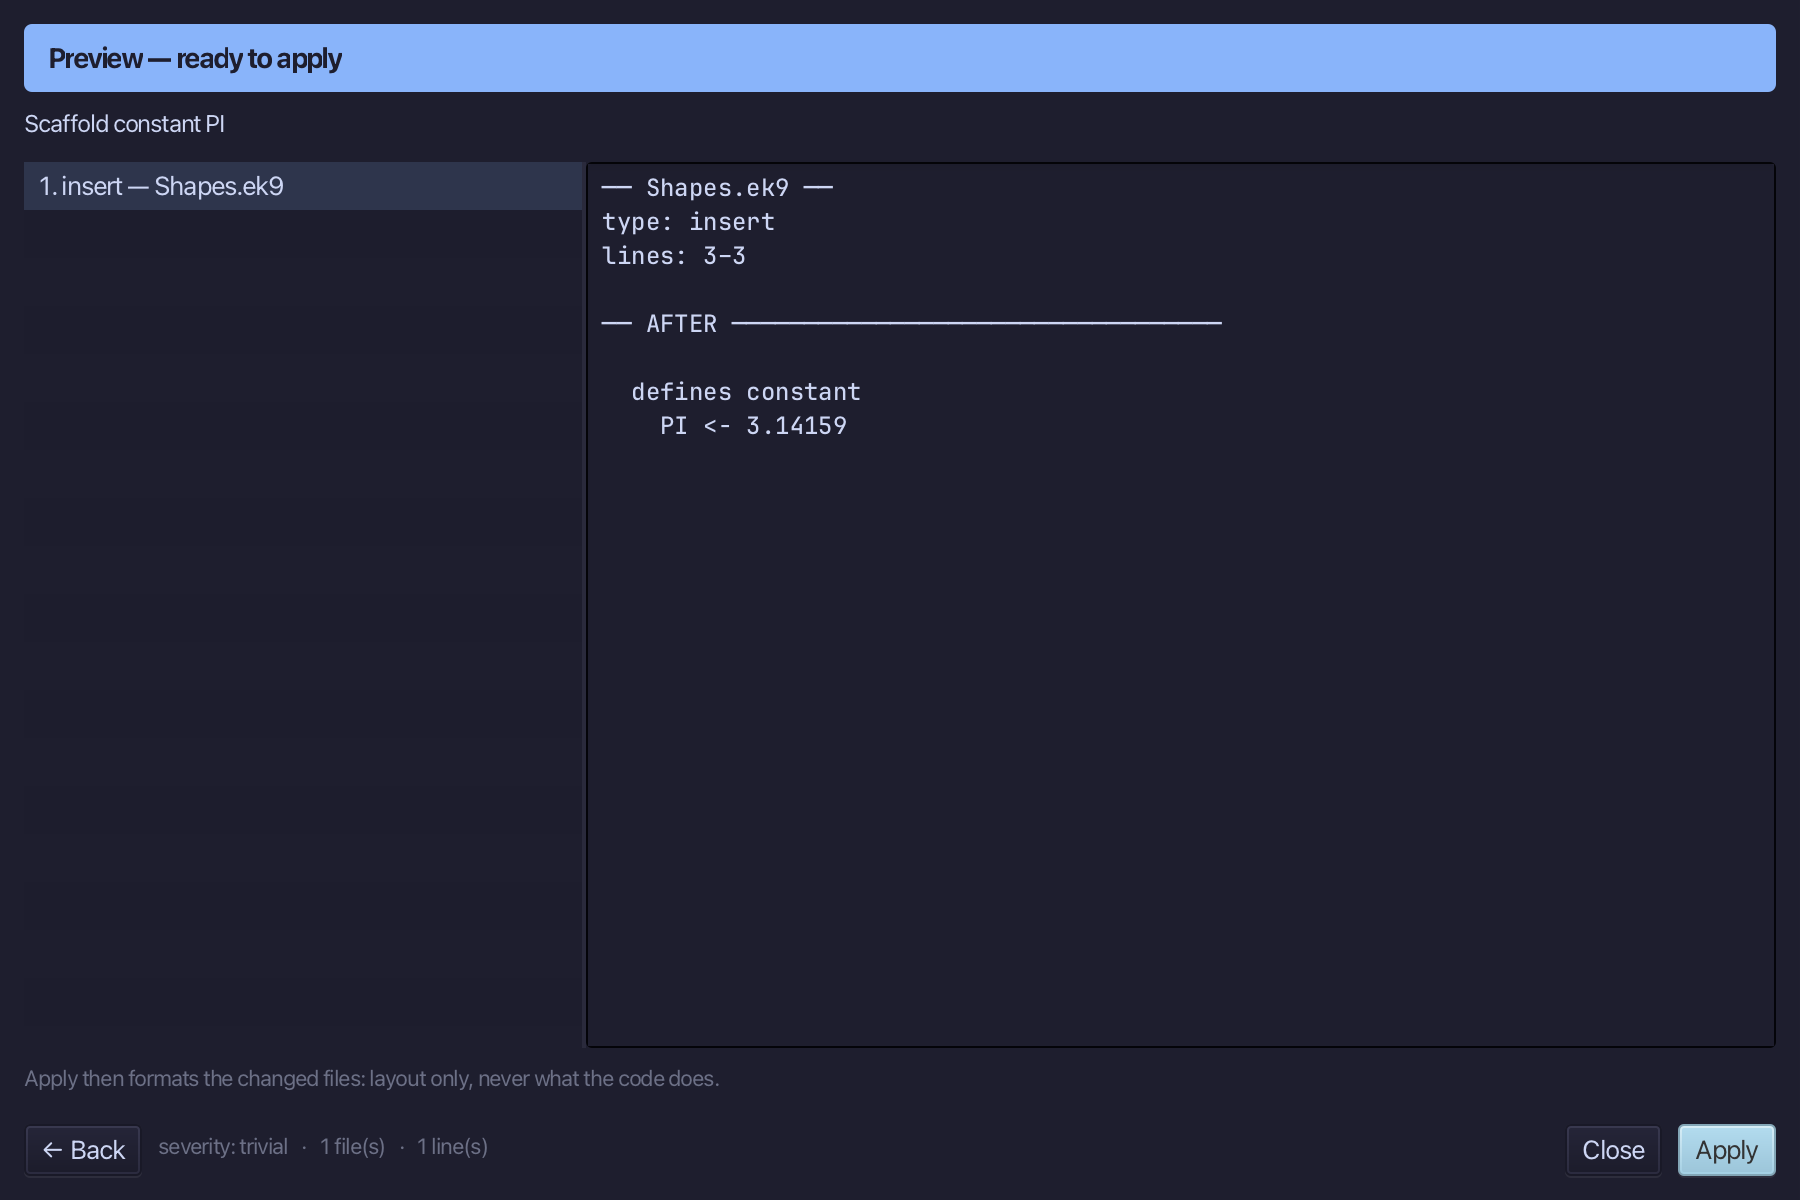
The preview shows PI about to be written. Choose Apply.
Step 2: An abstract type
Choose Code > New Construct > Class…
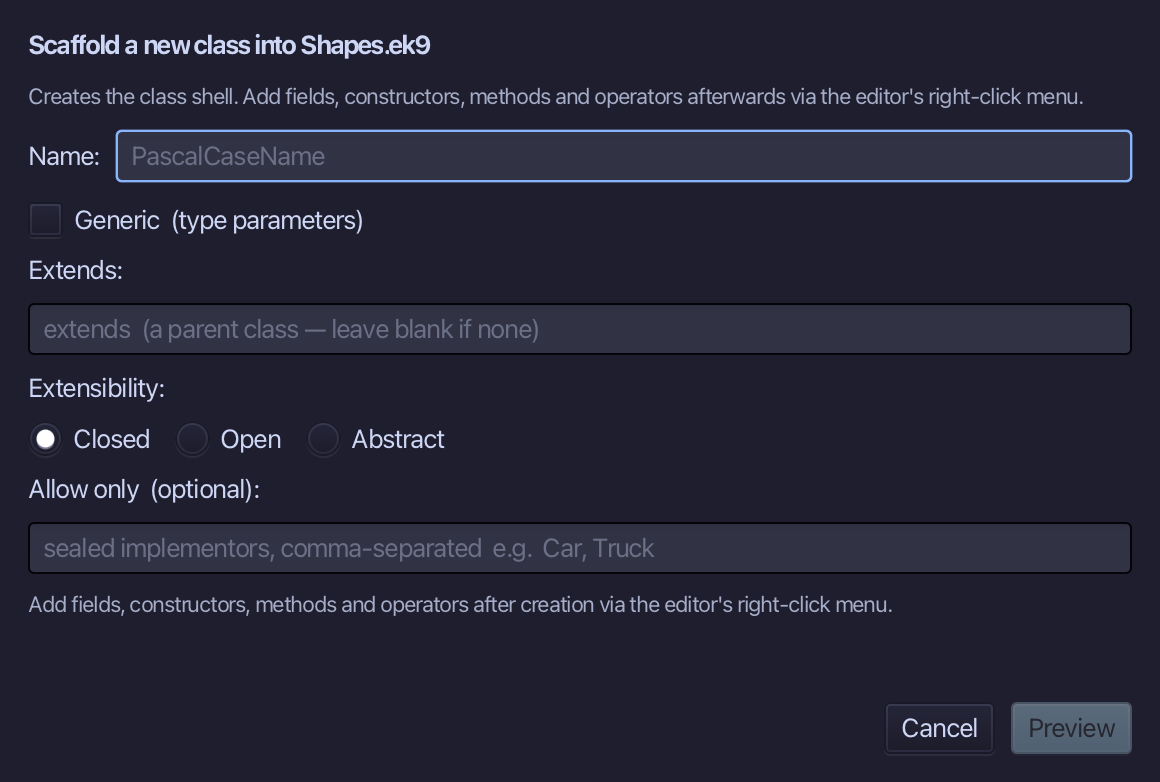
Shape is the class's name. Choose Abstract, not Closed - Shape is a contract, not a thing: it will declare what a shape must answer, never how. Type Shape, choose Abstract, and choose Preview.
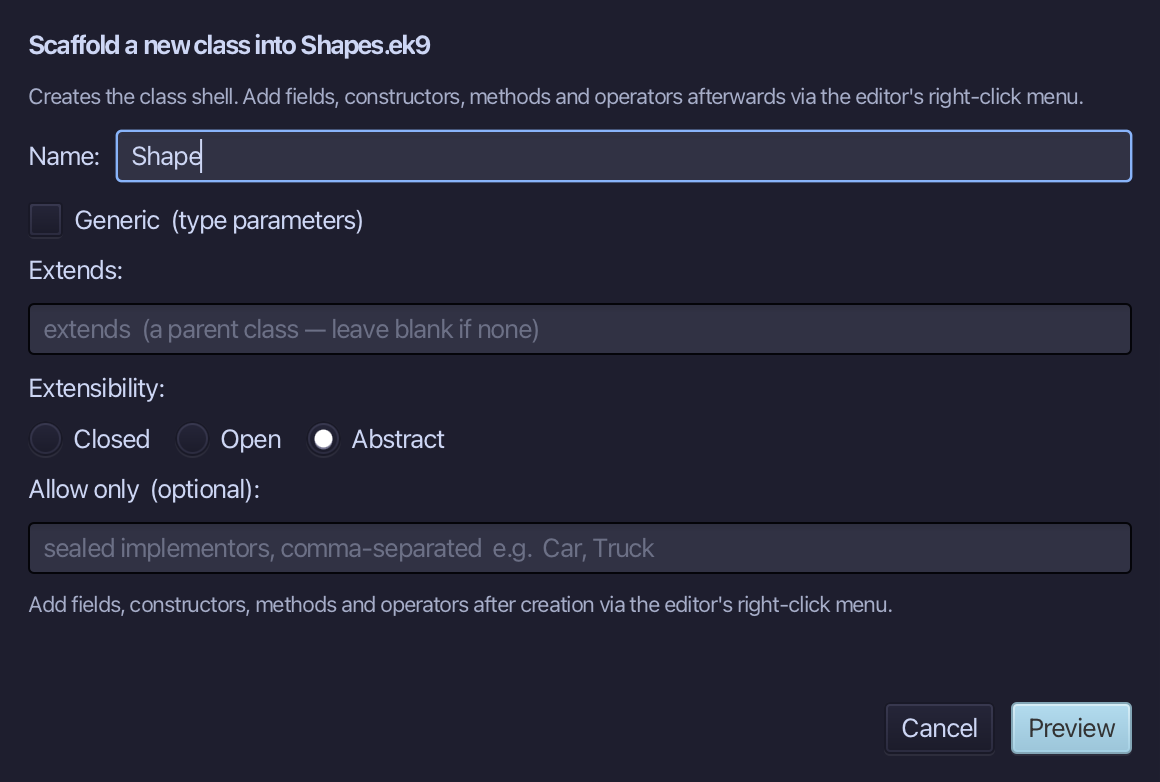
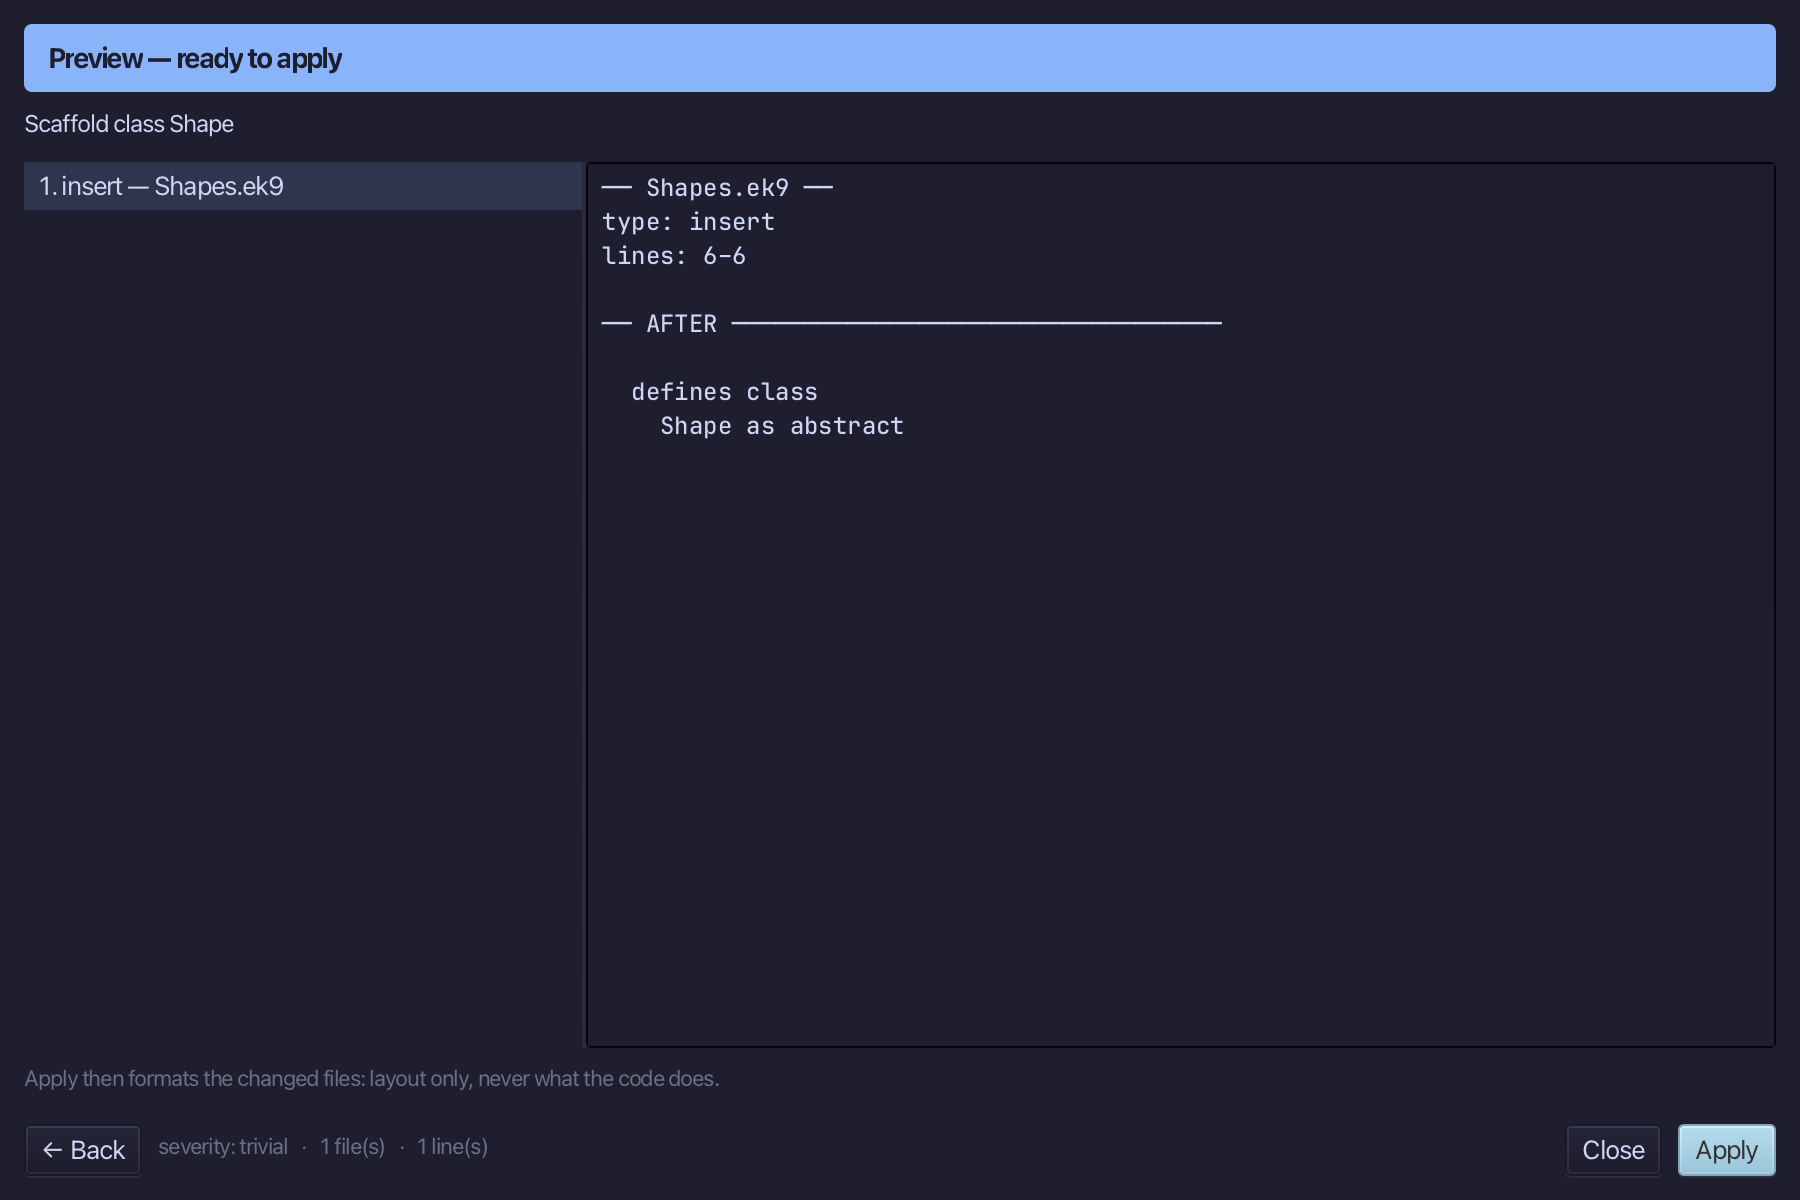
The preview shows Shape as abstract about to be written - no fields, so no default operator ? either; an abstract type with nothing to hold is always set. Choose Apply.
Right-click the Shape line and choose Add Method…
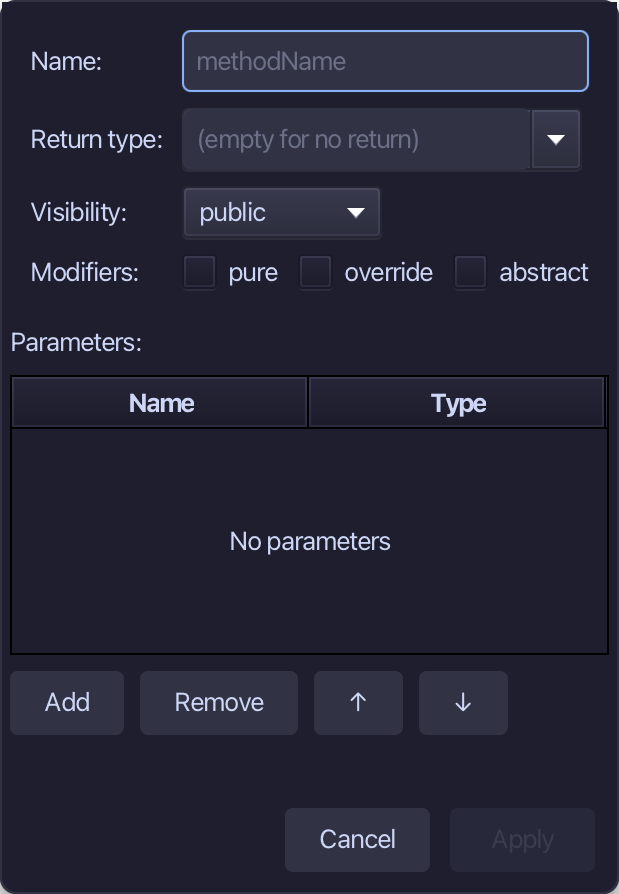
name is the method's name, String its return type, pure ticked - and abstract too, enabled only because Shape itself is abstract. There is no body to write: an abstract method is the contract alone. Fill them in and choose Apply.
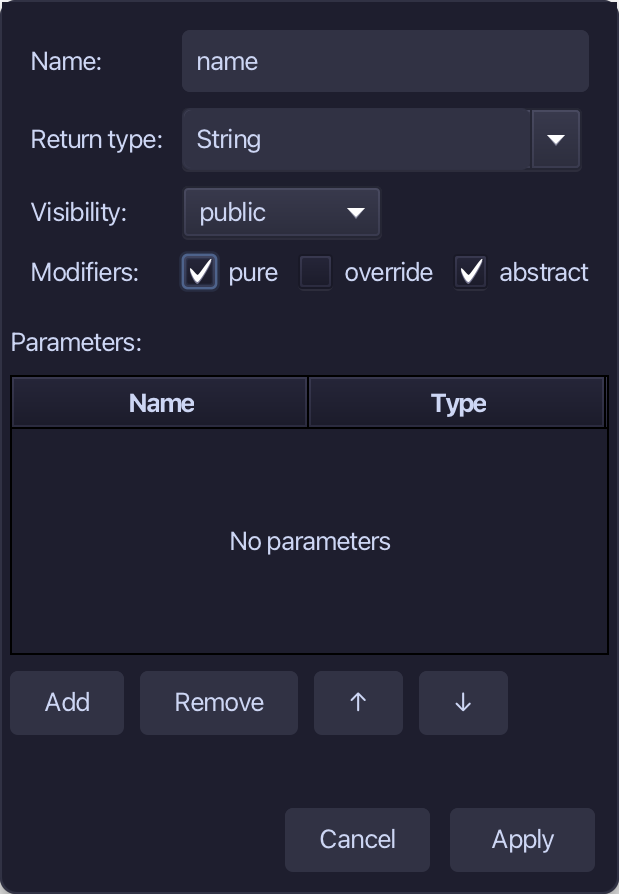
Right-click the Shape line and choose Add Method…
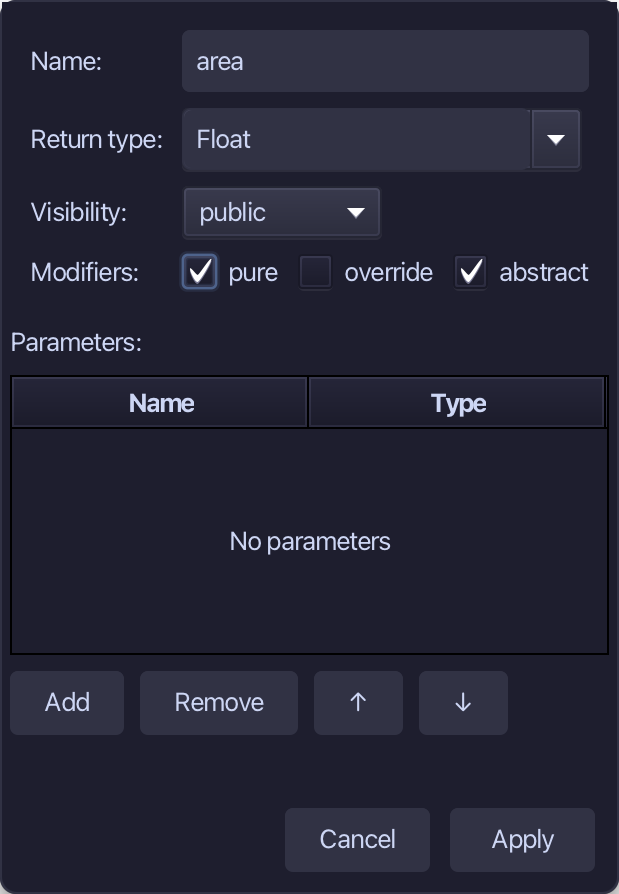
area is the name, Float the return type, pure and abstract both ticked - the same shape as name. Fill them in and choose Apply.
Add Method applies straight away but leaves the editor unsaved - there is no logic to type for an abstract method, so save now before starting Circle. Choose File > Save.
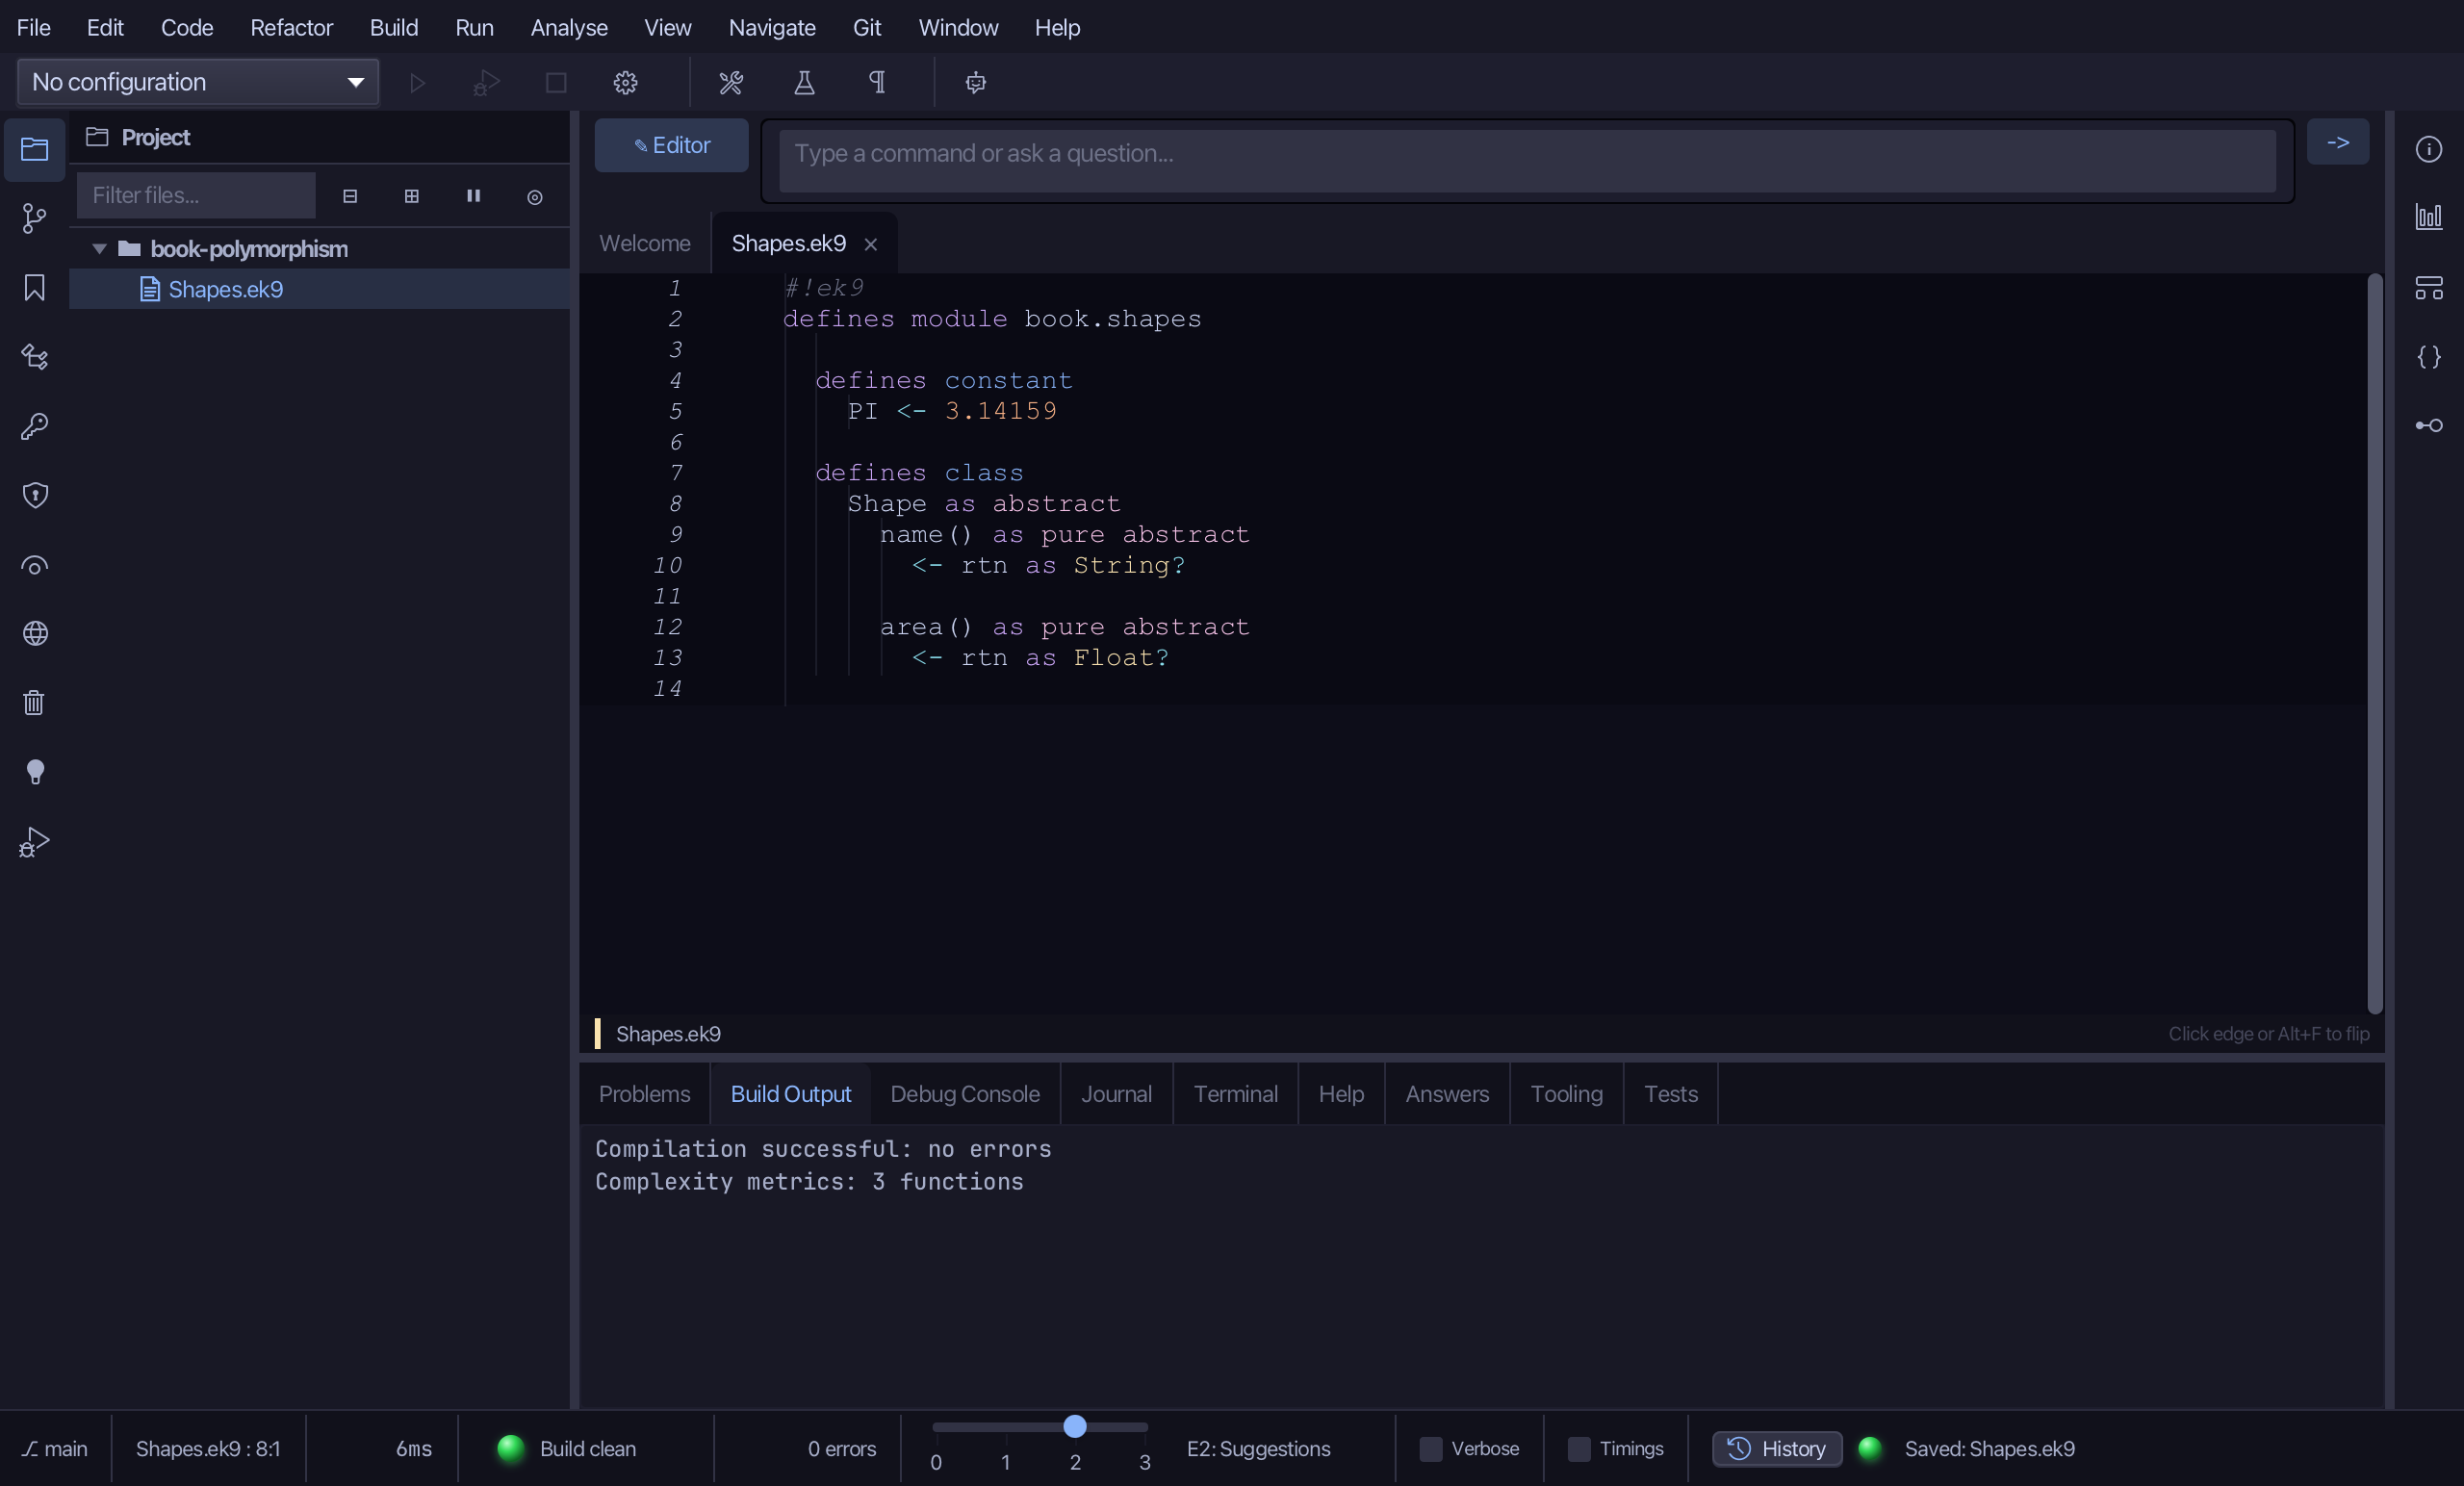
Step 3: Circle — a subtype
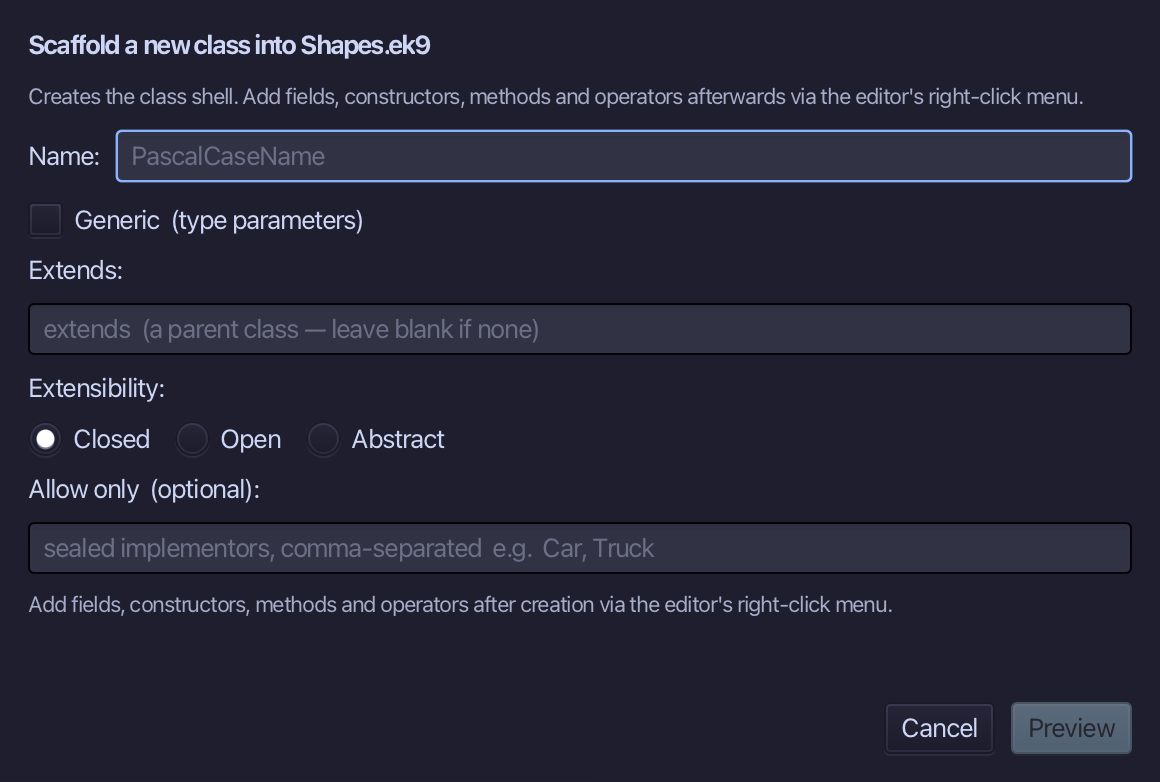
Choose Code > New Construct > Class…
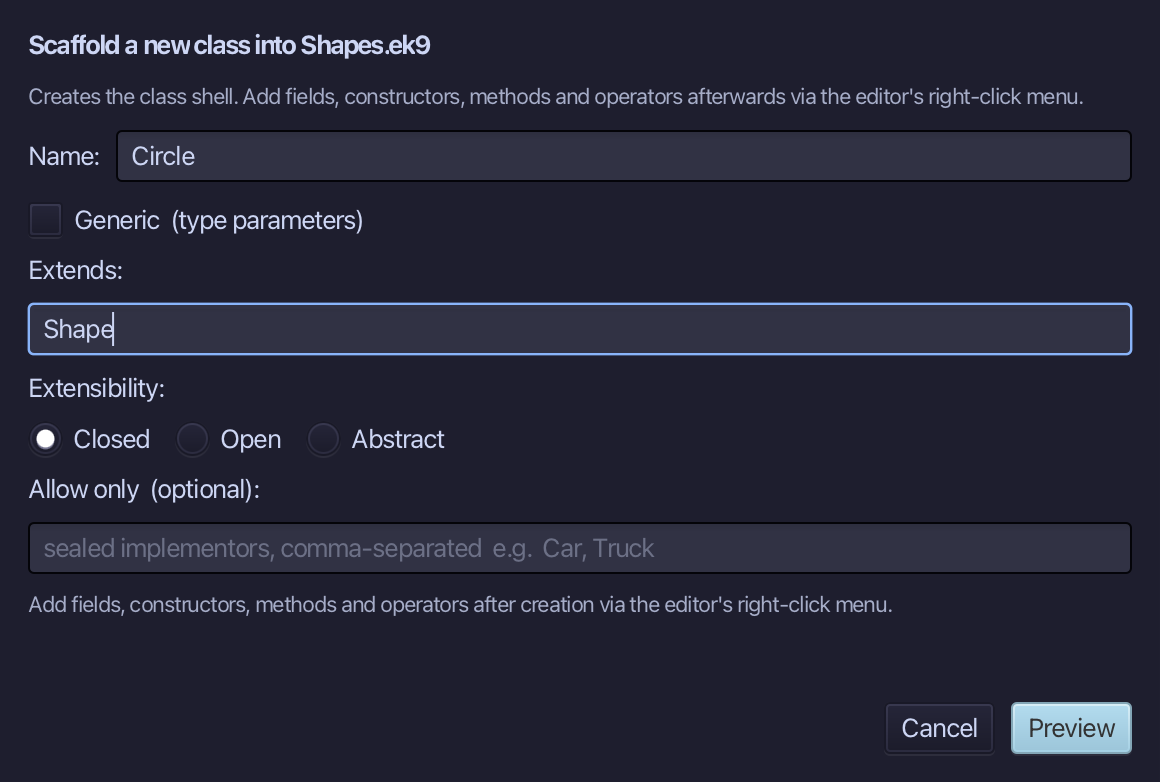
Circle is the name, closed (the default) is fine - Circle itself need not be extended further. Type Shape into Extends, naming the contract Circle completes. Type Circle, fill in Extends, and choose Preview.
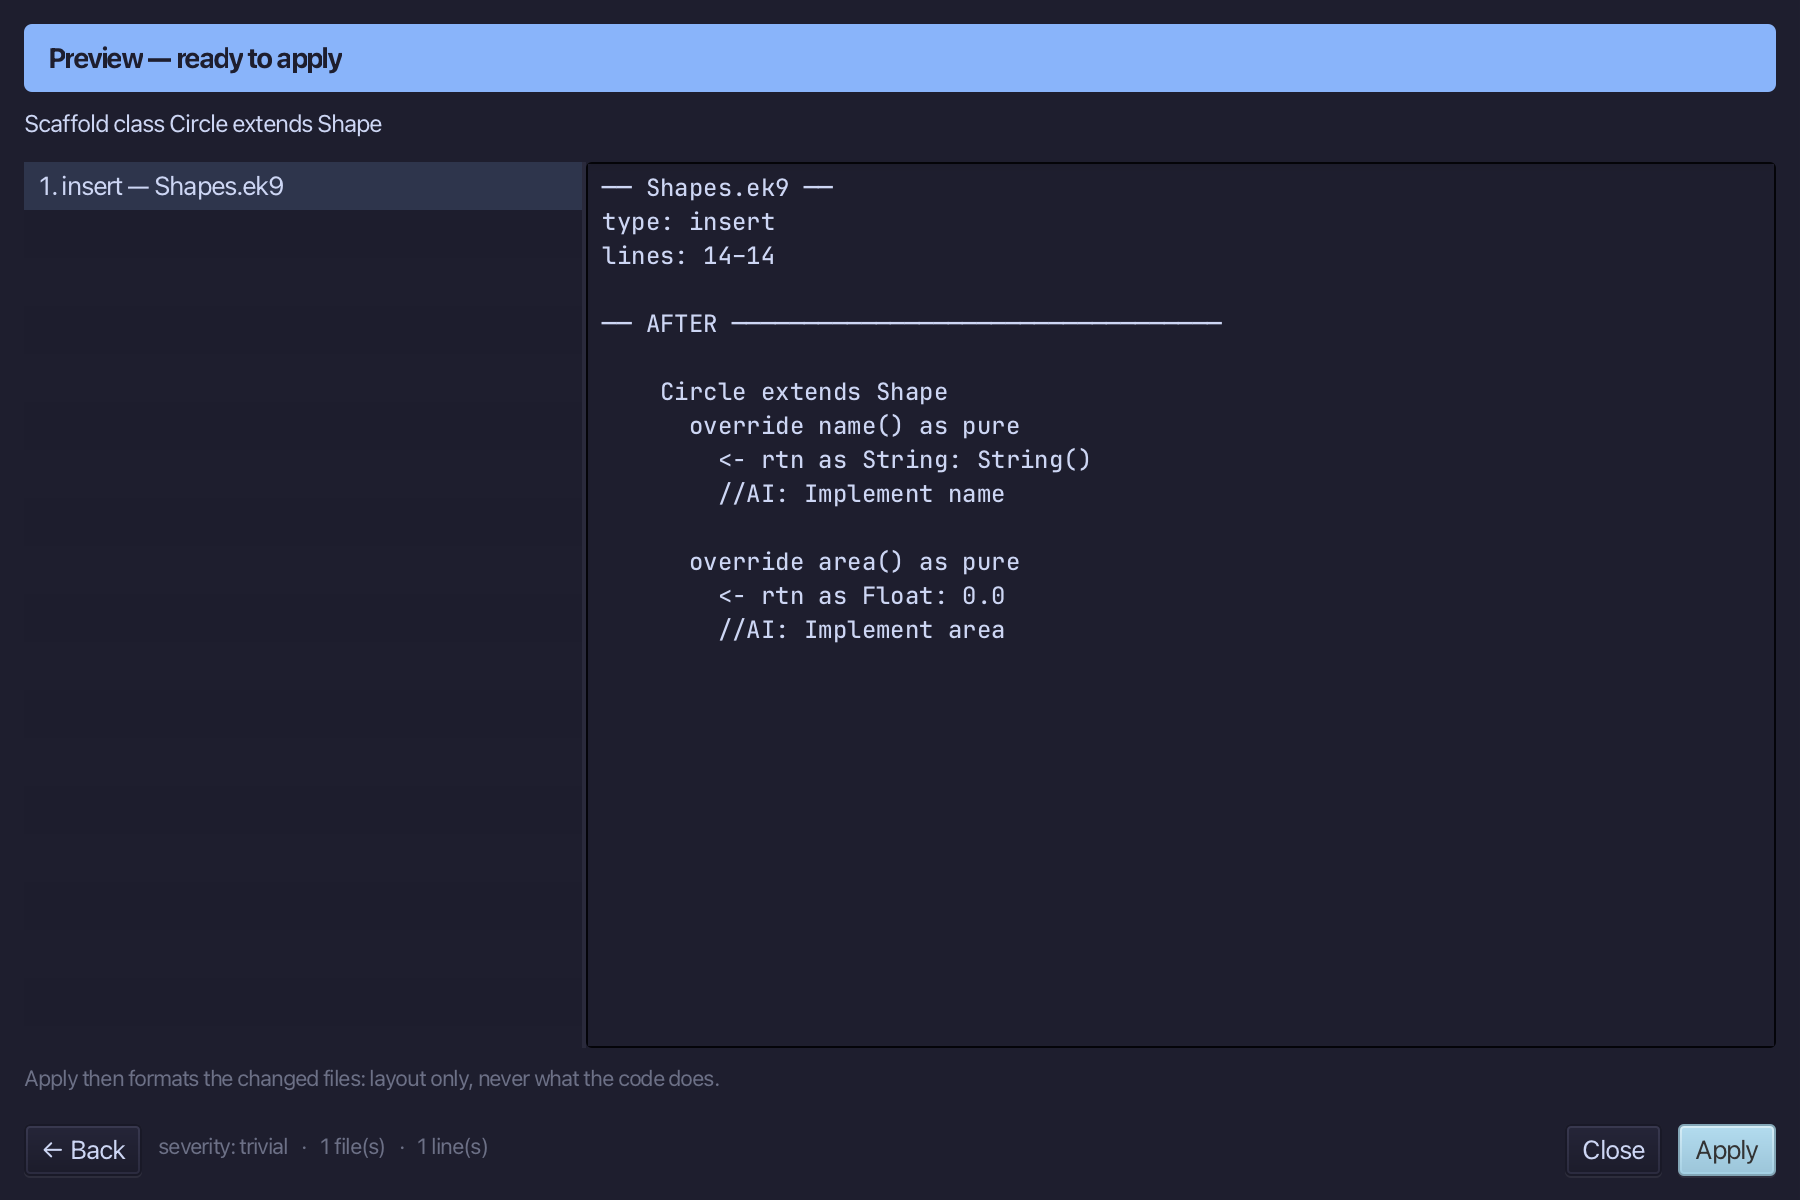
The preview shows Circle extends Shape about to be written - and, because Shape owes two abstract methods, their override stubs come with it: name() and area(), each a placeholder until typed. Choose Apply.
Right-click the Circle line and choose Add Field…
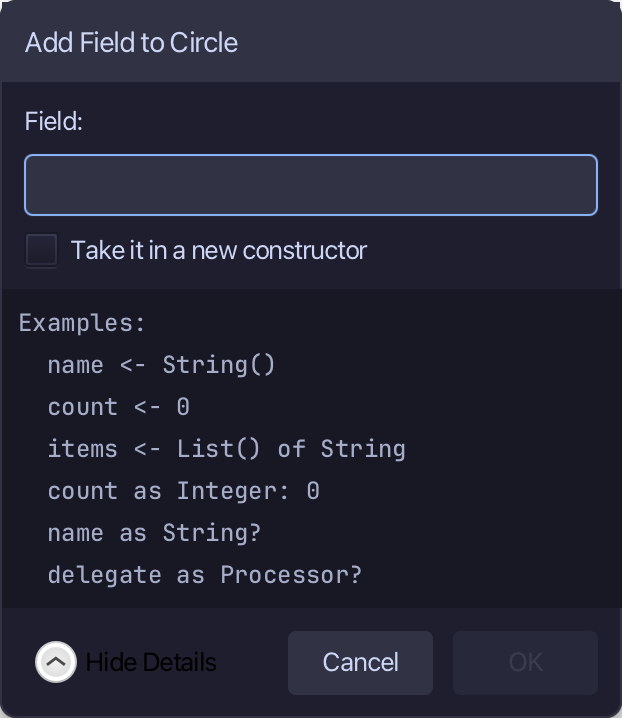
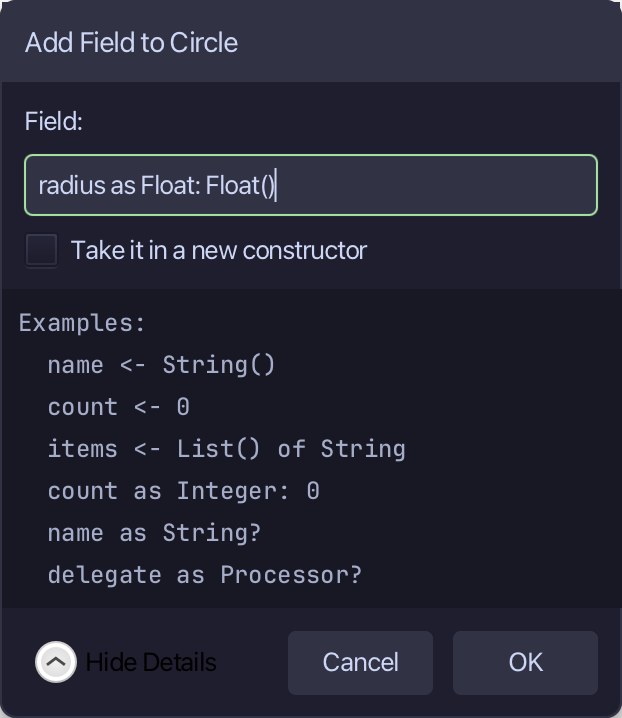
Type radius as Float: Float() - a circle's one measurement. Choose OK.
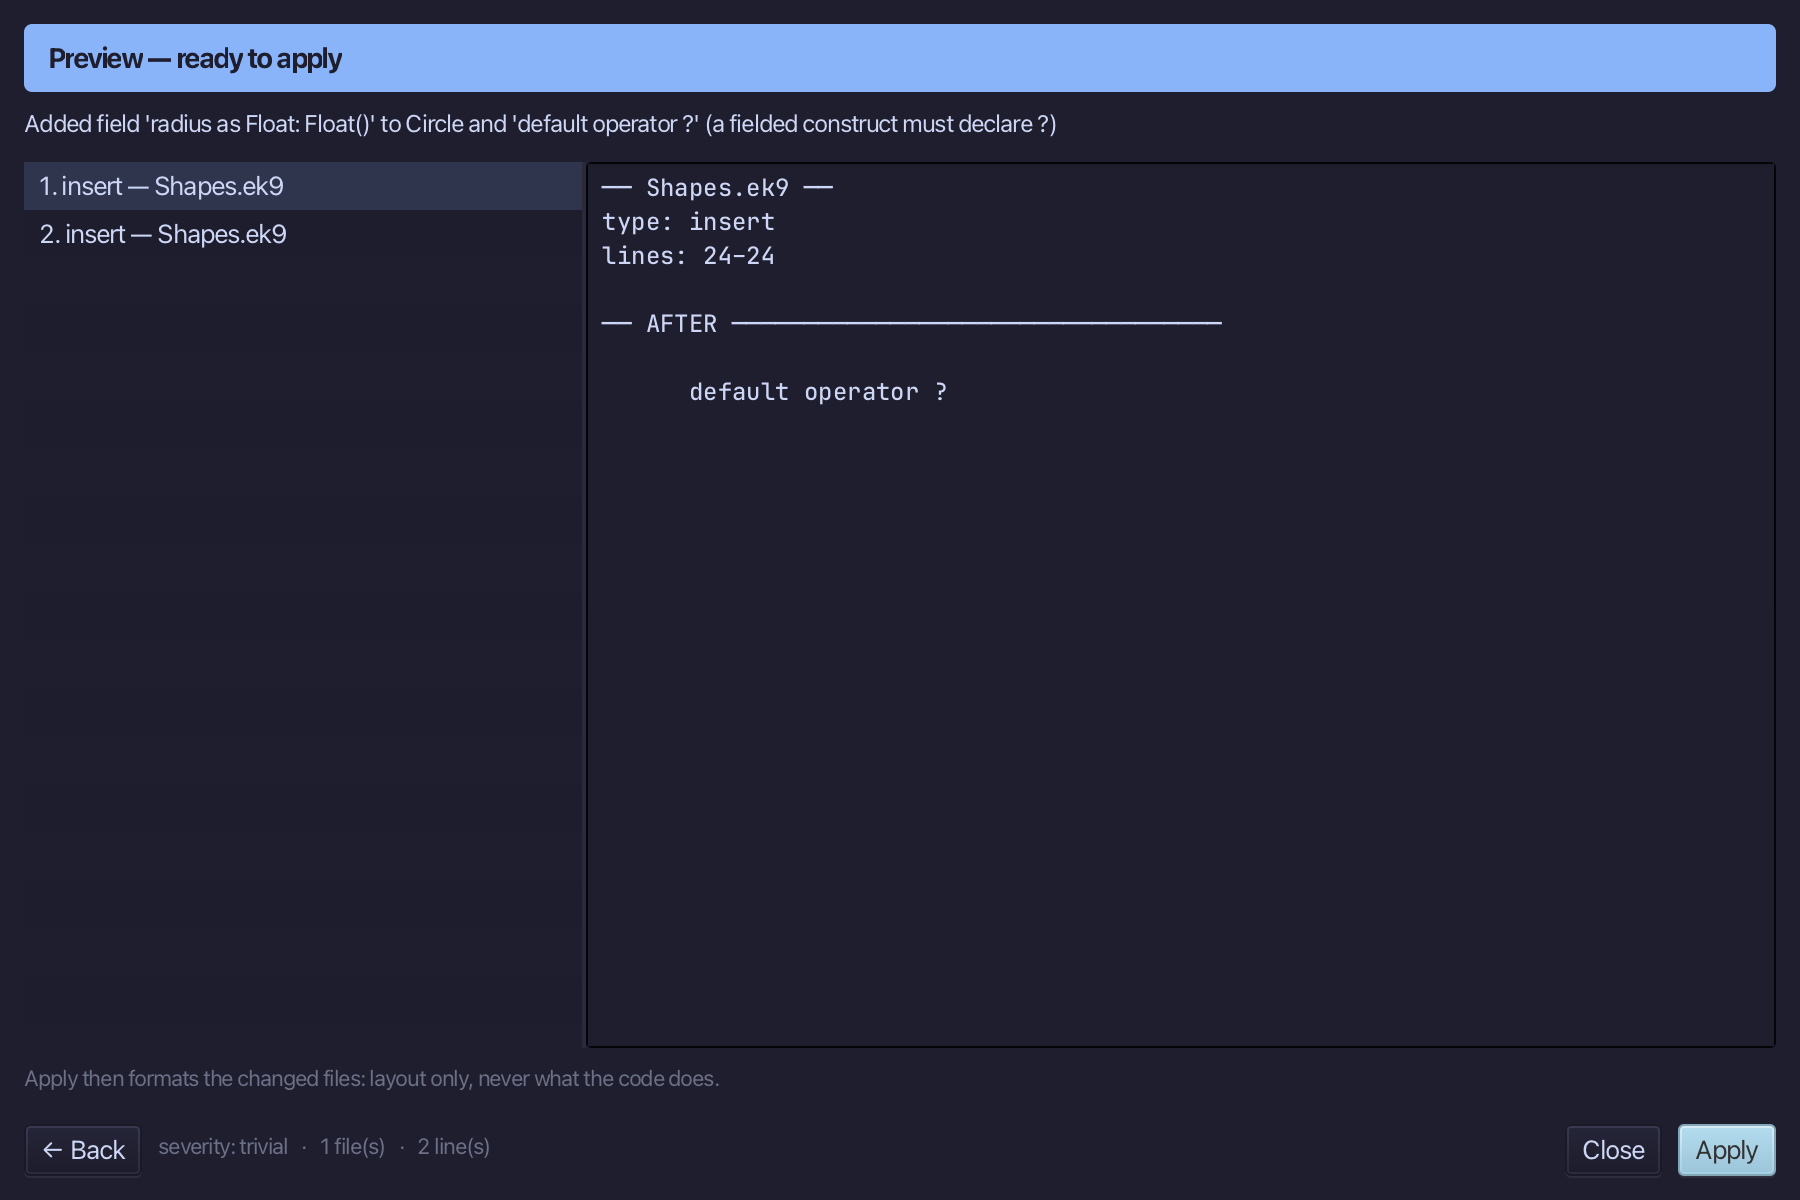
The preview shows radius added - and default operator ? with it, Circle's first field. Choose Apply.
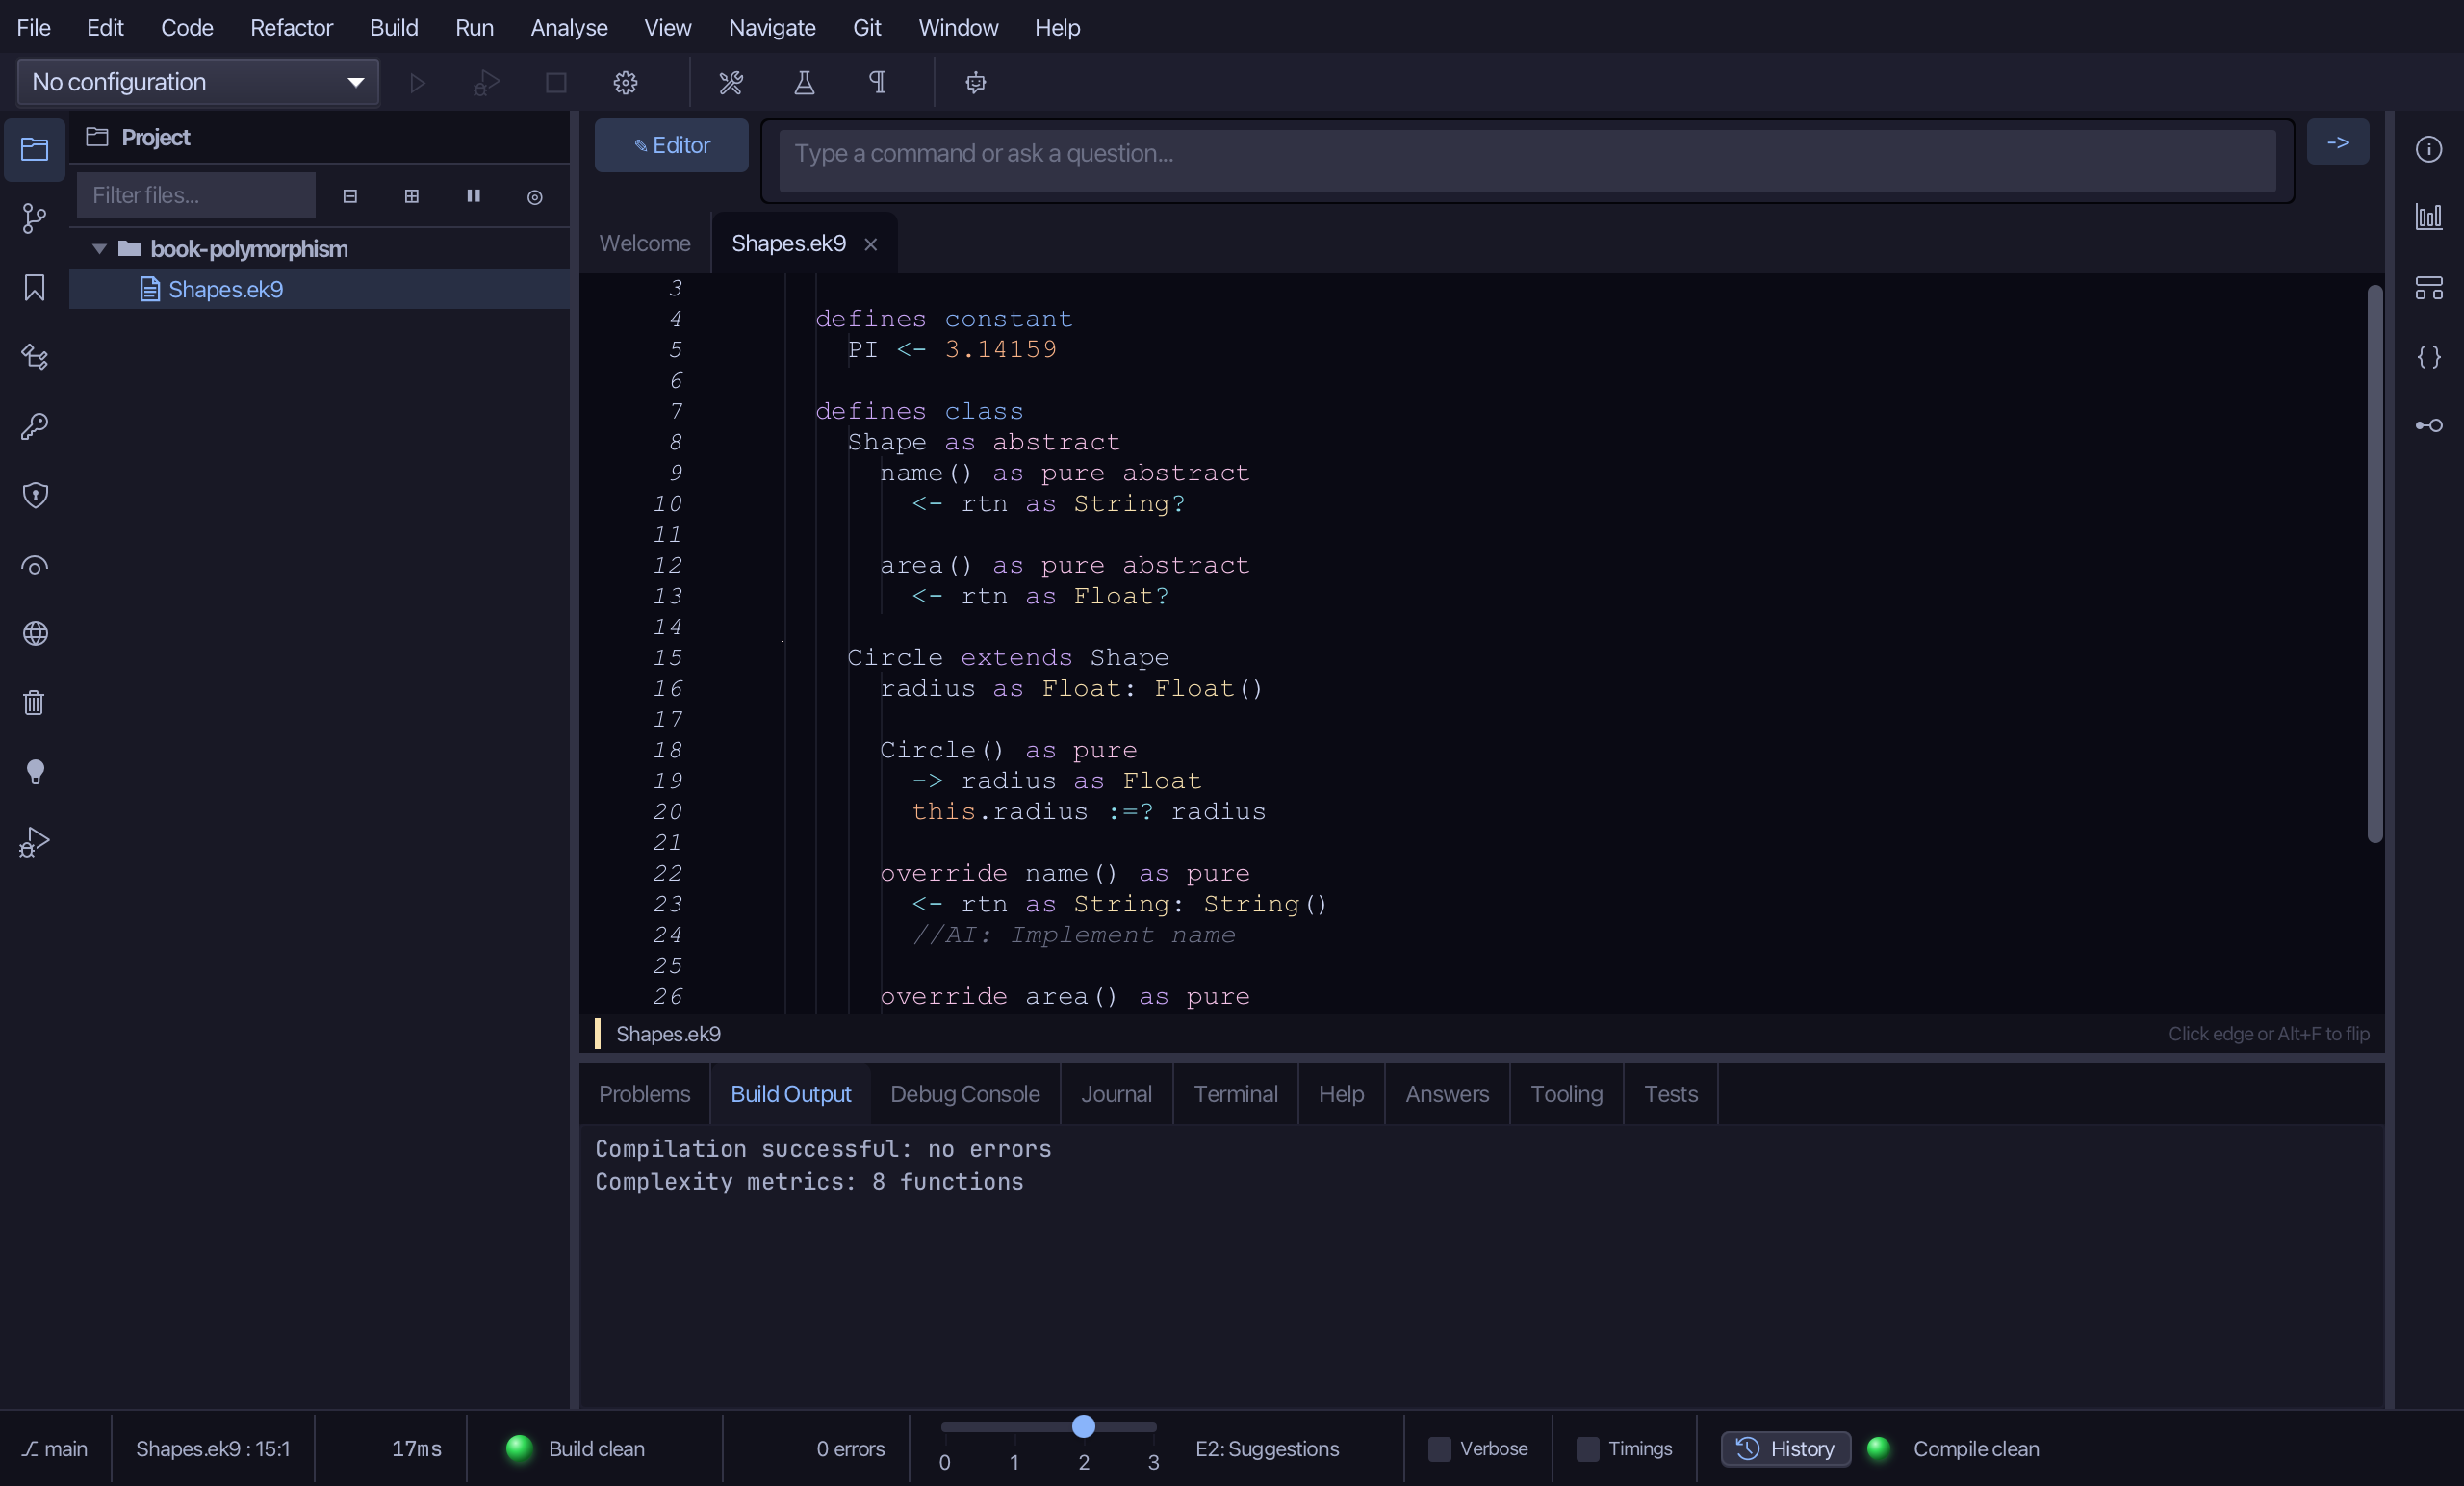
Right-click the Circle line and choose Add Constructor ▸ From All Fields (pure) - one parameter per field, assigned with :=? (pure).
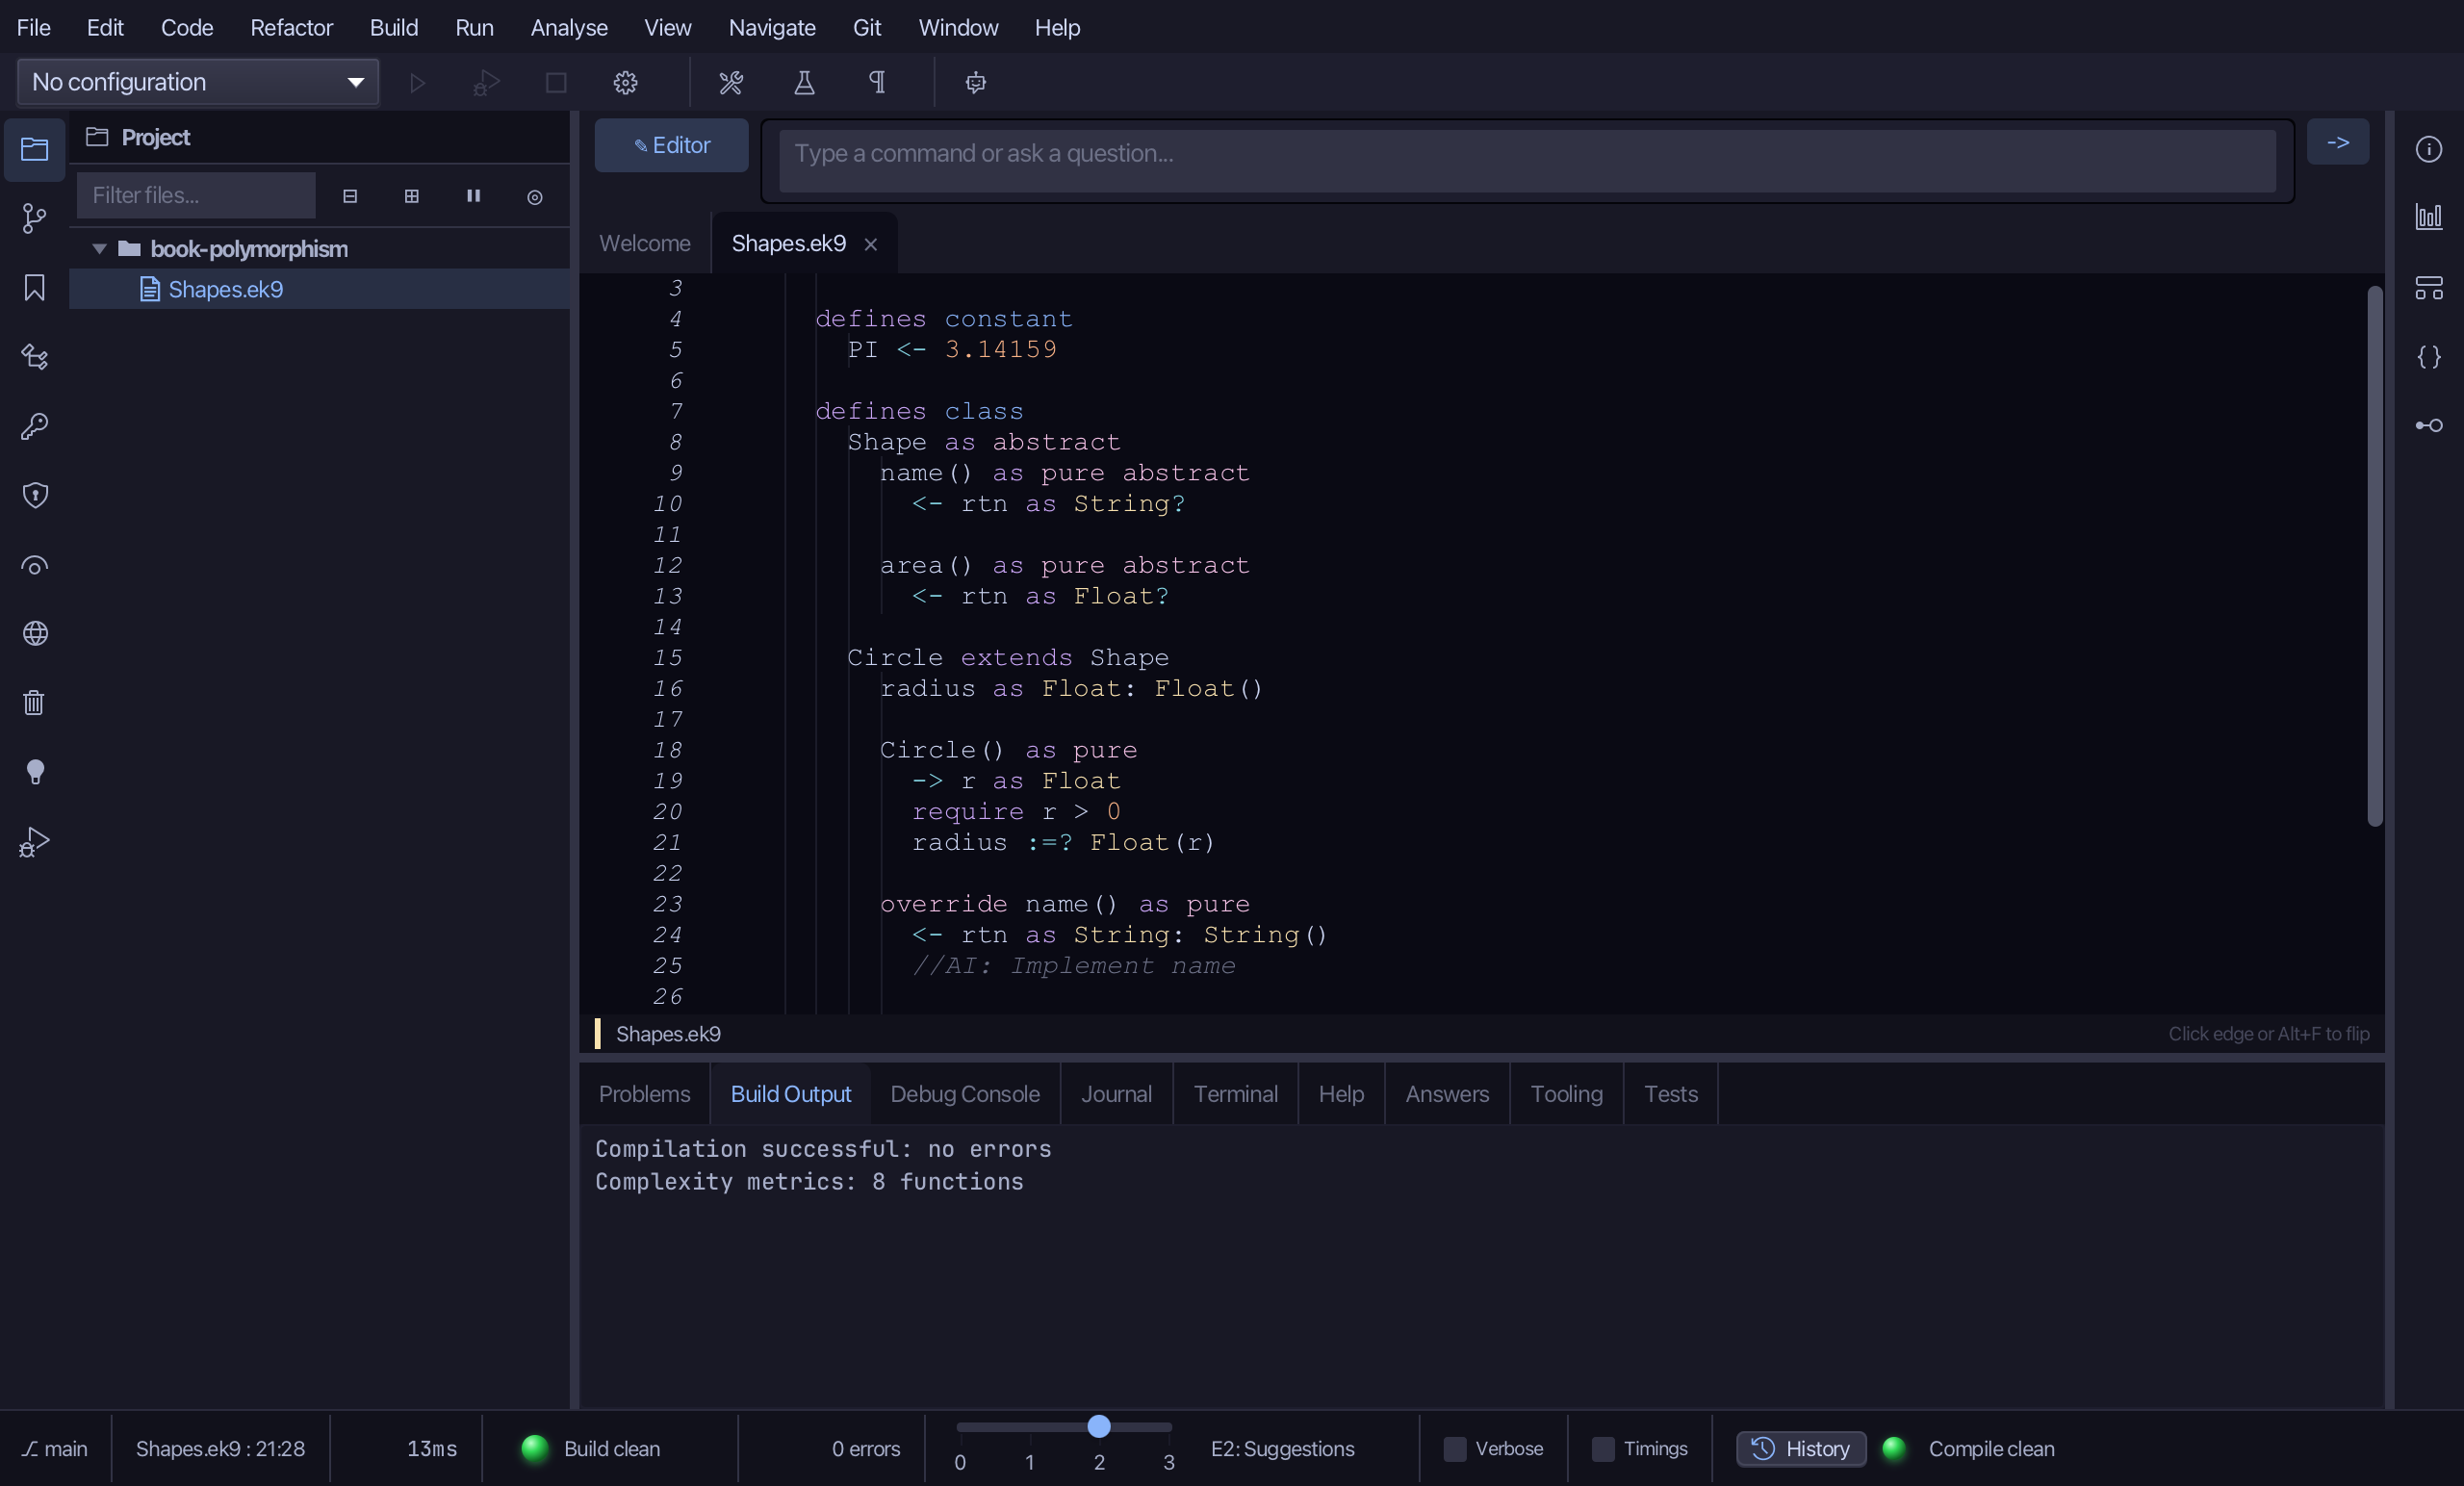
Select the constructor the tool wrote, from Circle() as pure down to its this.radius :=? radius line, and type Circle's real one: the parameter renamed r, a require r > 0 precondition, and radius assigned from it. Saves when typed.
name()'s override stub arrived with Circle itself - select it, the <- rtn as String: String() line down to its //AI line, and type Circle's answer: "circle". Saves when typed.
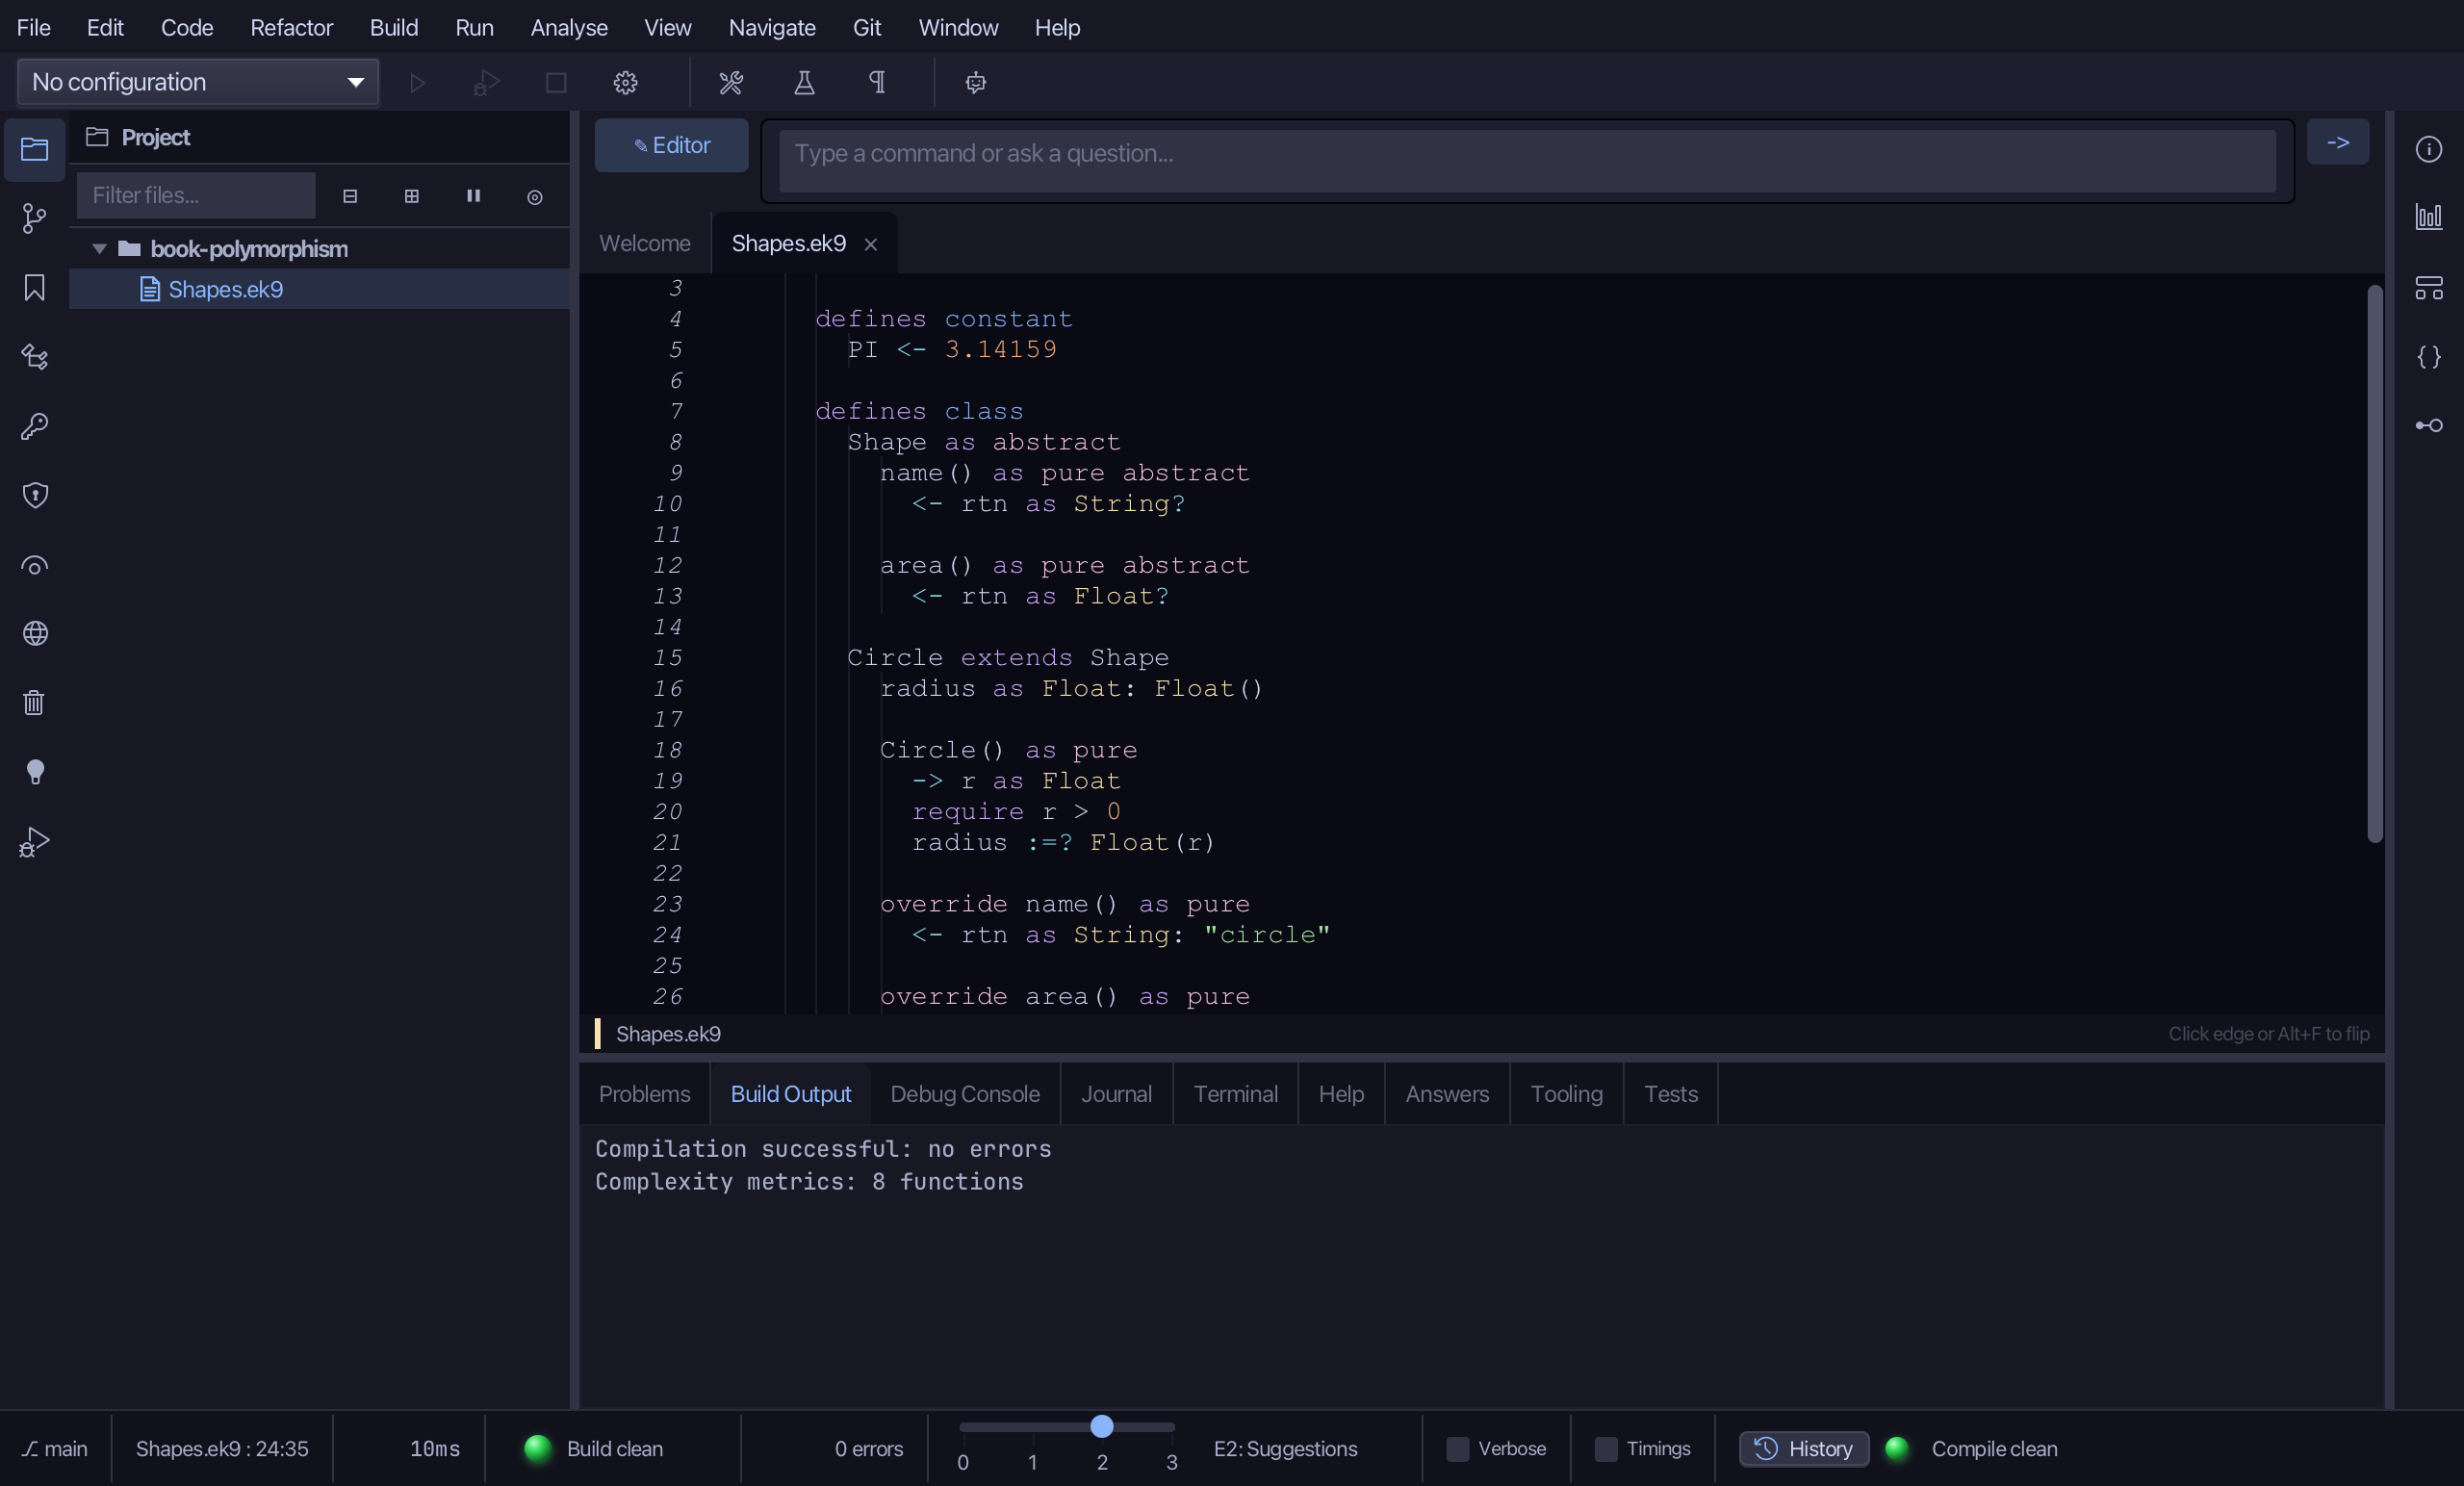
area()'s stub arrived the same way - select it, the <- rtn as Float: 0.0 line down to its //AI line, and type Circle's formula: PI * radius * radius - Circle is now complete. Saves when typed.
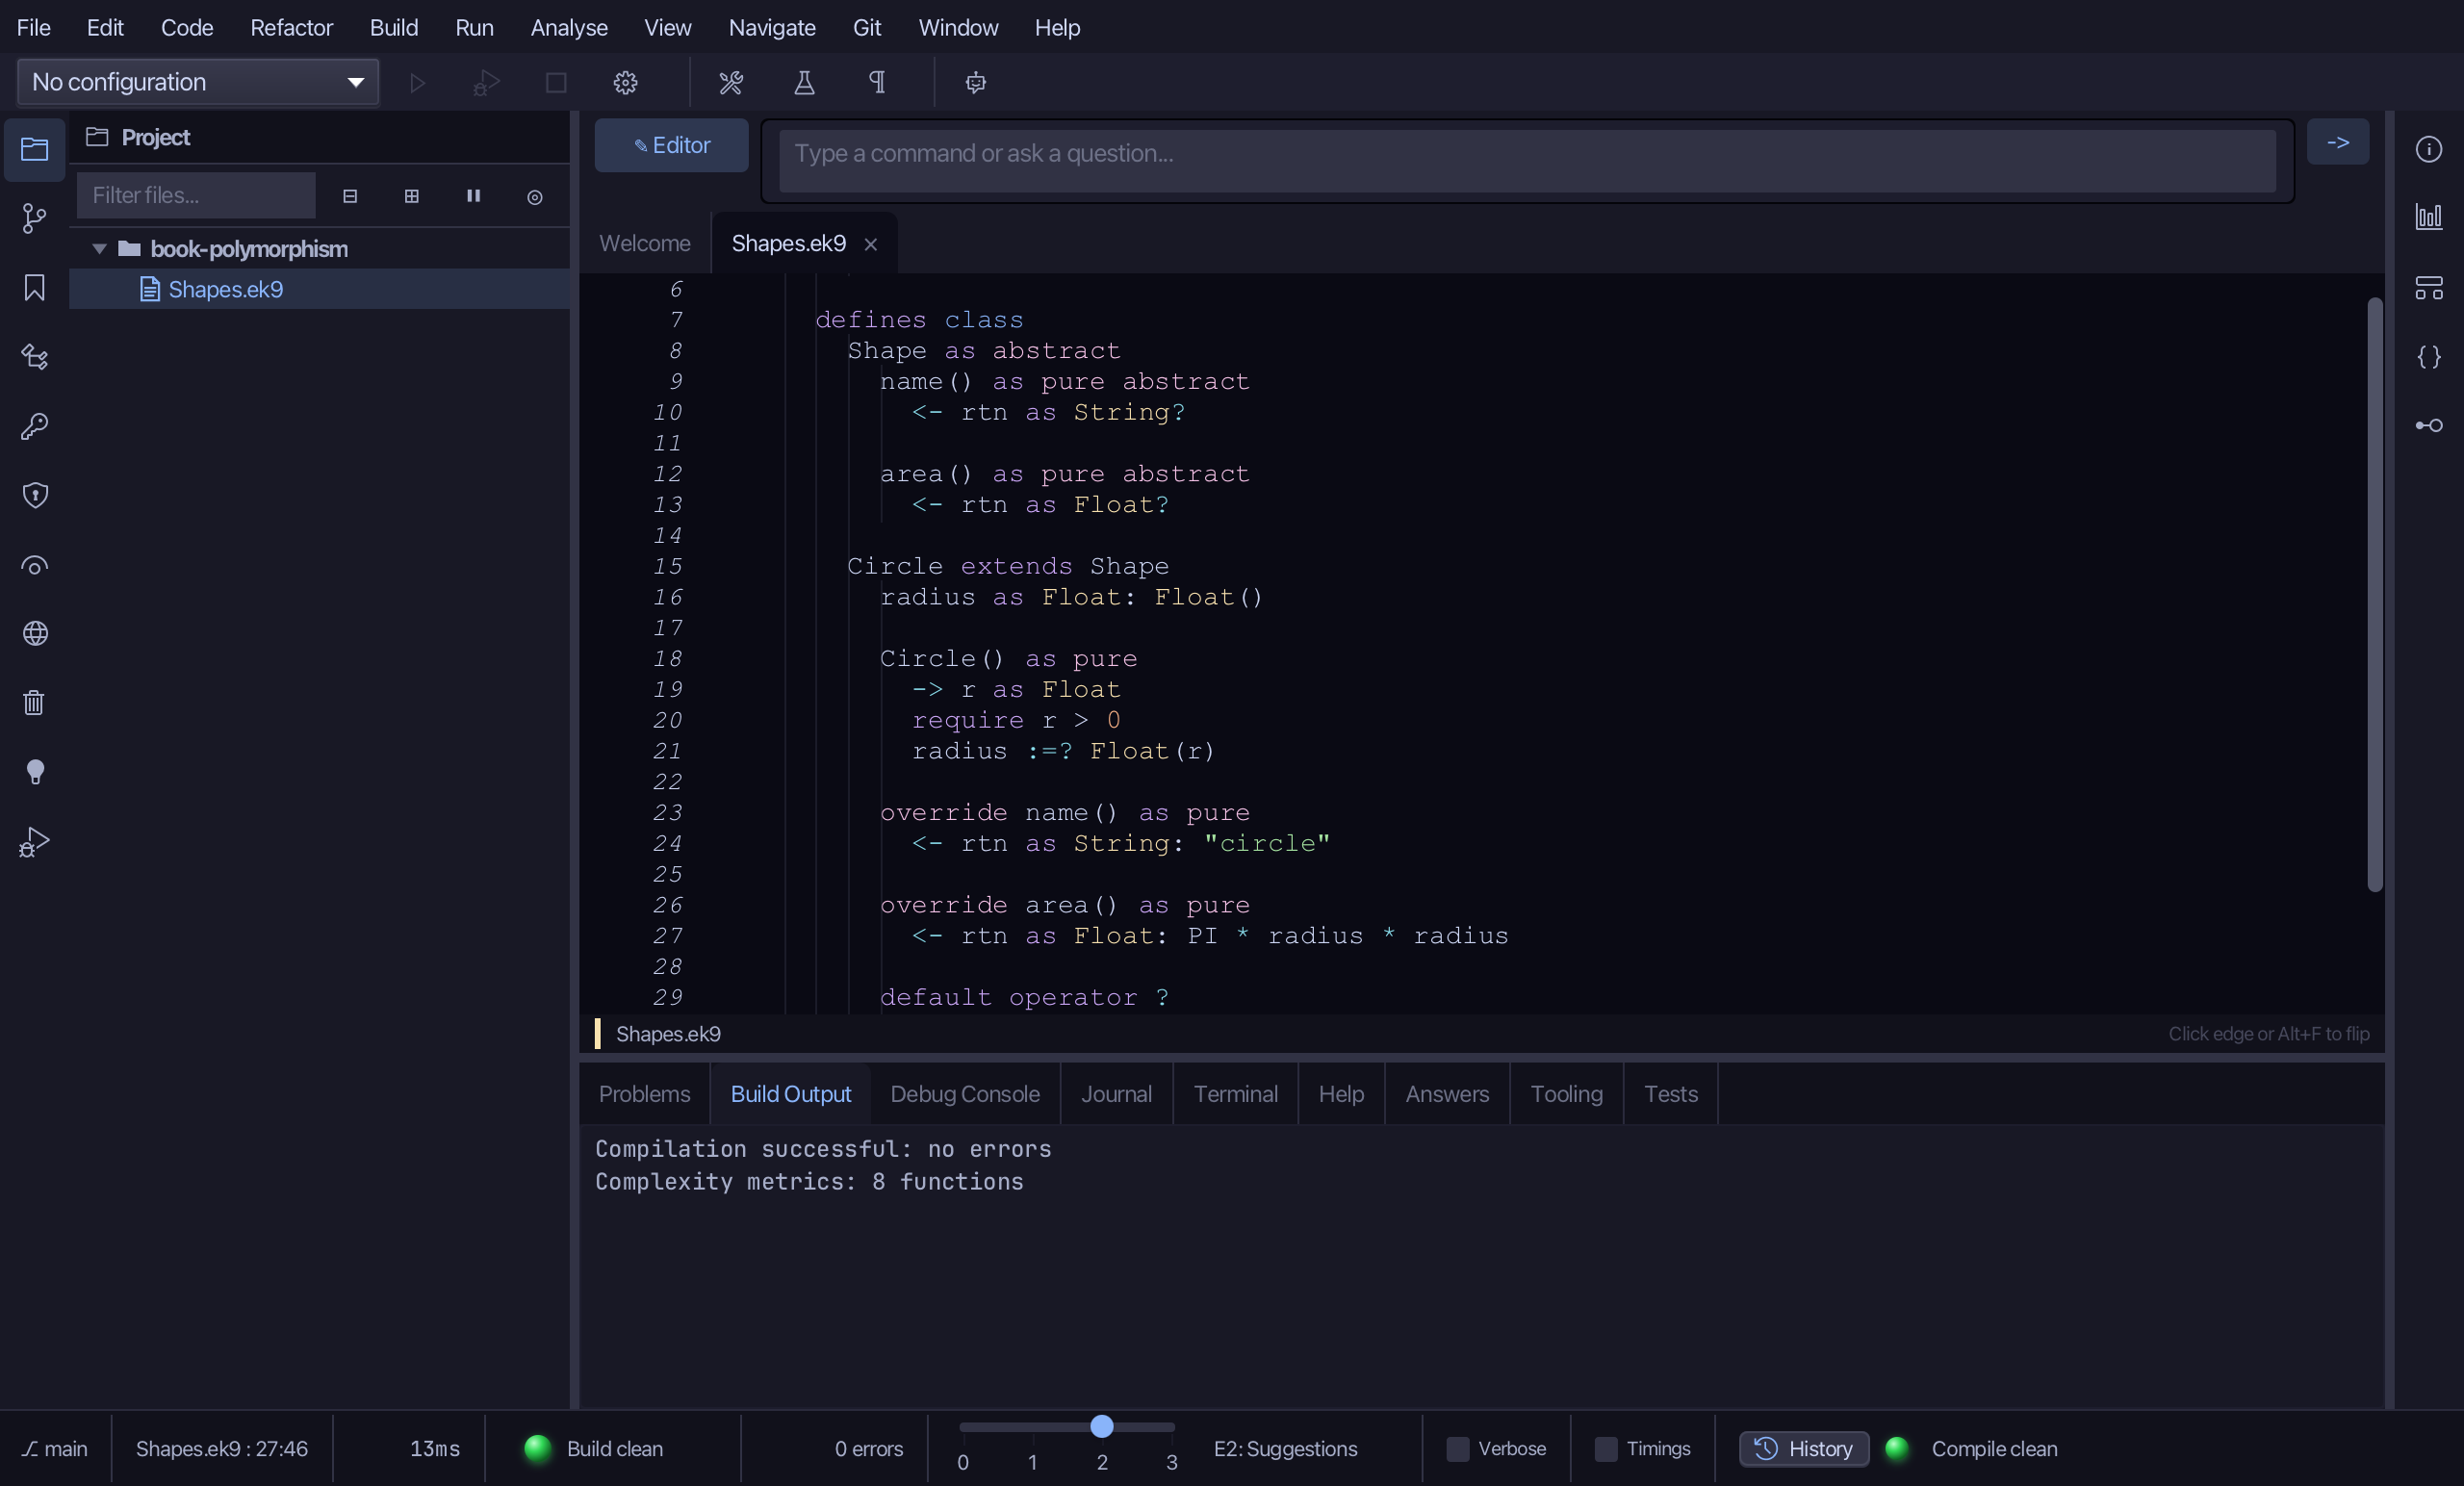
Step 4: Rectangle — another subtype
Choose Code > New Construct > Class…
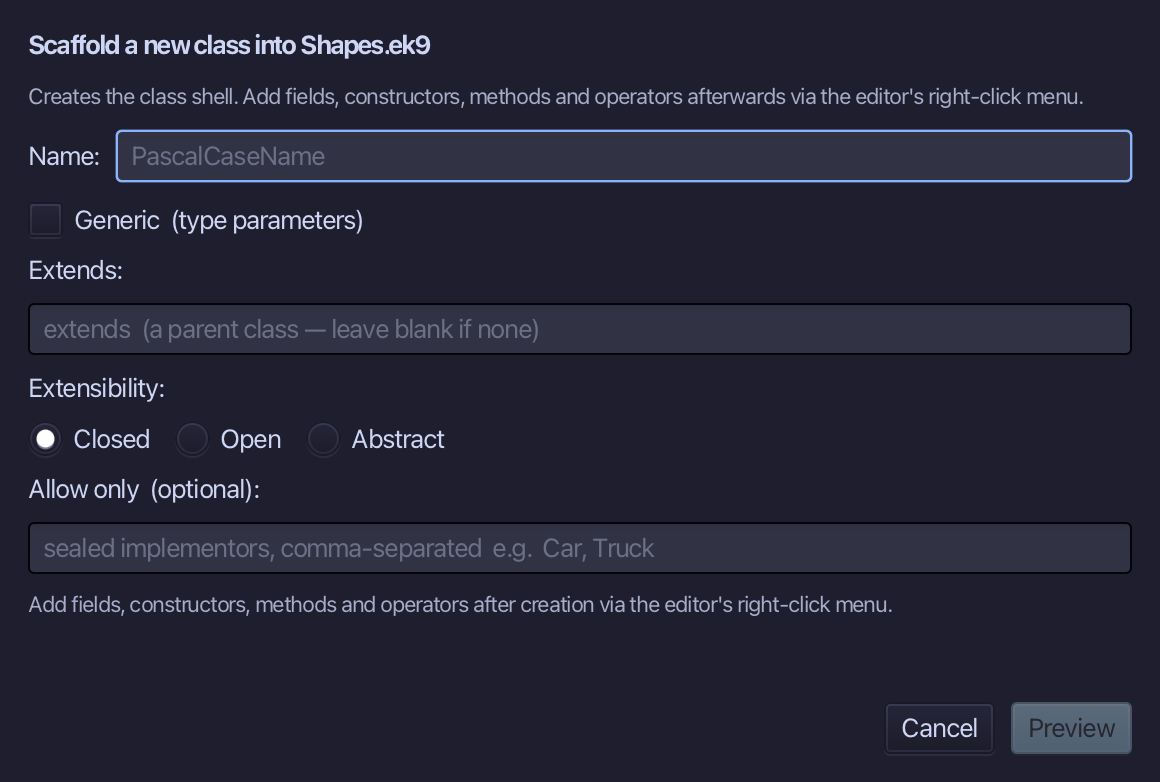
Rectangle is the name, closed is fine, and Shape is the same Extends as Circle's. Type Rectangle, fill in Extends, and choose Preview.
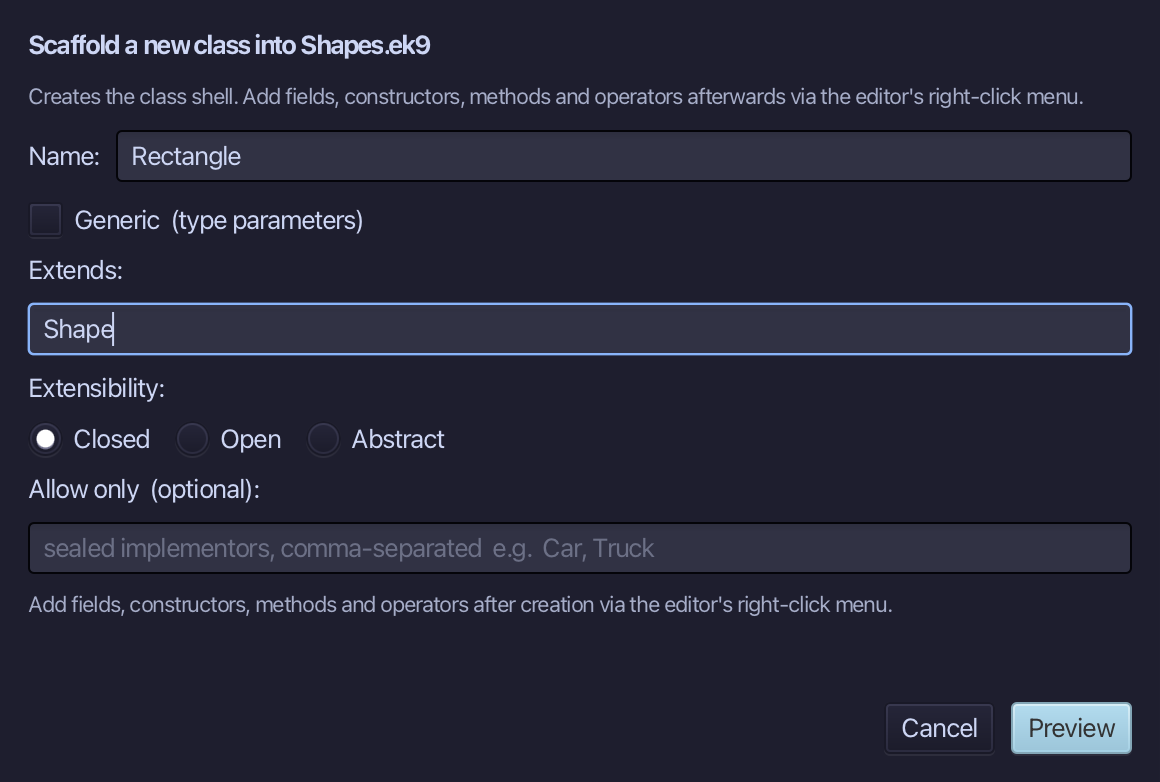
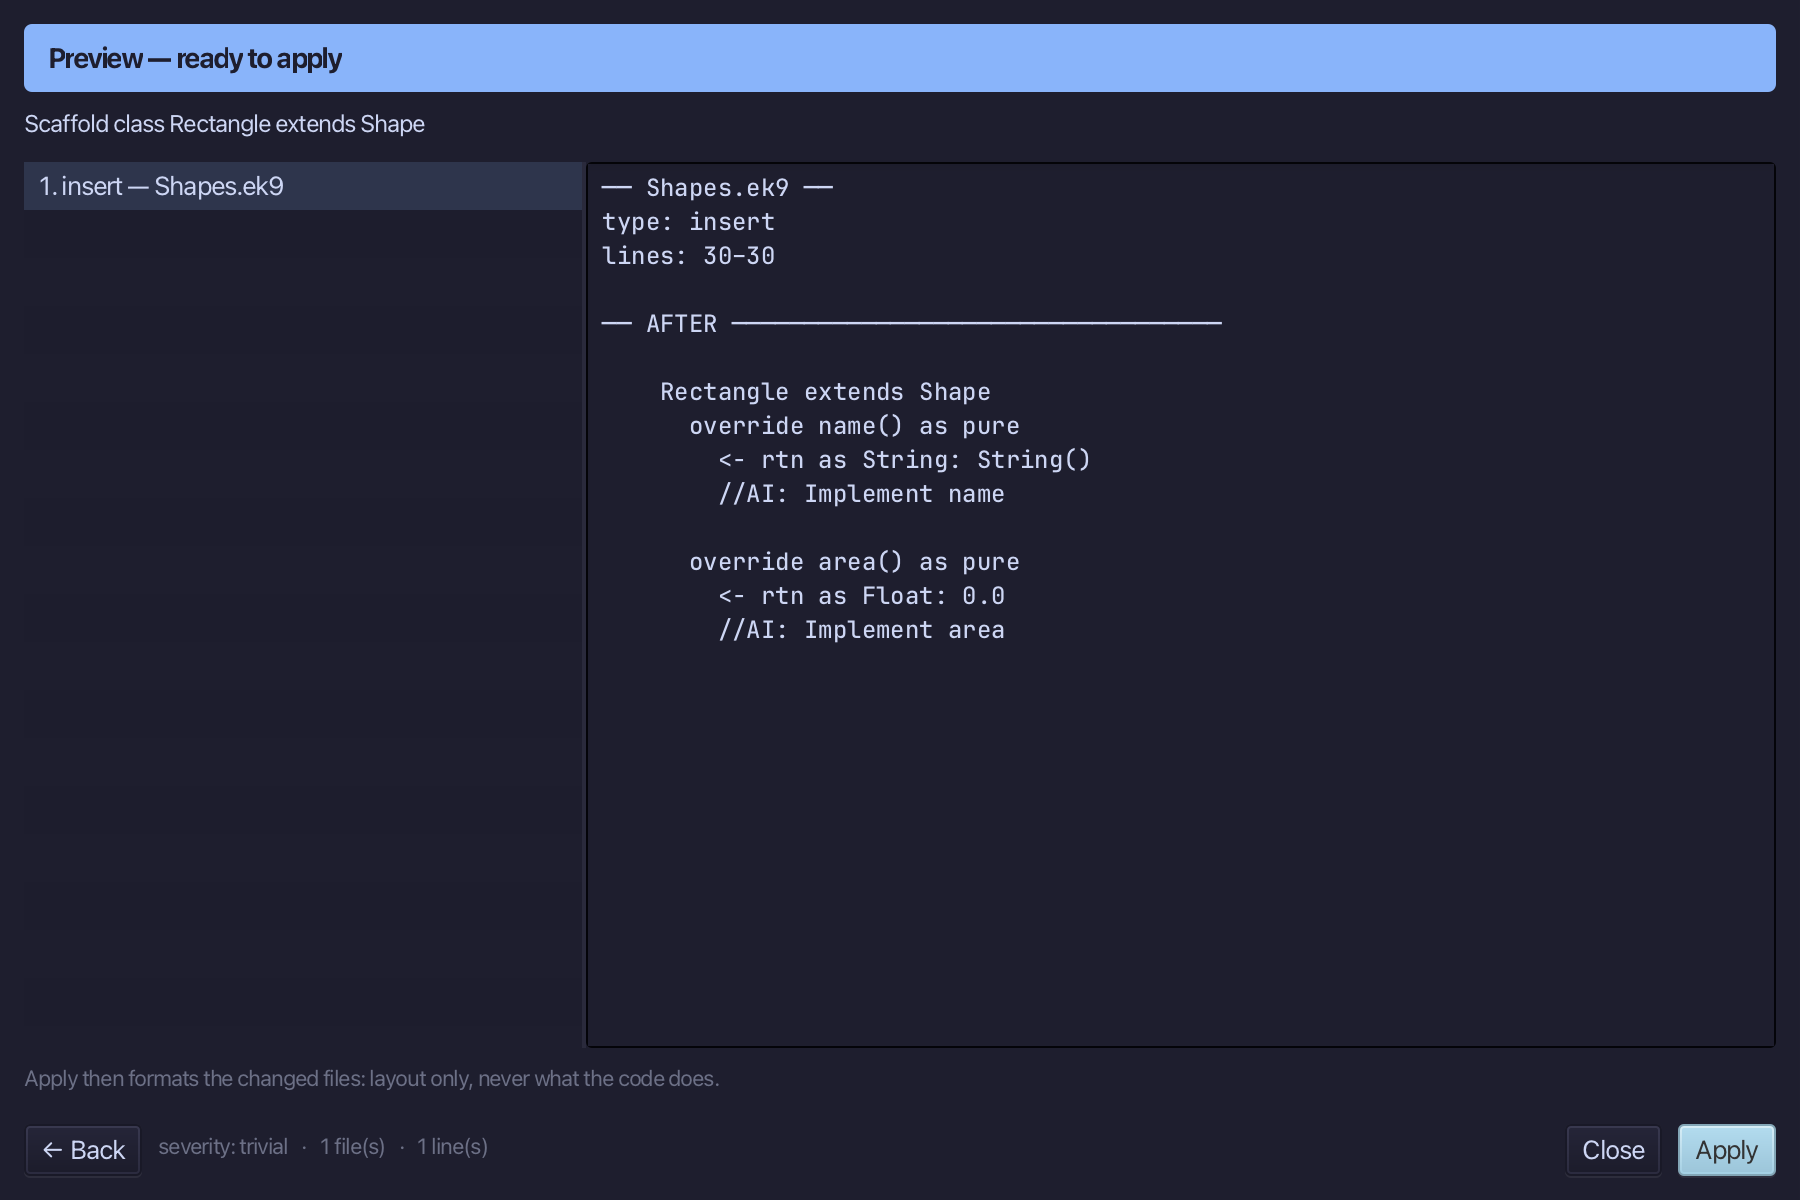
The preview shows Rectangle extends Shape about to be written - its own name()/area() override stubs included, same as Circle's. Choose Apply.
Right-click the Rectangle line and choose Add Field…
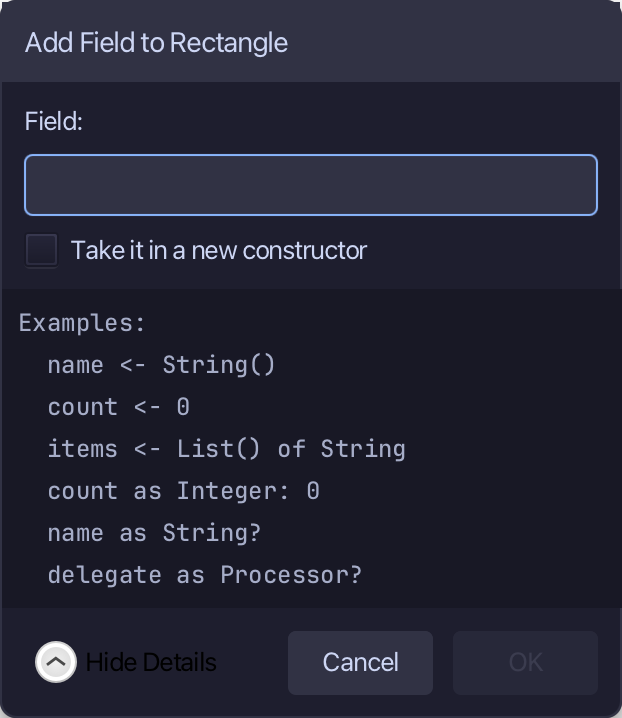
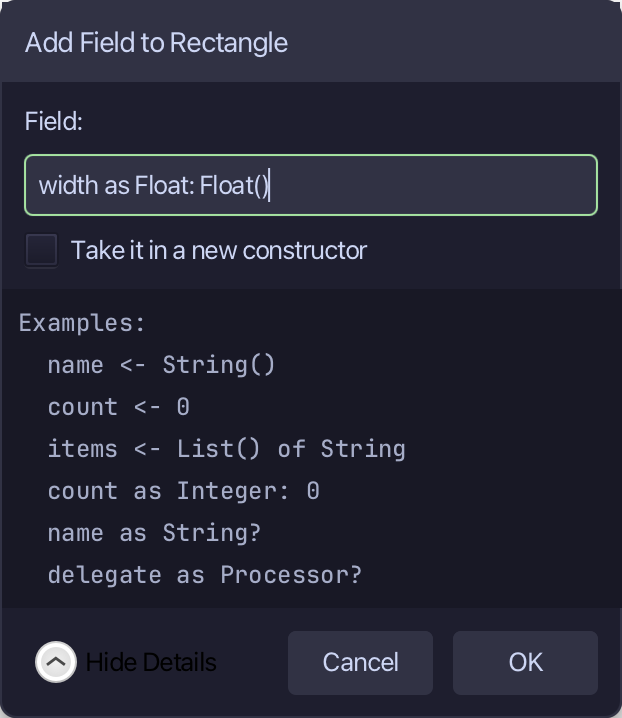
Type width as Float: Float() - the first of a rectangle's two measurements. Choose OK.
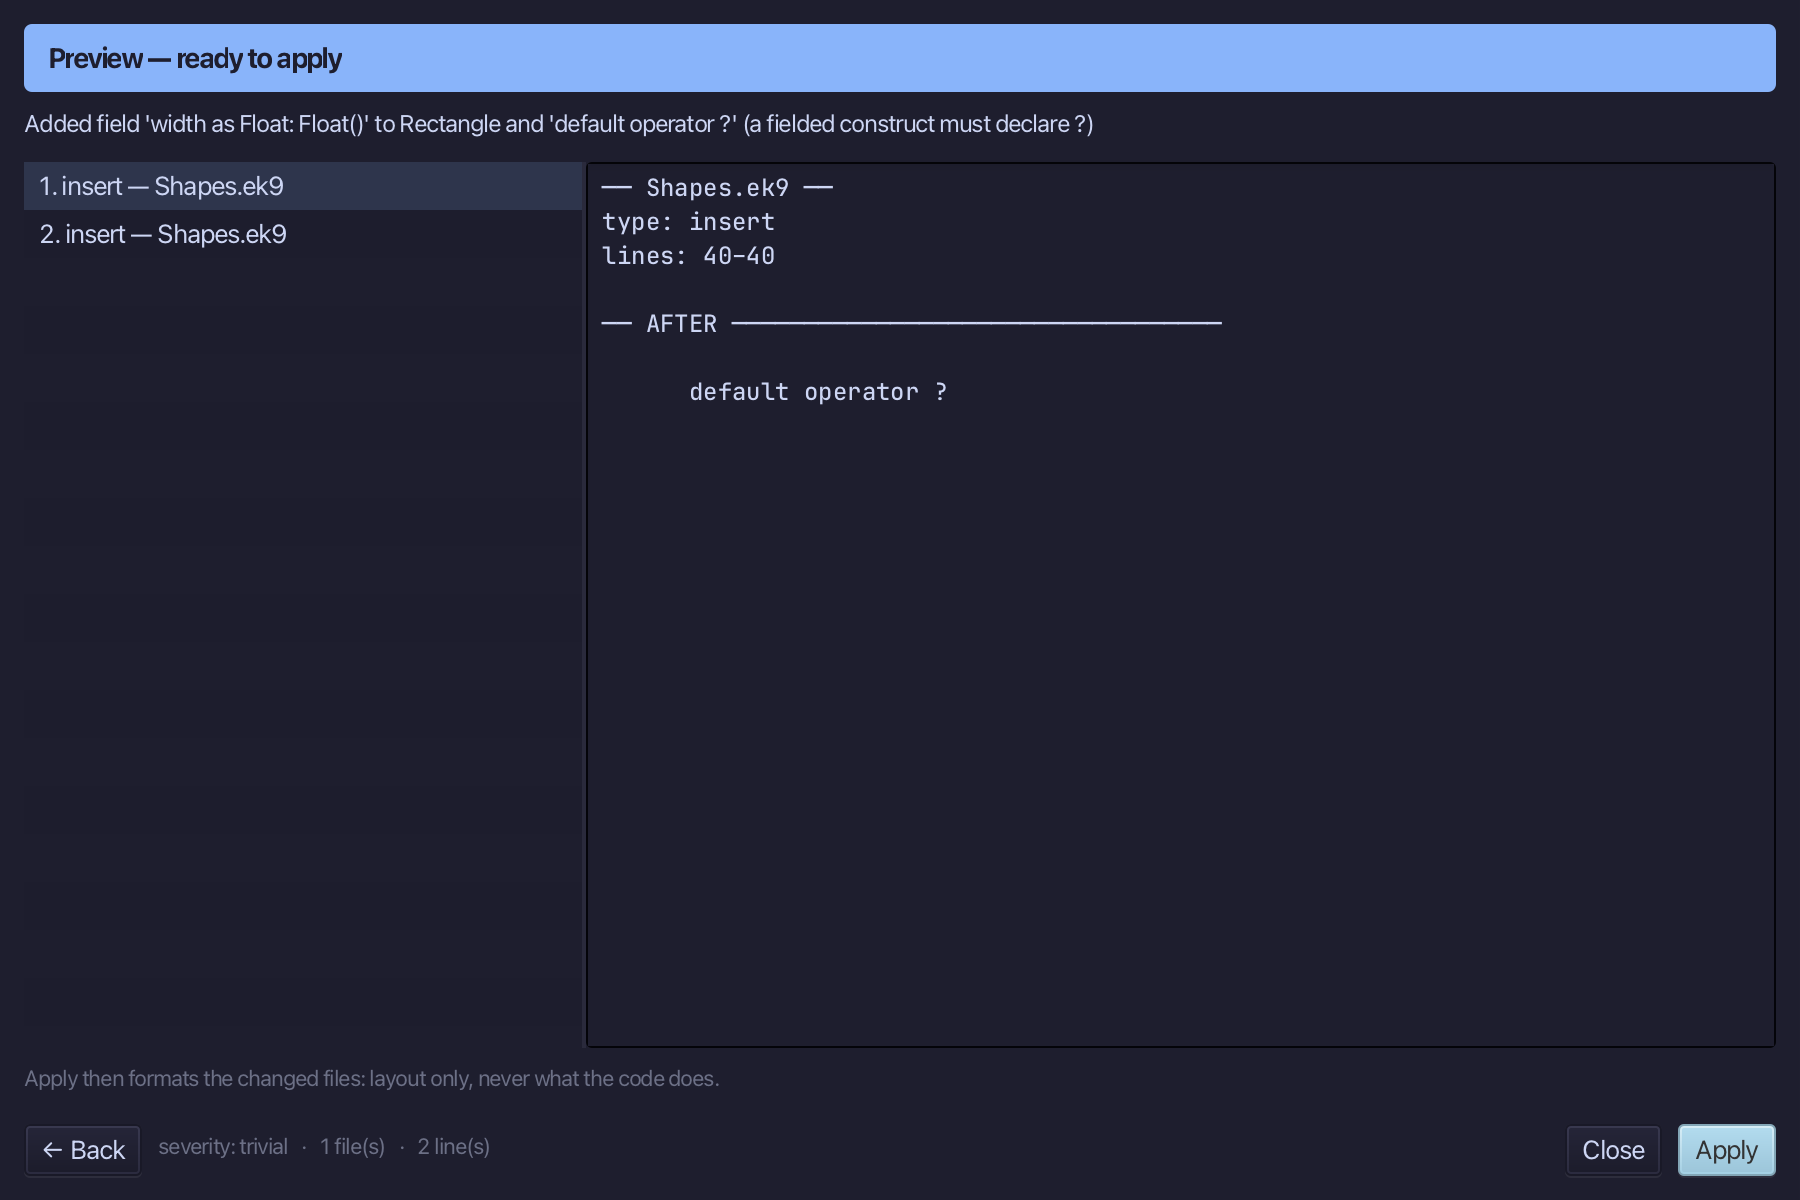
The preview shows width added - and default operator ? with it, Rectangle's first field. Choose Apply.
Right-click the Rectangle line and choose Add Field…
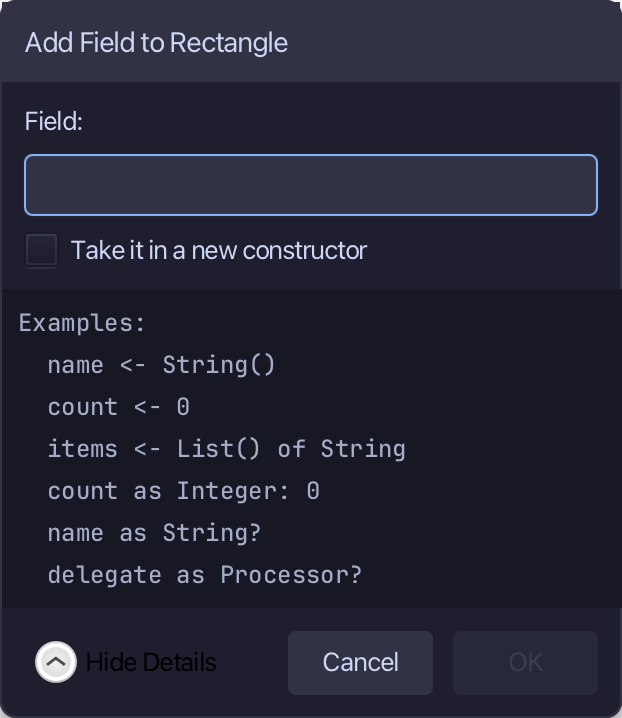
Type height as Float: Float() - the second measurement. Choose OK.
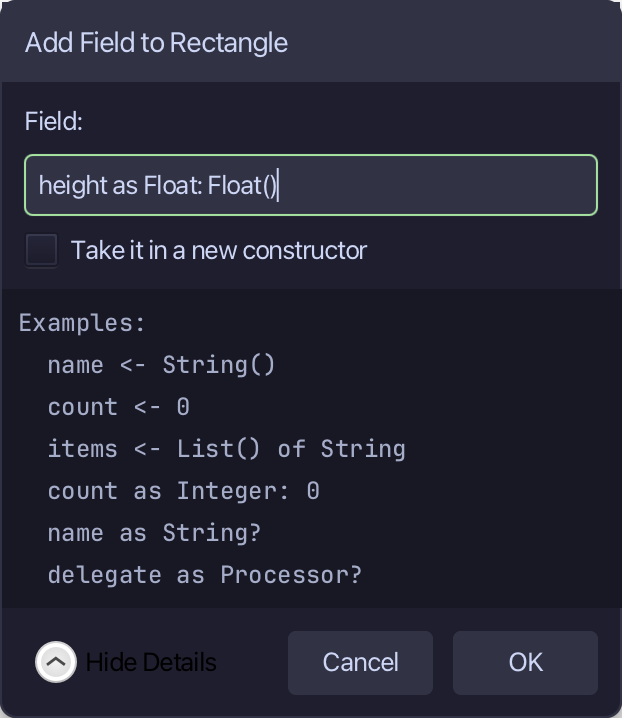
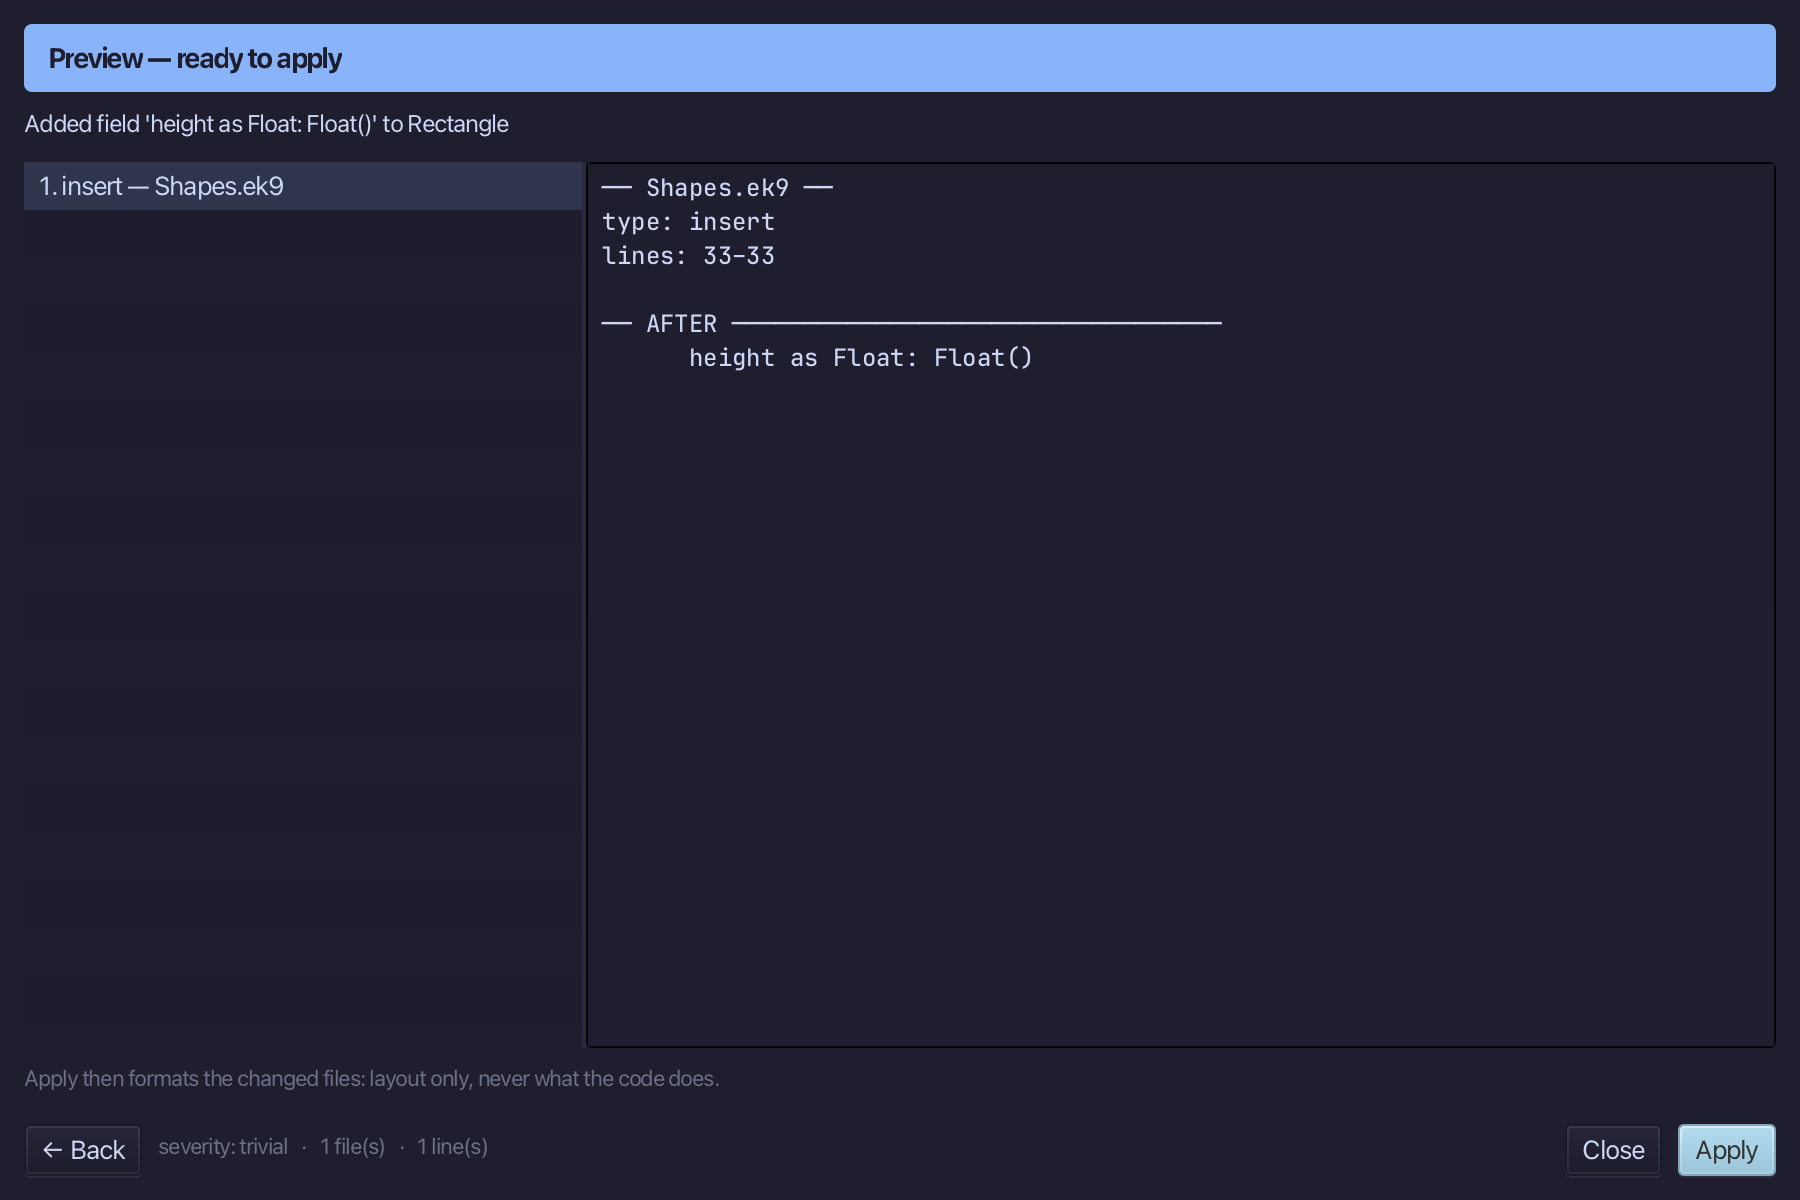
The preview shows height added. Choose Apply.
Right-click the Rectangle line and choose Add Constructor ▸ From All Fields (pure) - one parameter per field, in order.
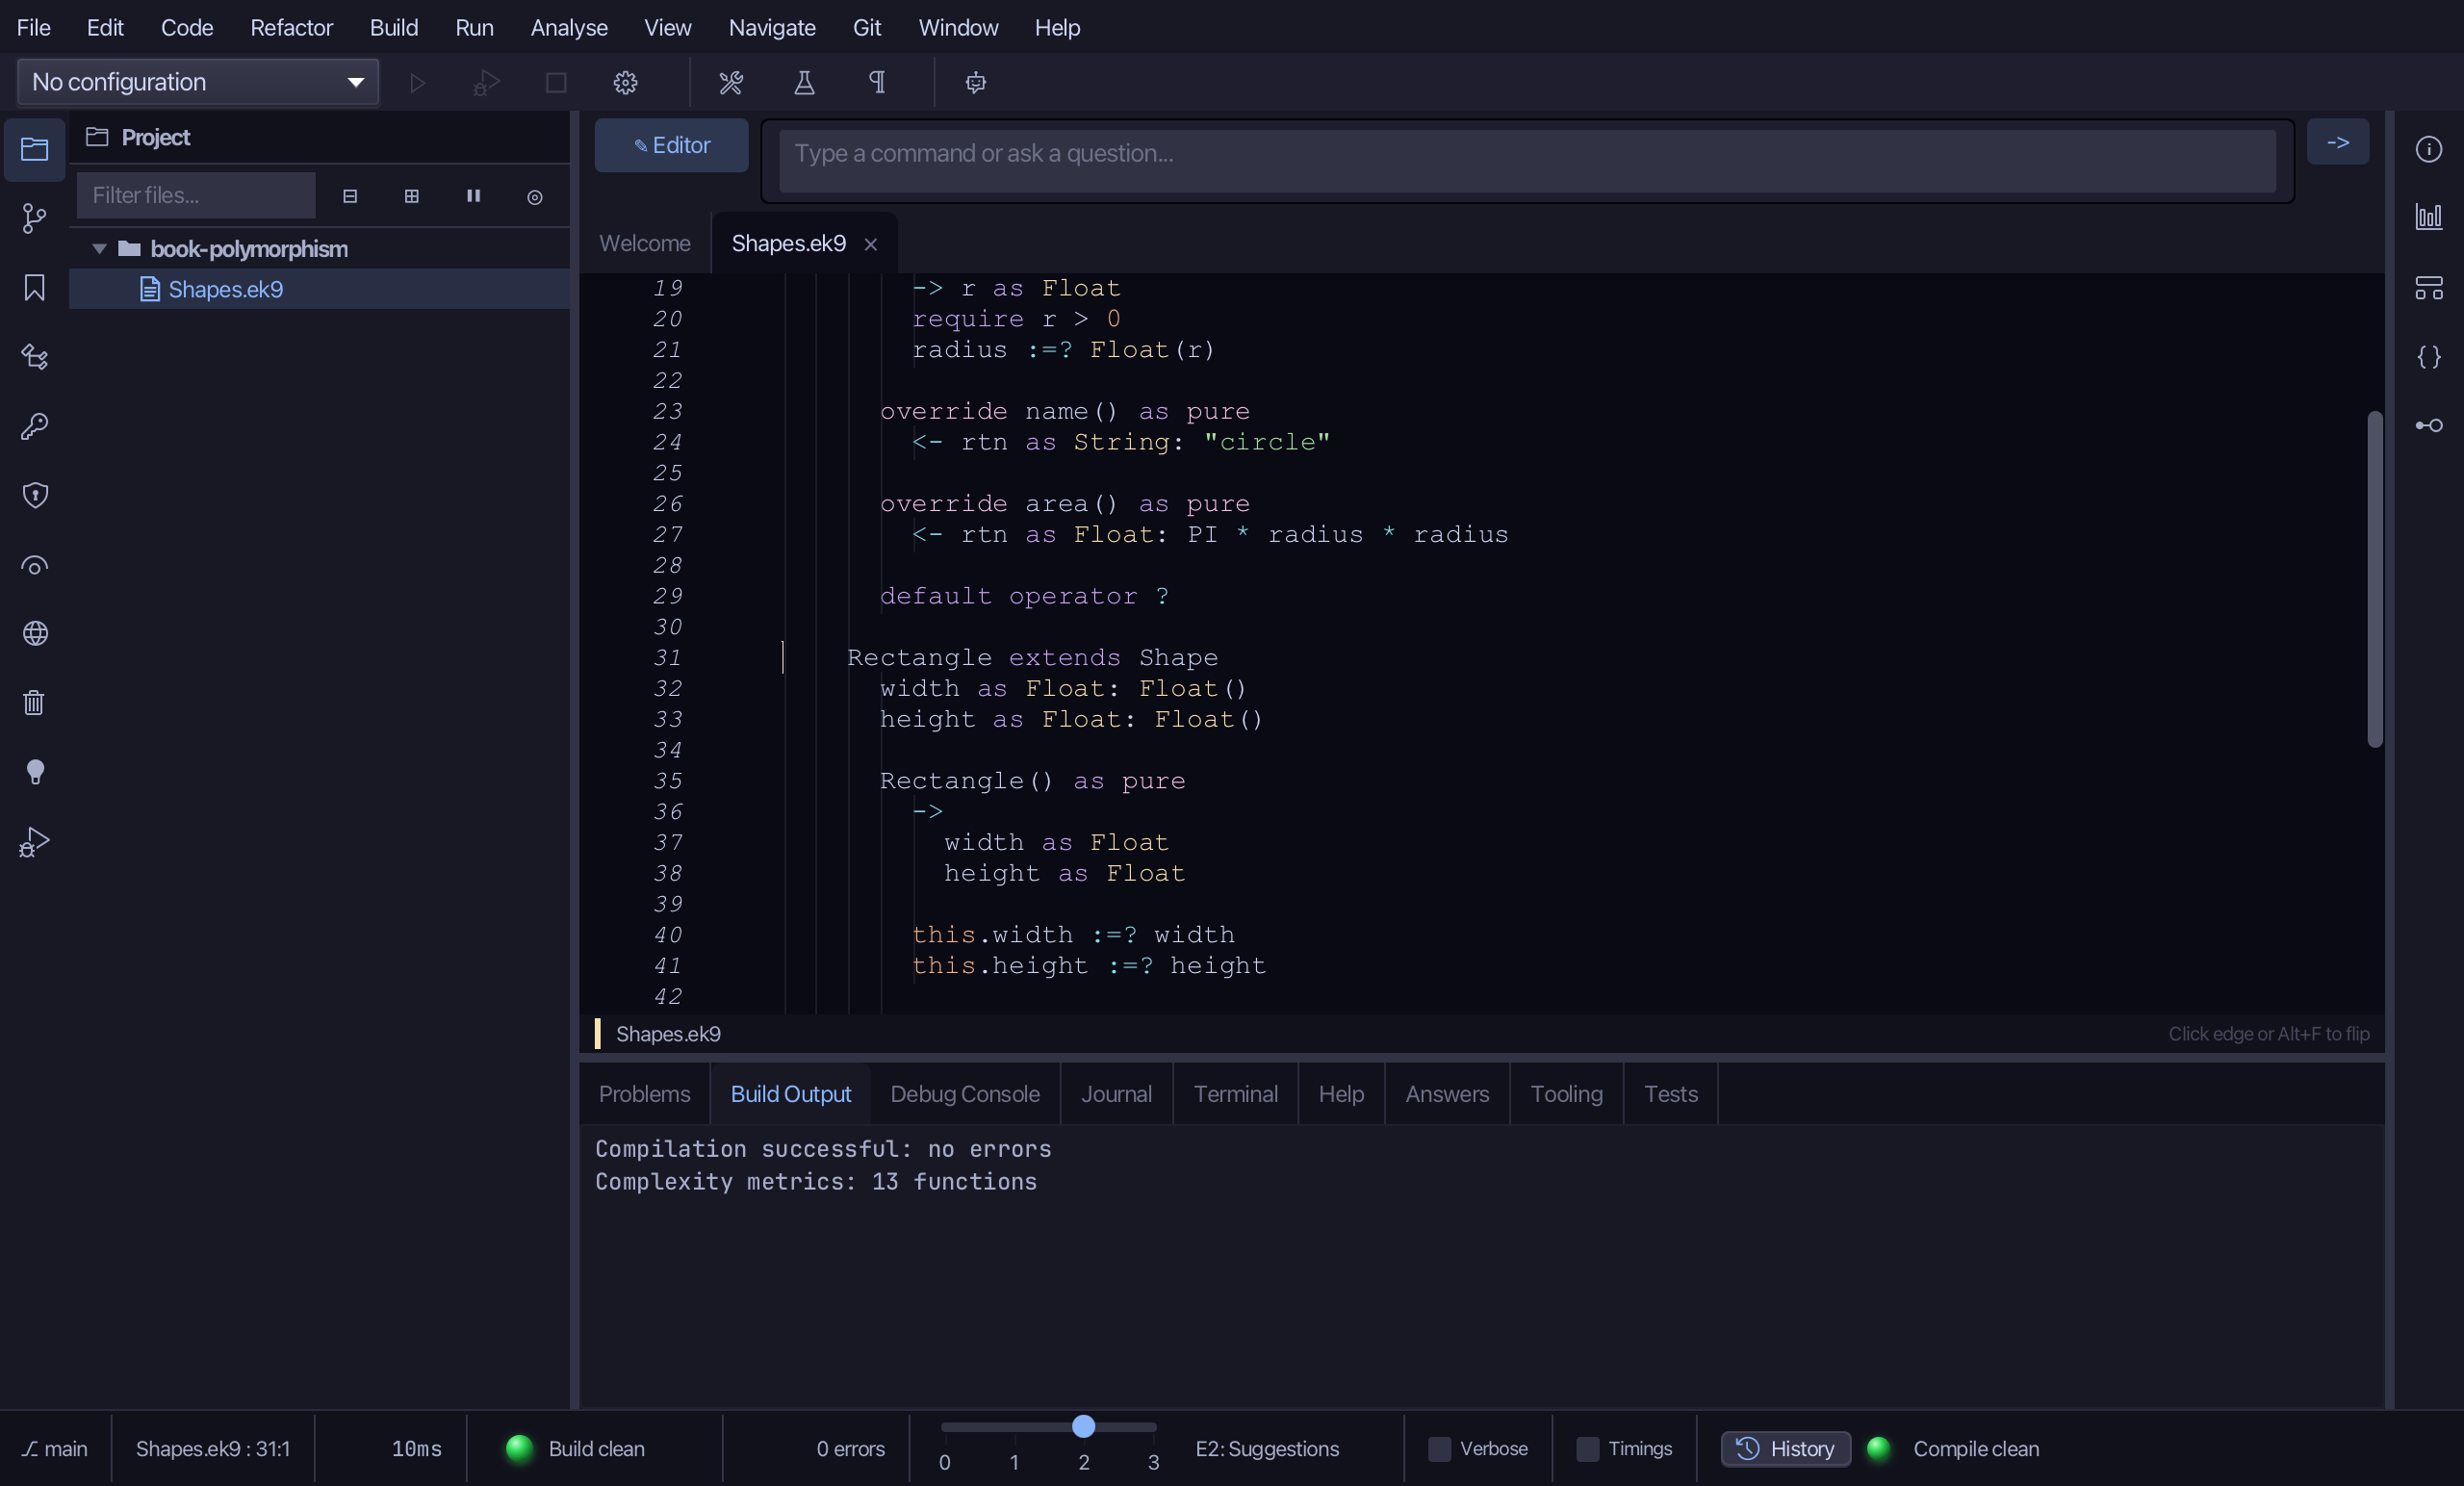
Select the constructor the tool wrote, from Rectangle() as pure down to its this.height :=? height line, and type Rectangle's real one: the parameters renamed w and h, a require w > 0 and h > 0 precondition, and width/height each assigned from them. Saves when typed.
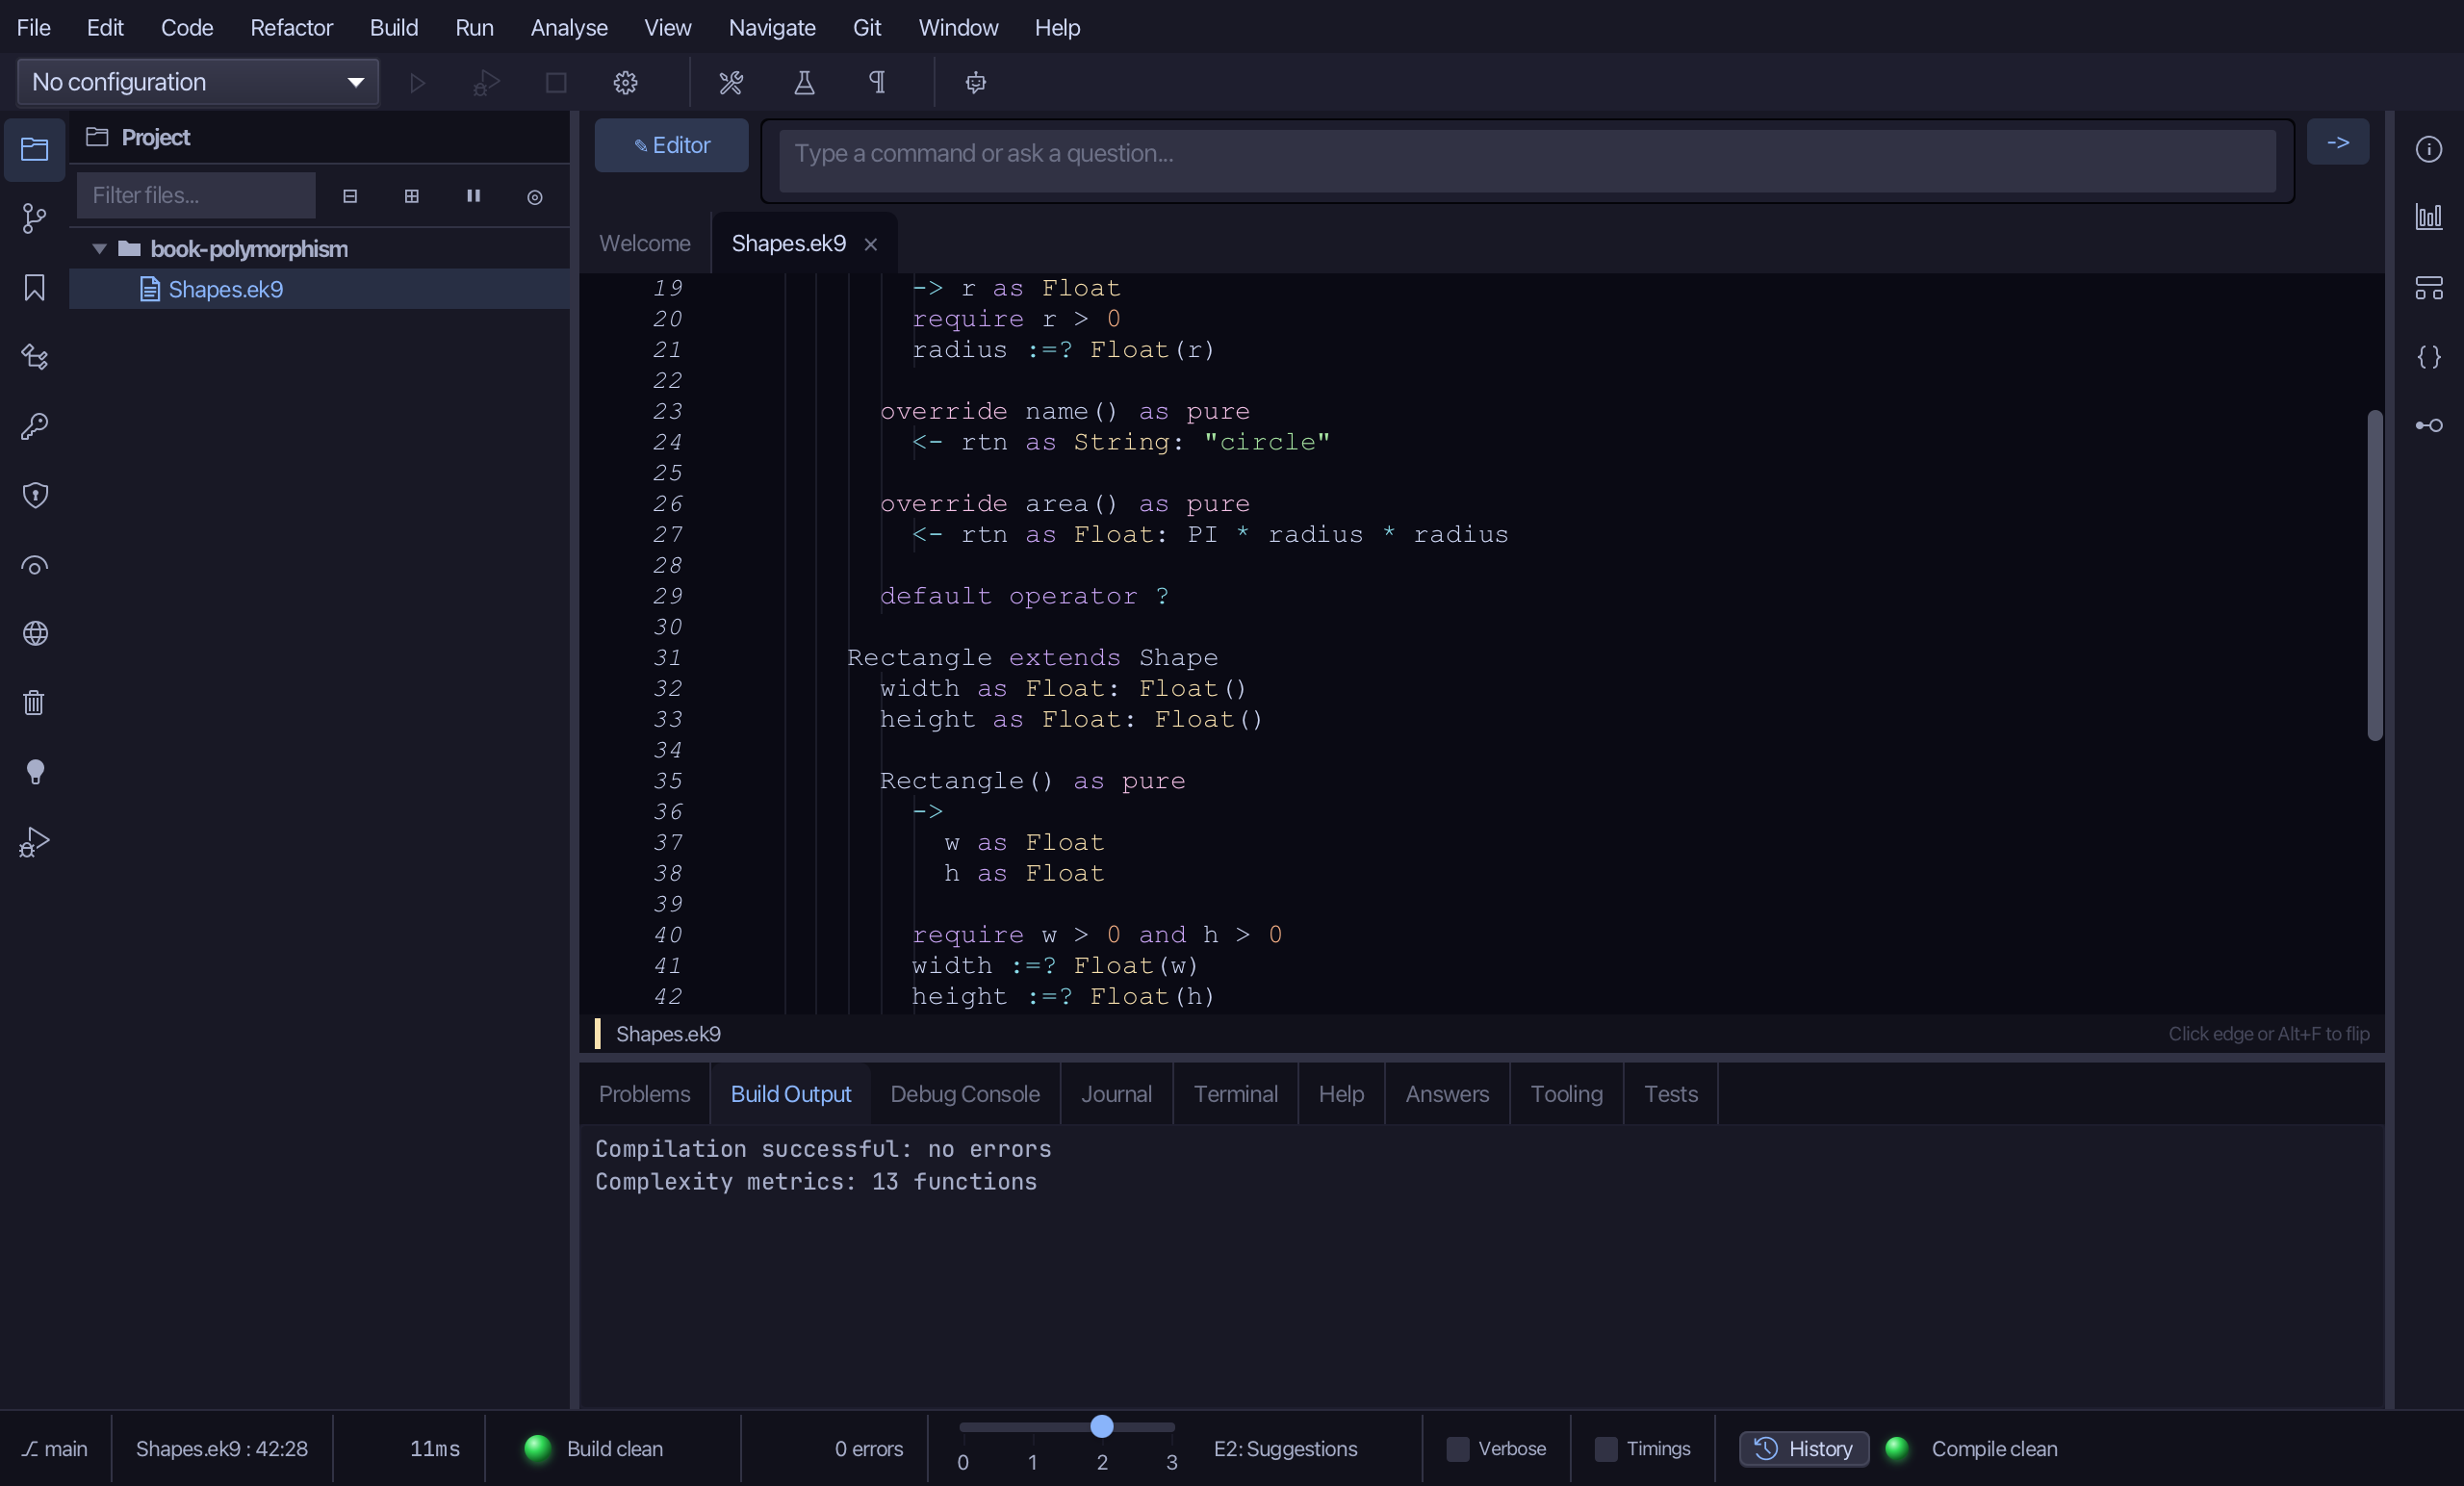
name()'s override stub arrived with Rectangle itself - select it, the <- rtn as String: String() line down to its //AI line, and type Rectangle's answer: "rectangle". Saves when typed.
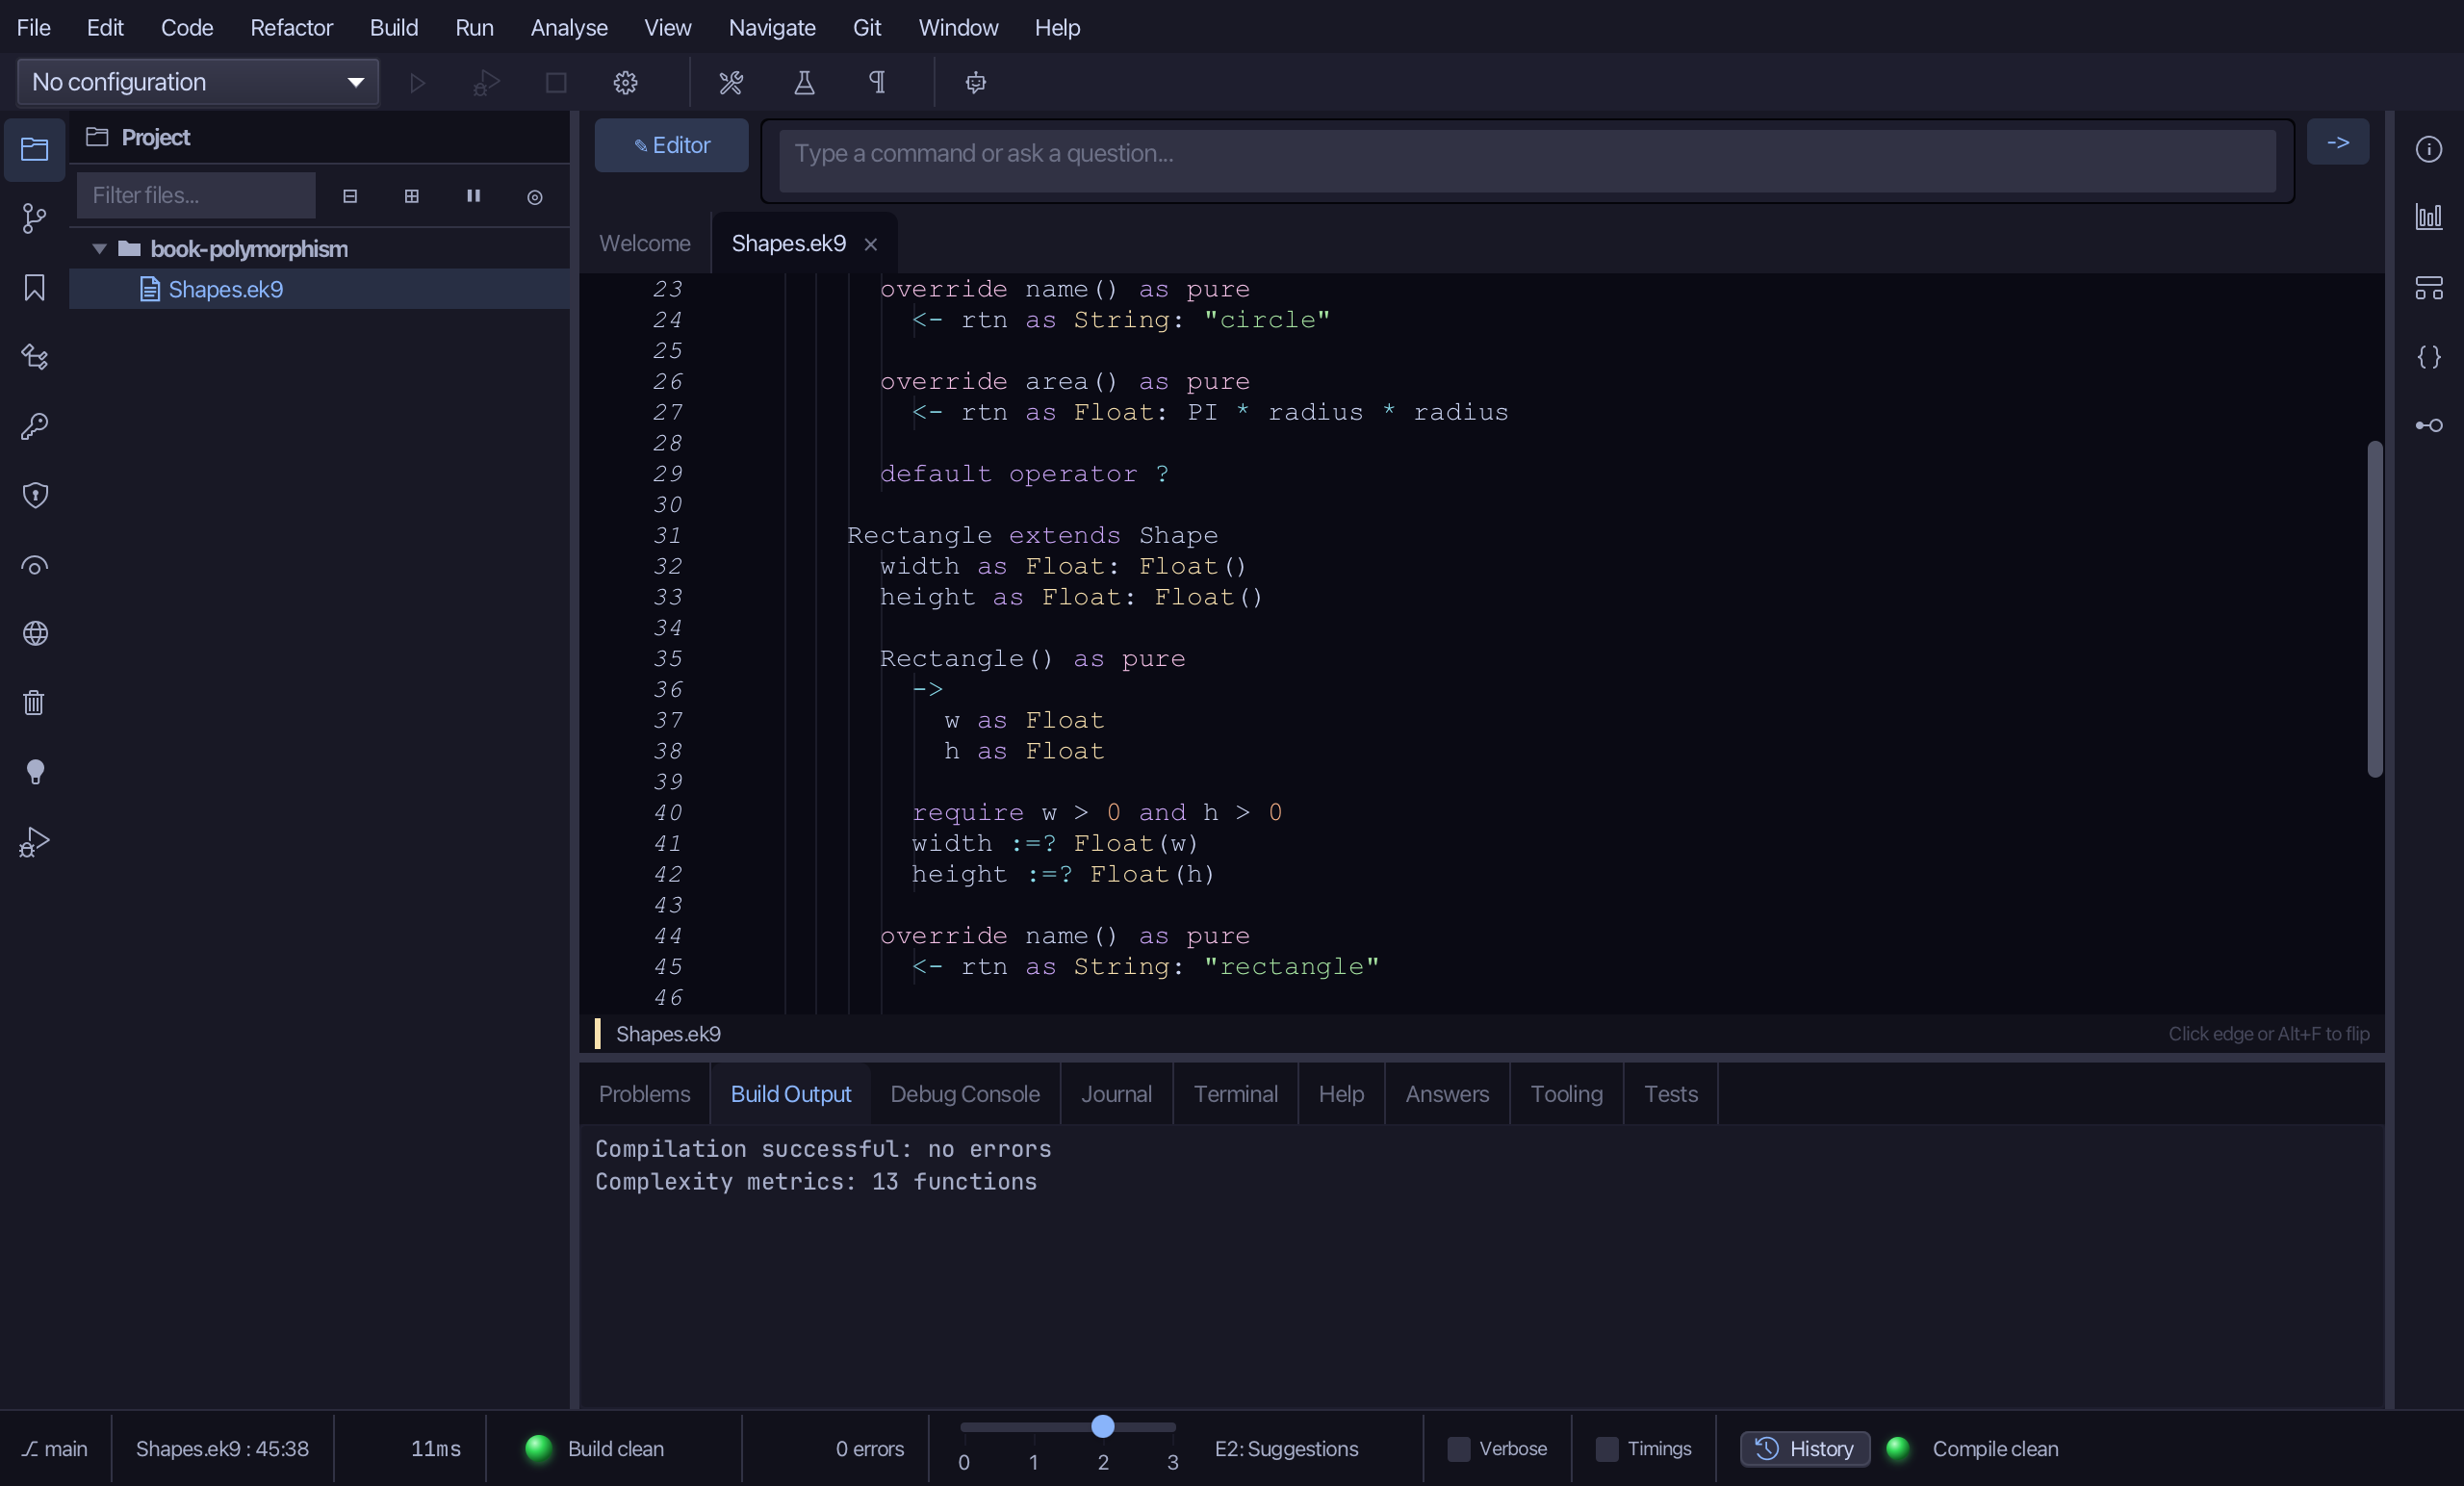
area()'s stub arrived the same way - select it, the <- rtn as Float: 0.0 line down to its //AI line, and type Rectangle's formula: width * height - Rectangle is now complete, and the whole file compiles clean. Saves when typed.
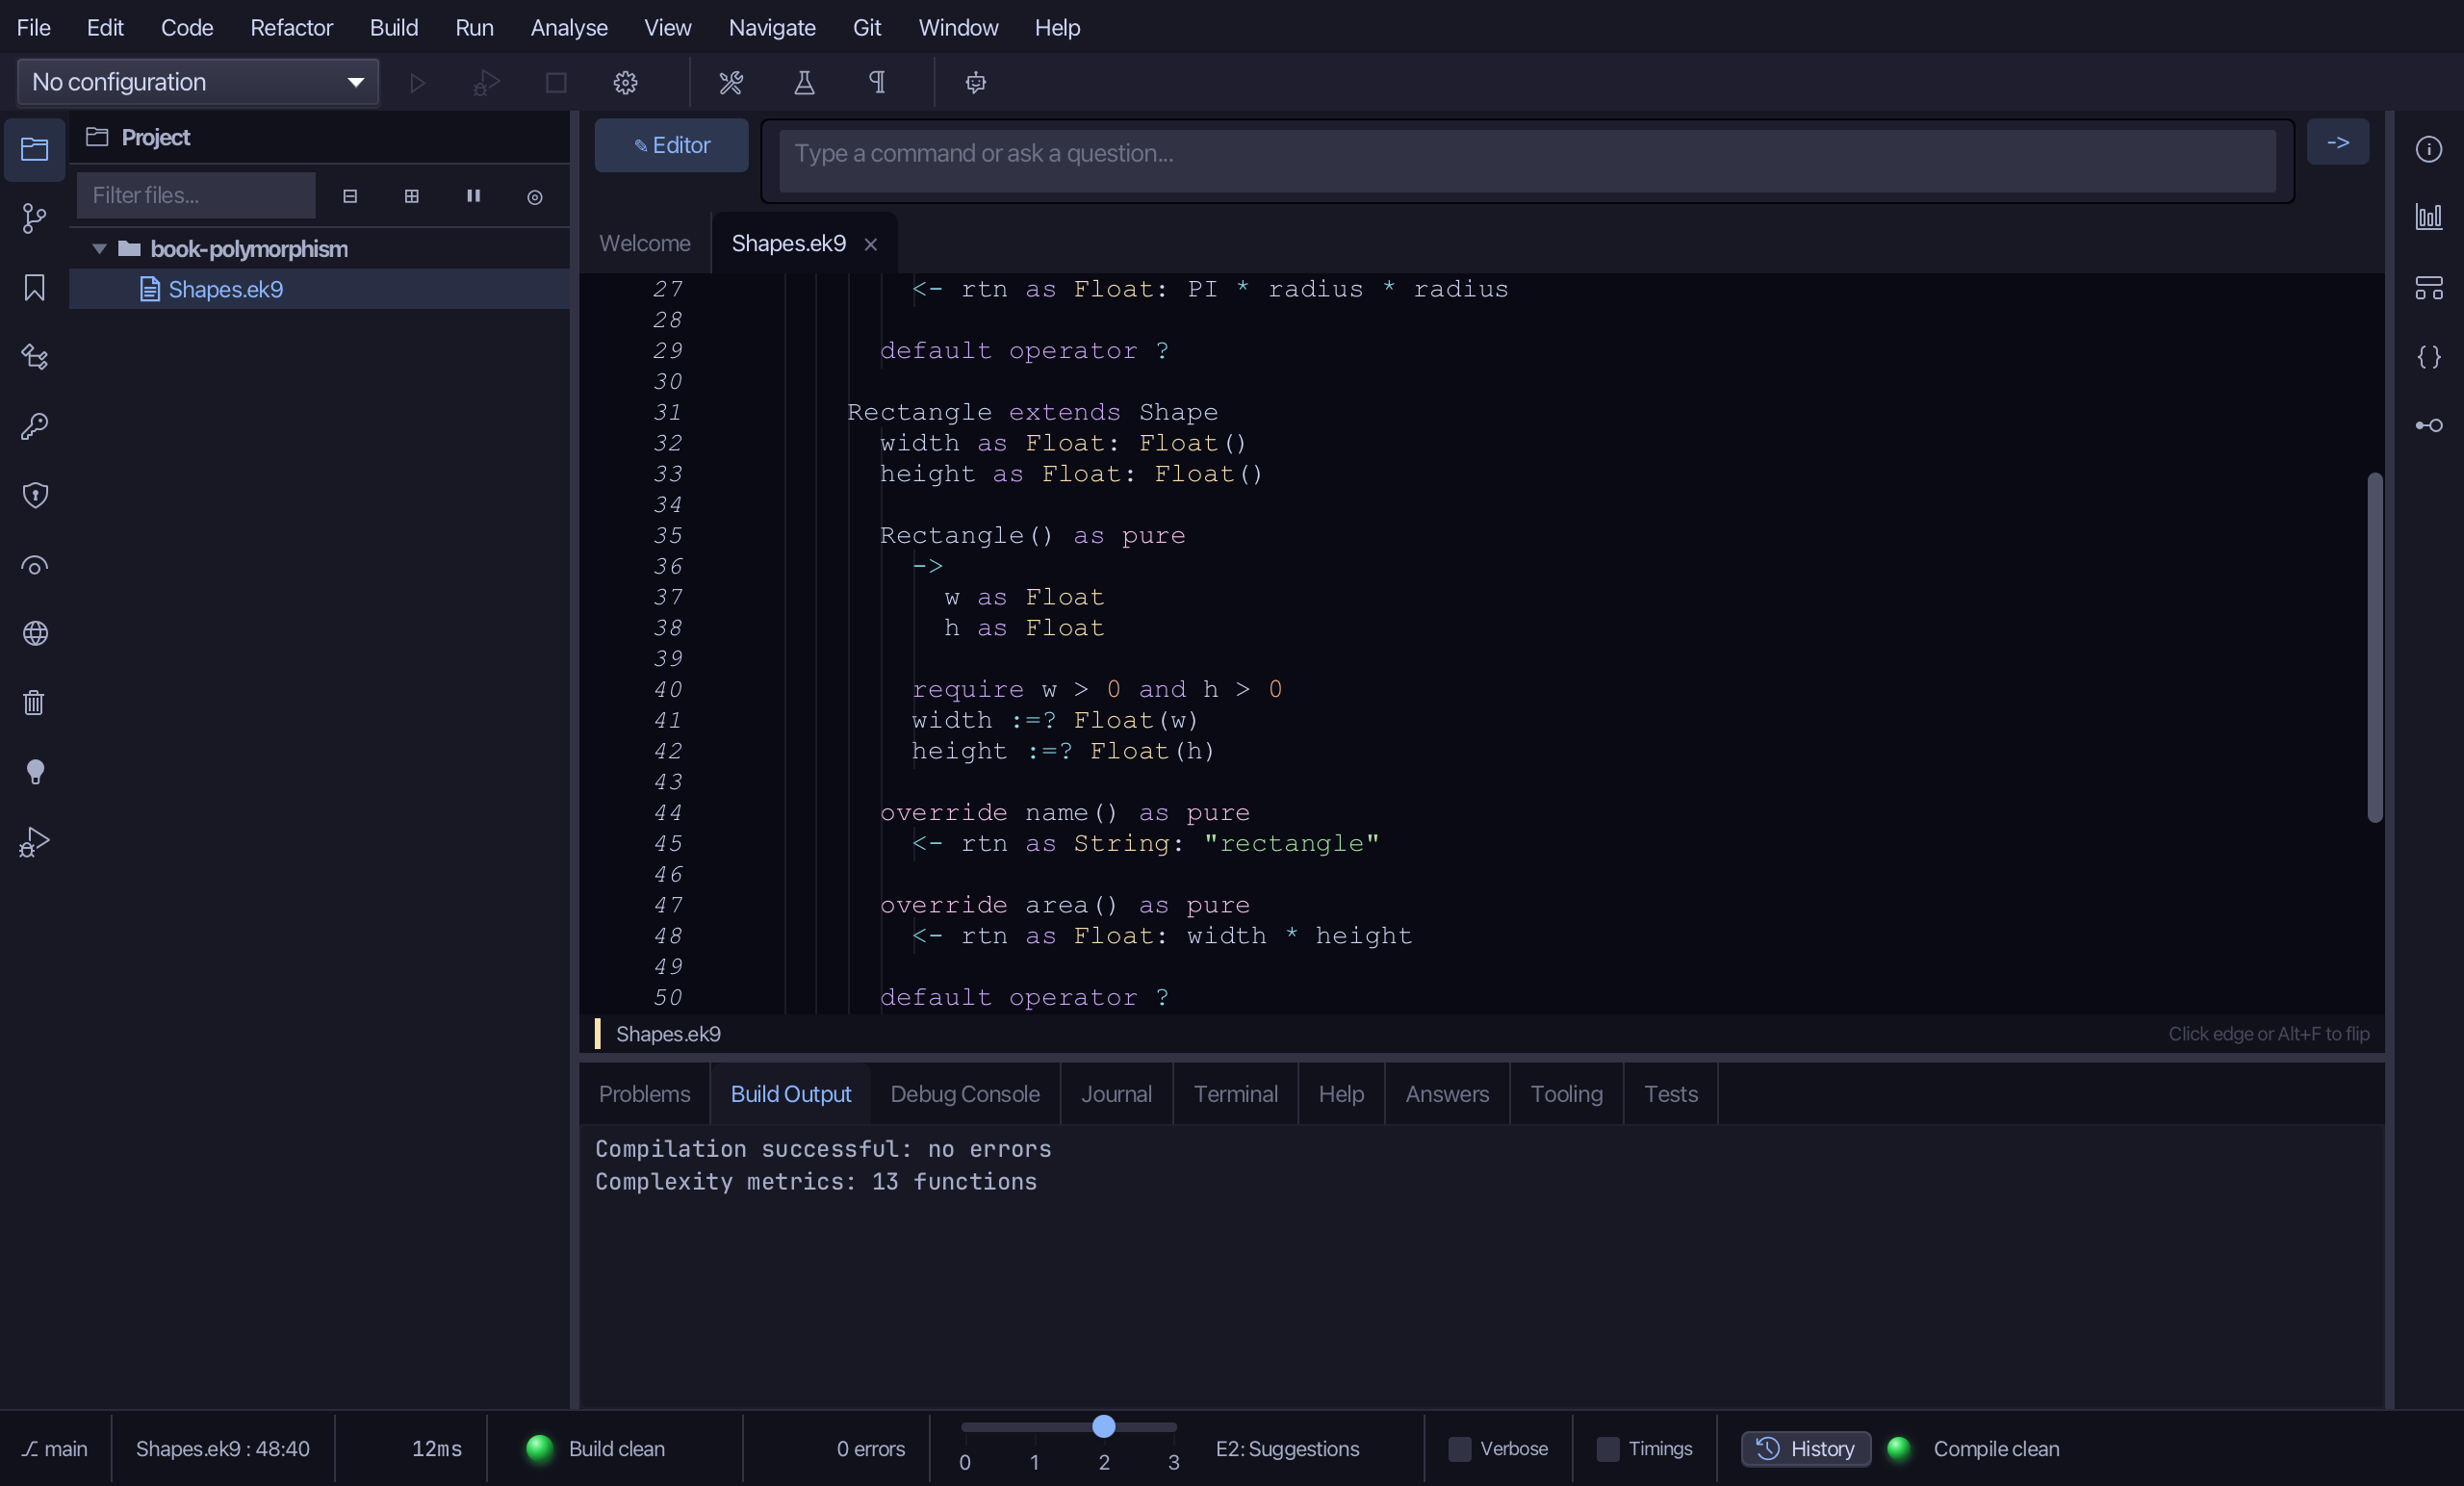
Step 5: The program
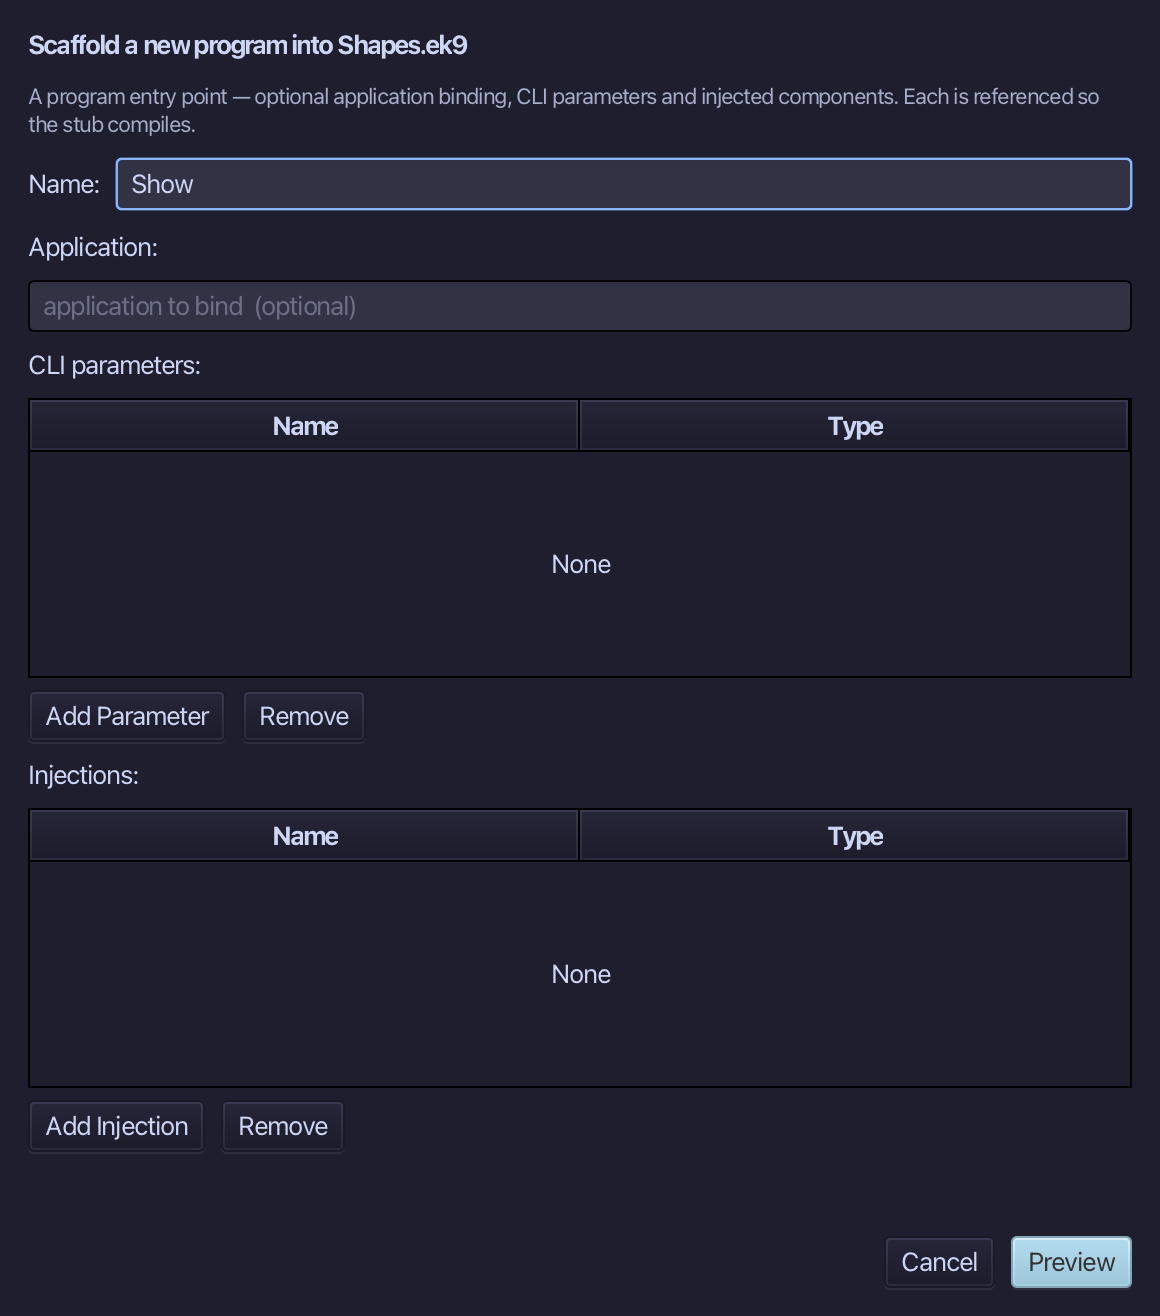
Choose Code > New Construct > Program…
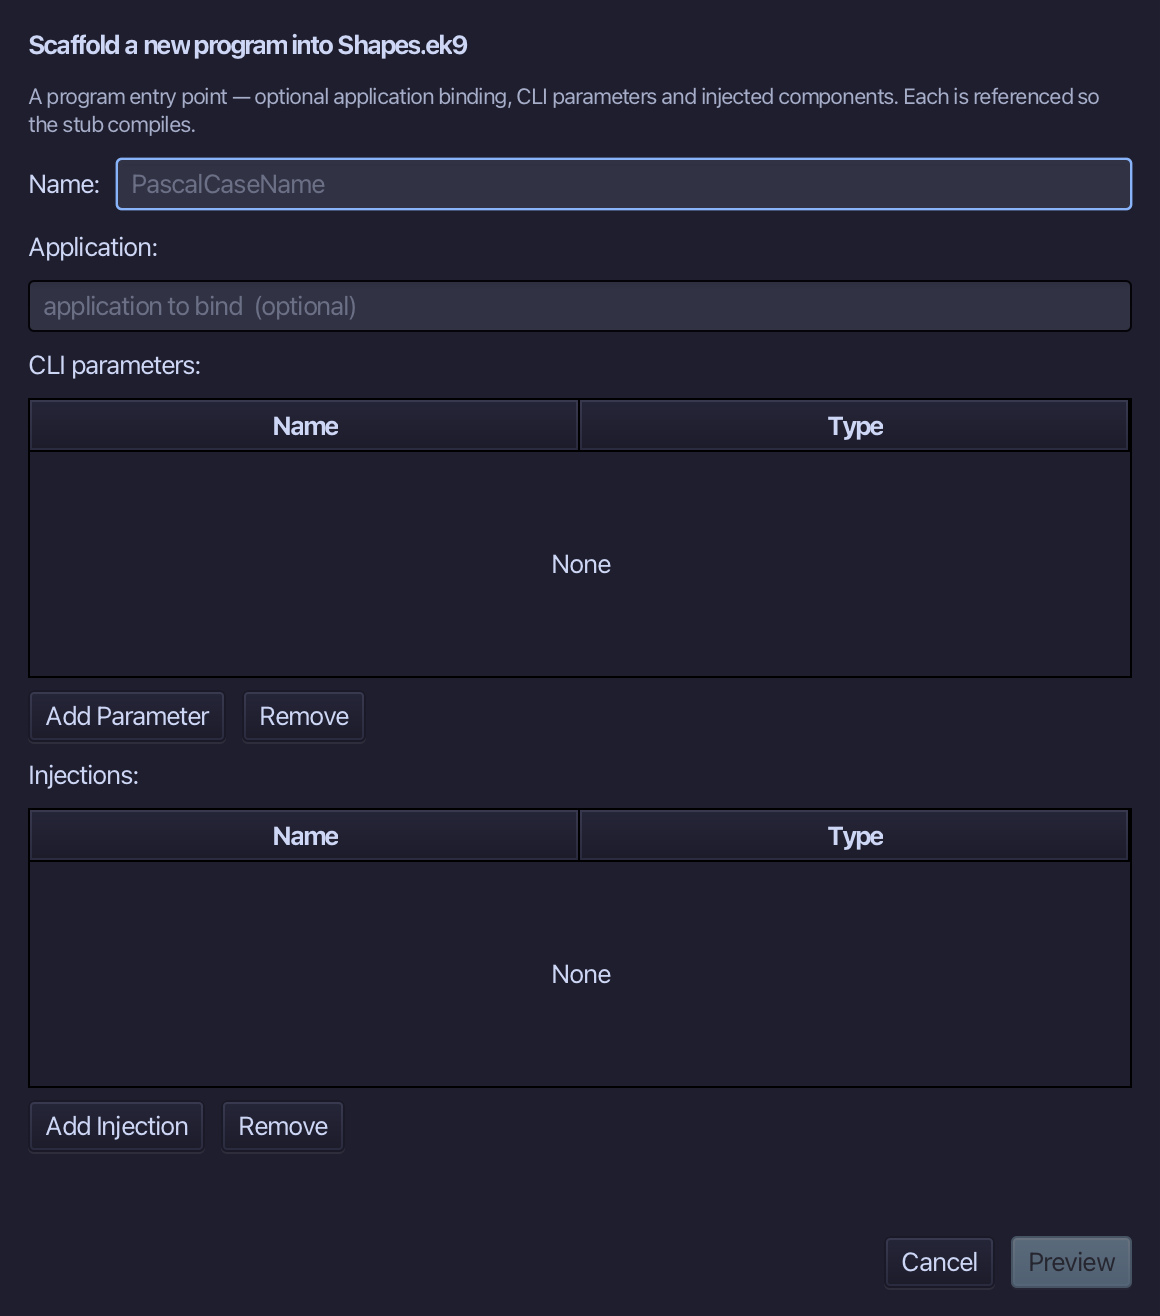
Show is the program's name - no application to bind, no parameters, nothing injected. Type Show and choose Preview.
The preview shows Show about to be written. Choose Apply.
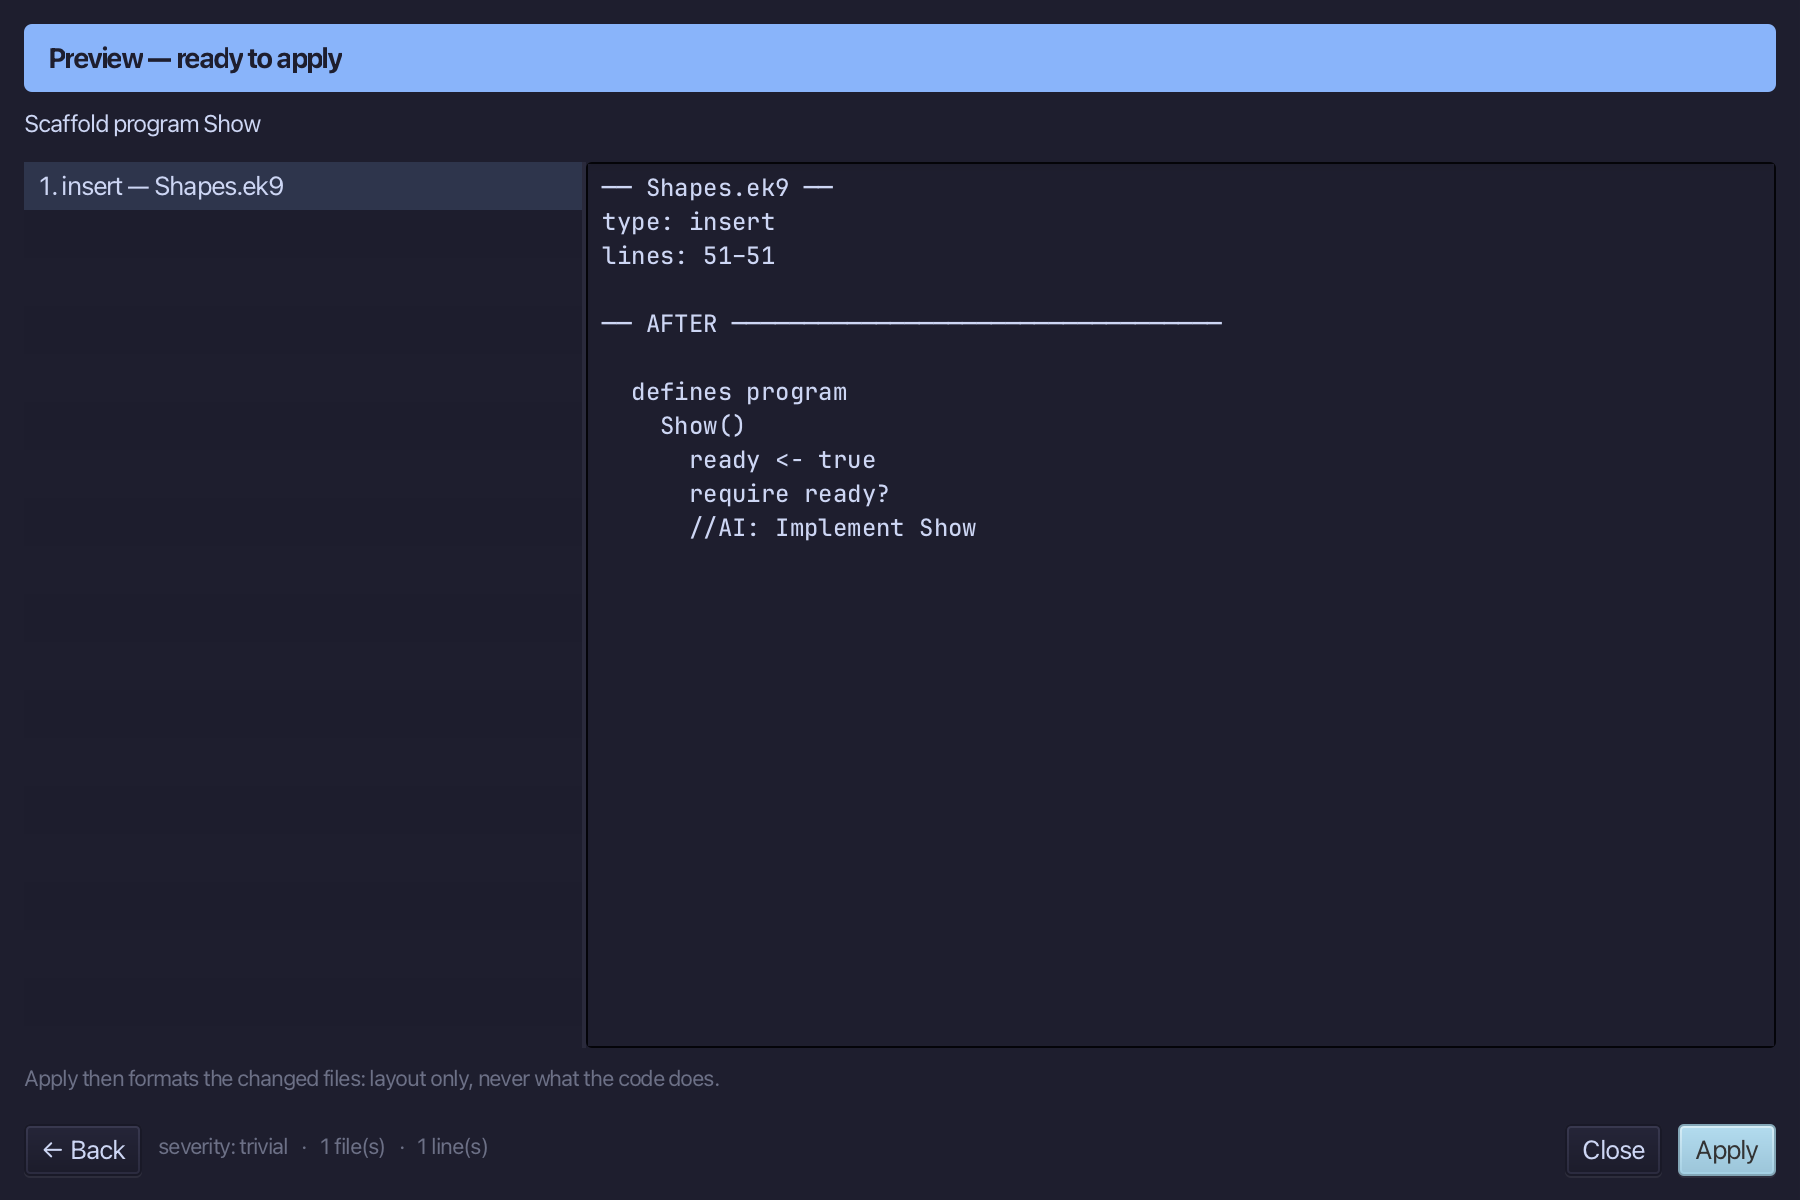
Select the stub, from ready <- true down to its //AI line, and type Show's body: a Stdout, a List of Shape holding a Circle and a Rectangle, and a loop printing each one's name and area - calling the same two methods on every value, whichever subtype it is. Saves when typed.
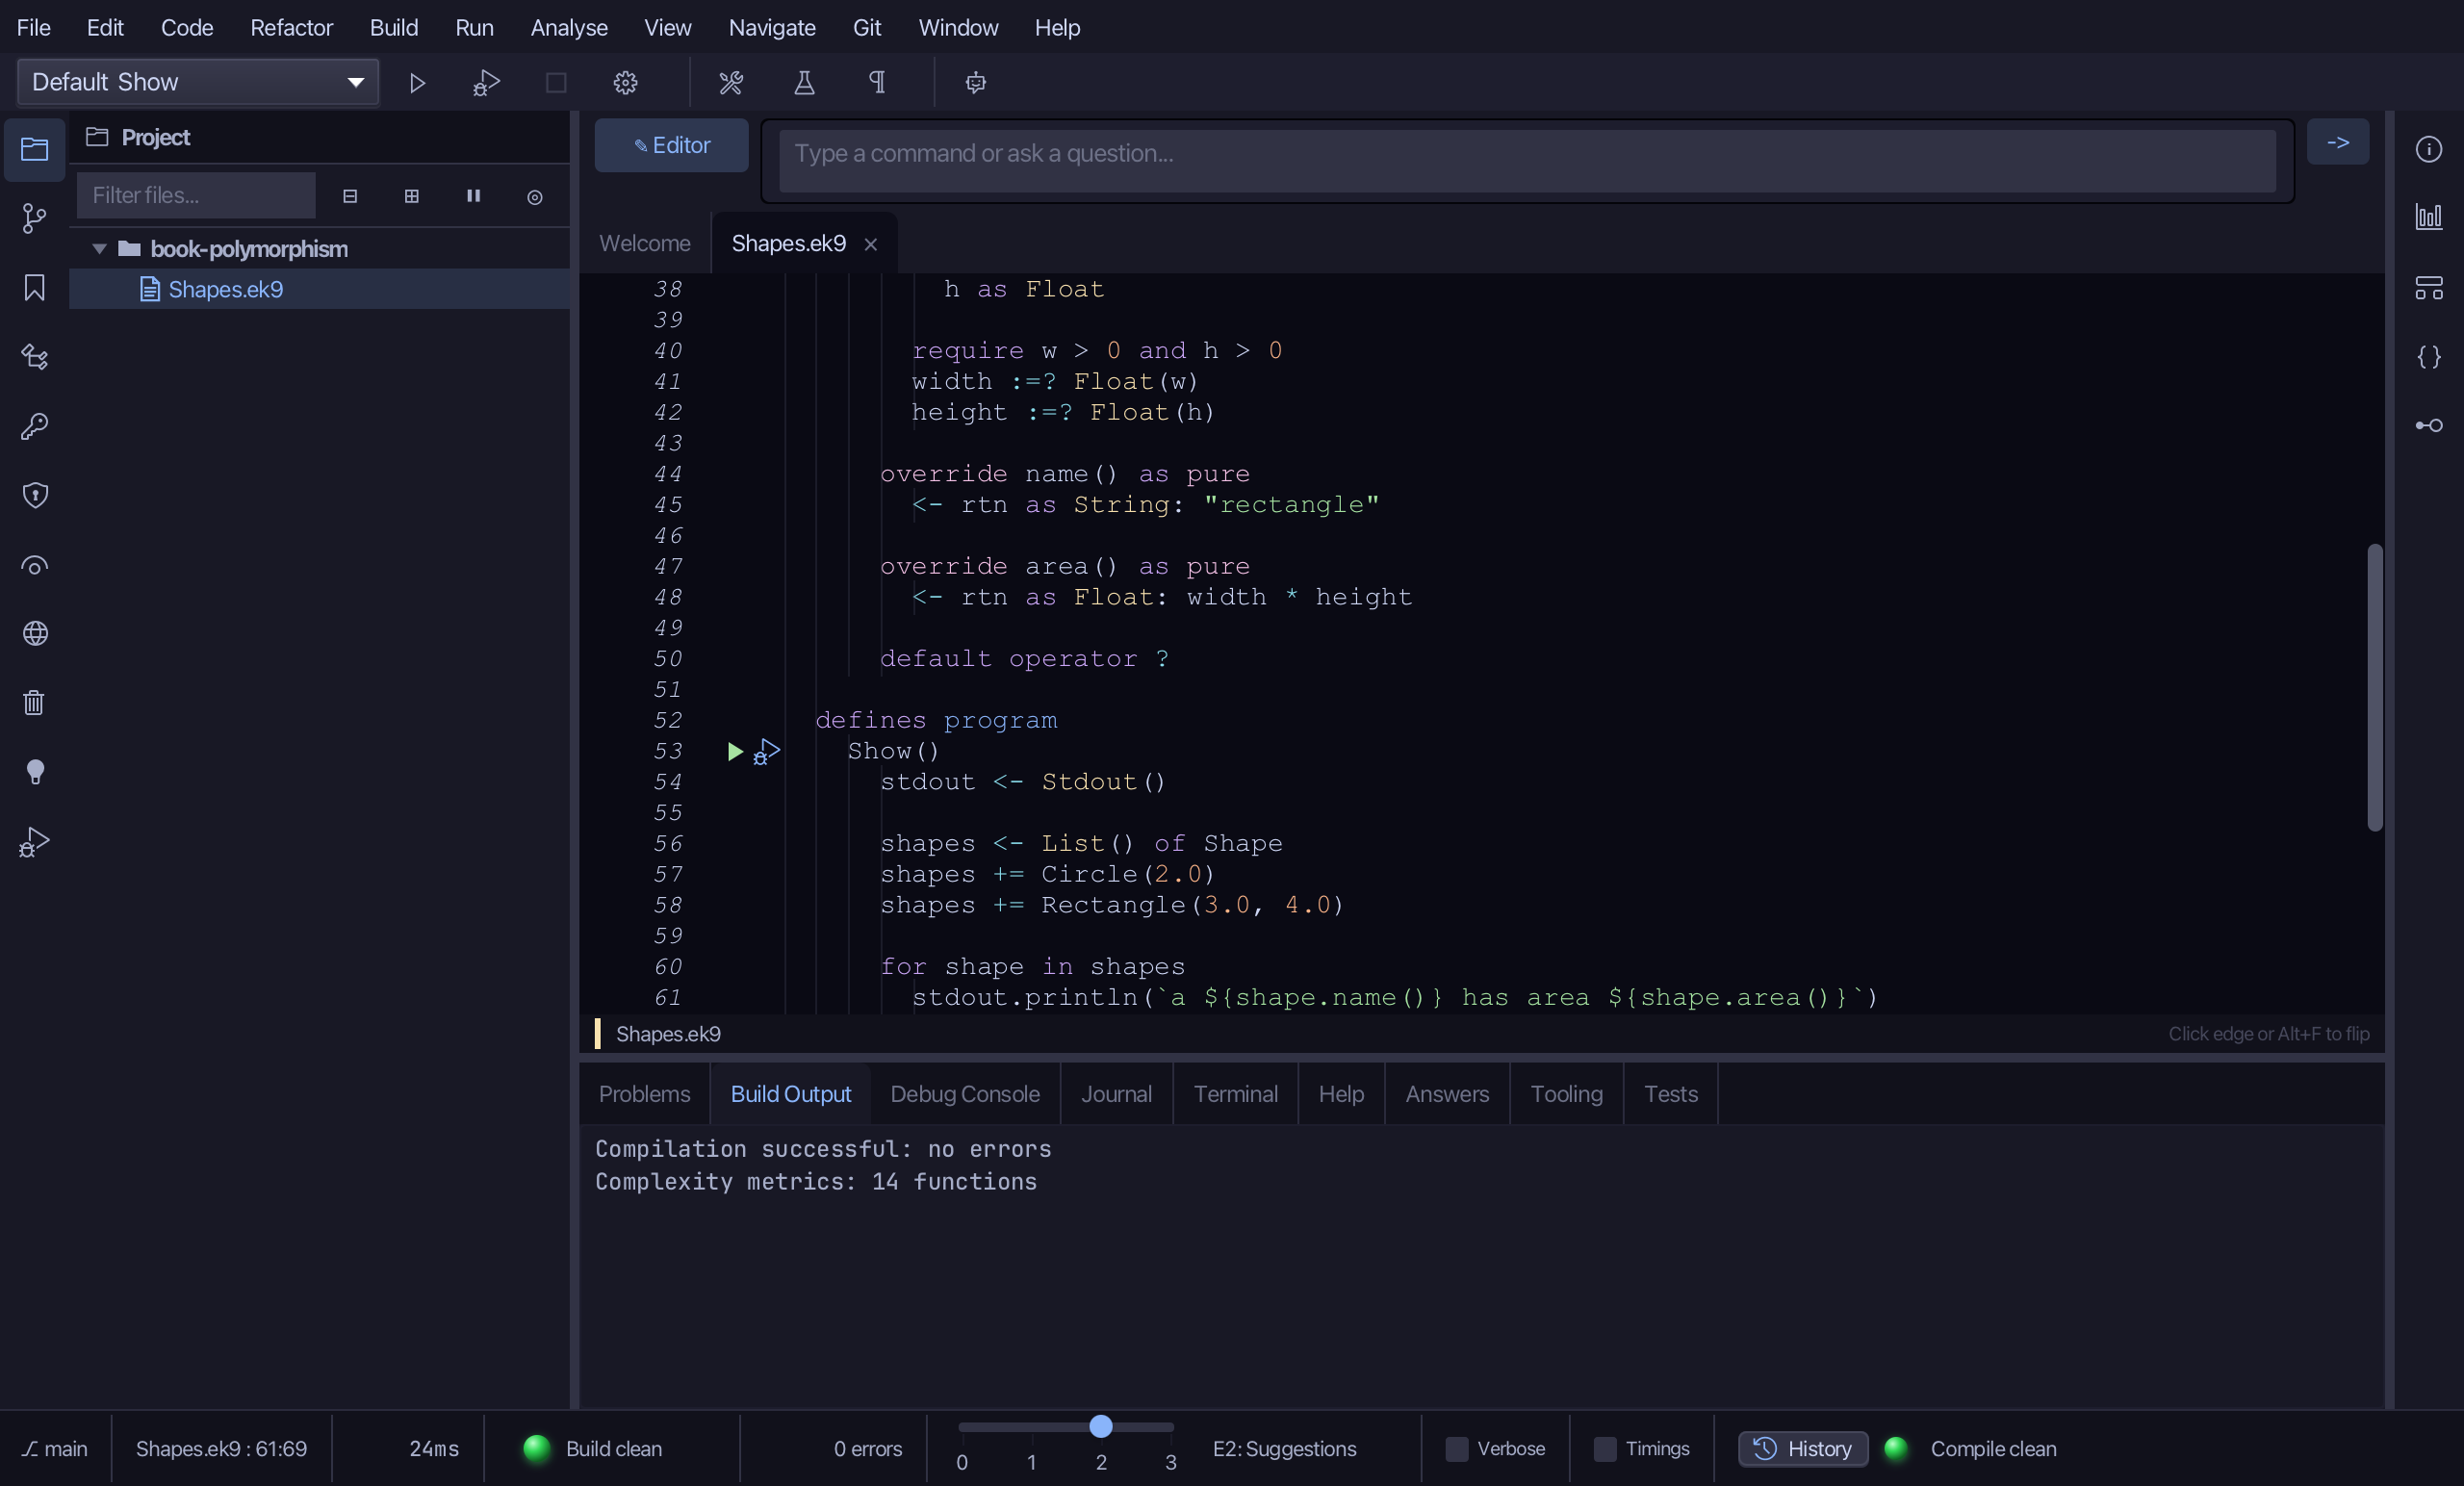
Step 6: Run it
Choose Run > Run Program…
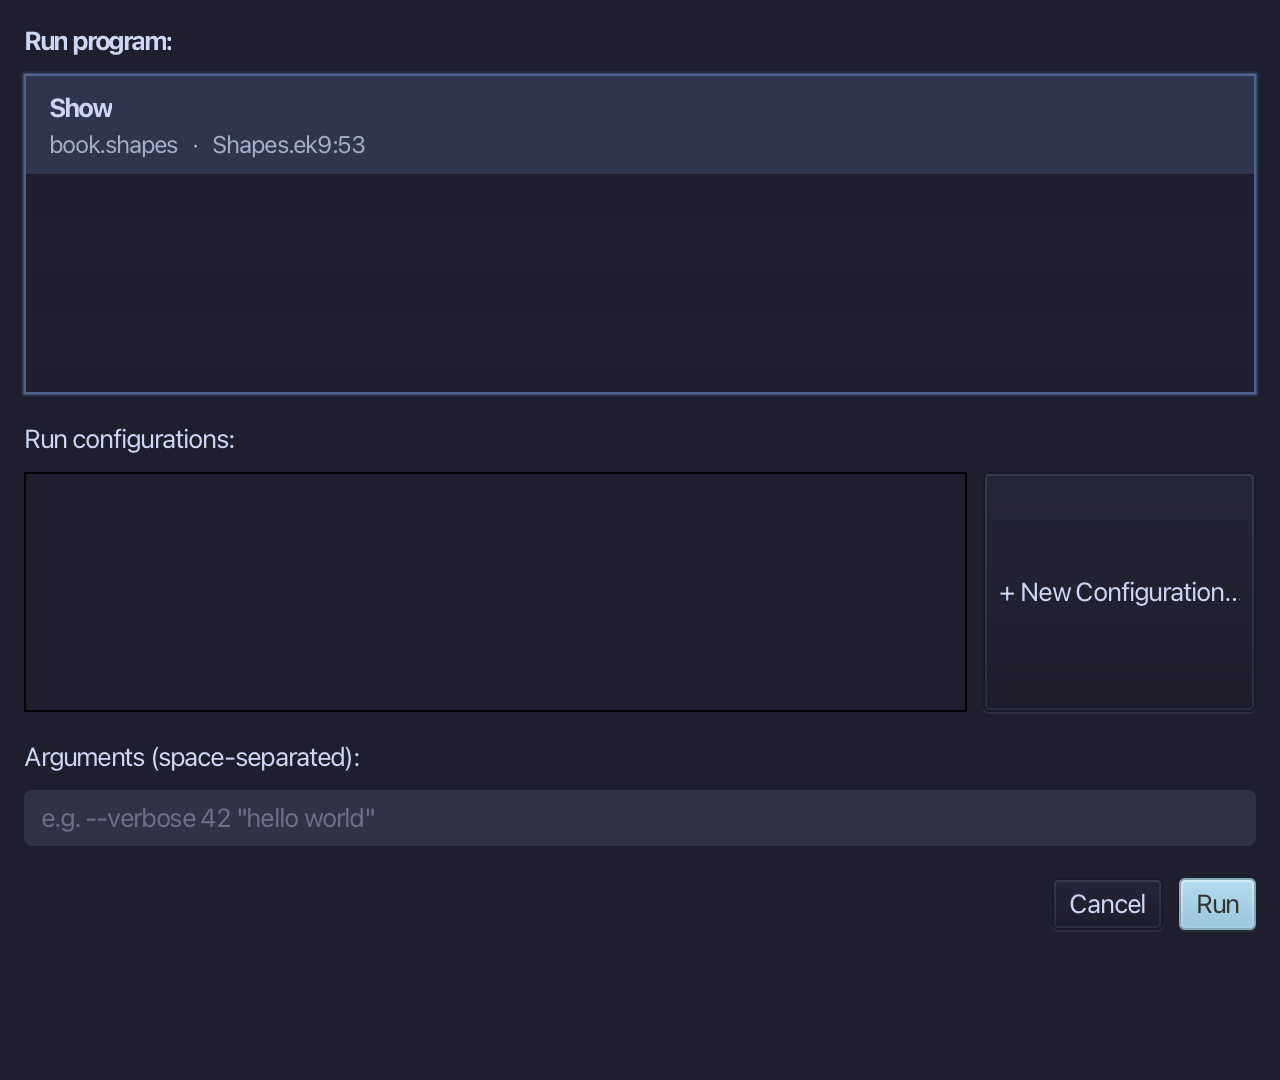
The project's only program is already chosen. Choose Run.
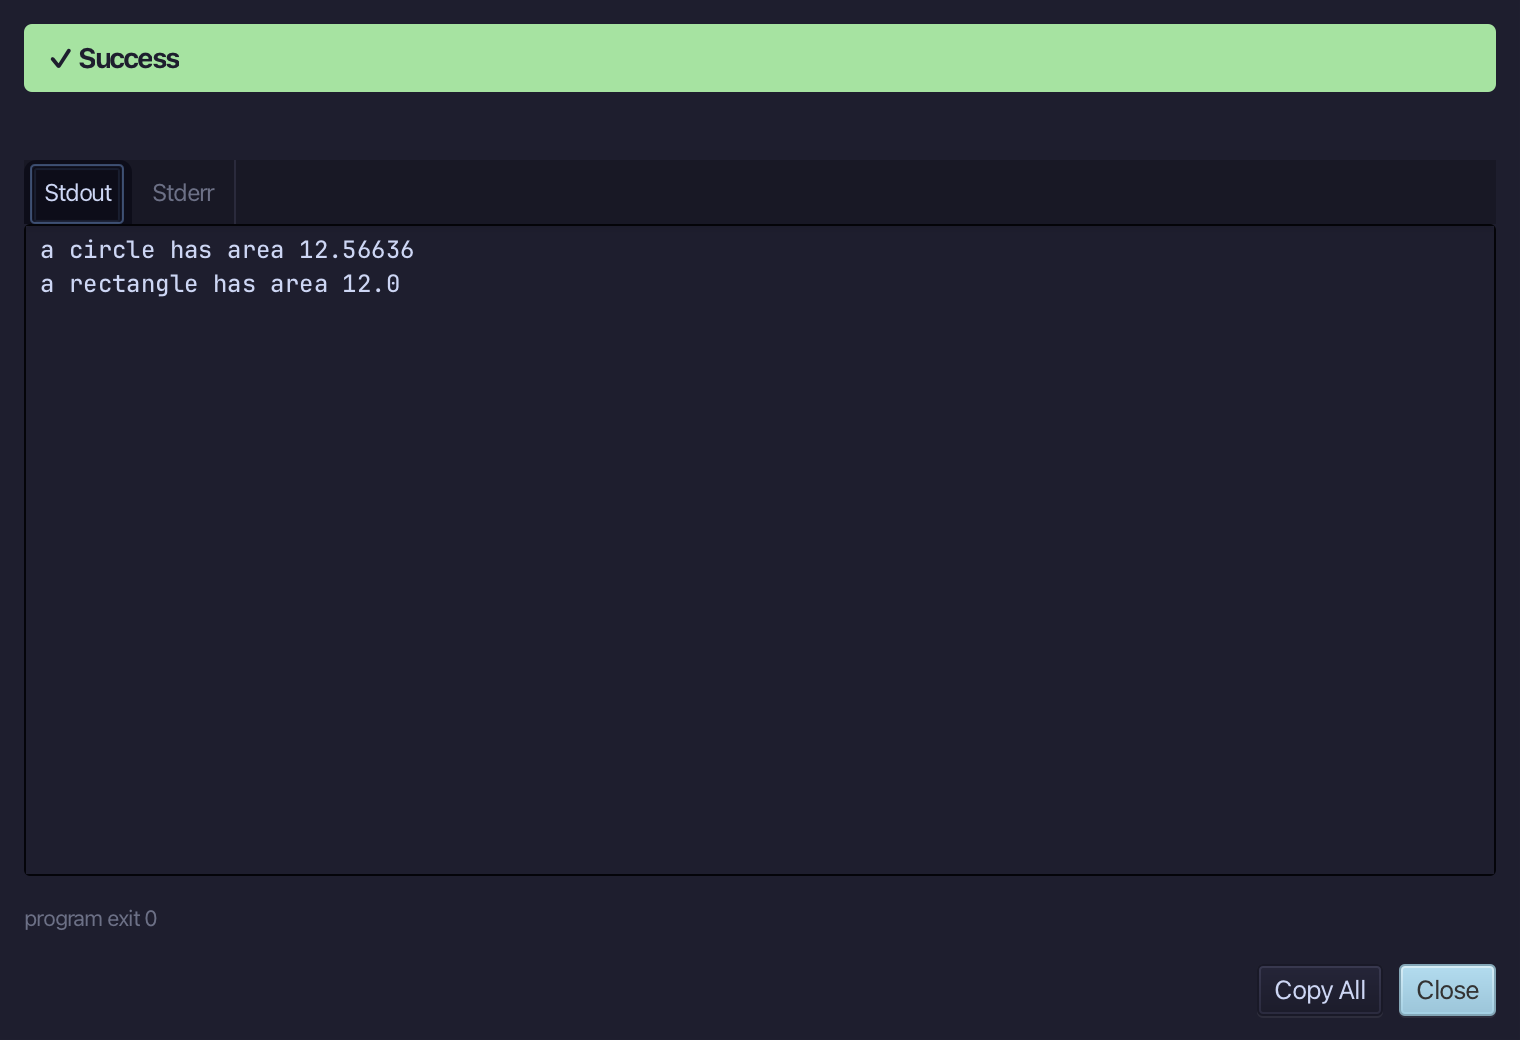
a circle has area 12.56636 then a rectangle has area 12.0 - one loop, one call to area() each time, and the right formula runs for each shape without ever asking which one it is. Choose Close.
The result
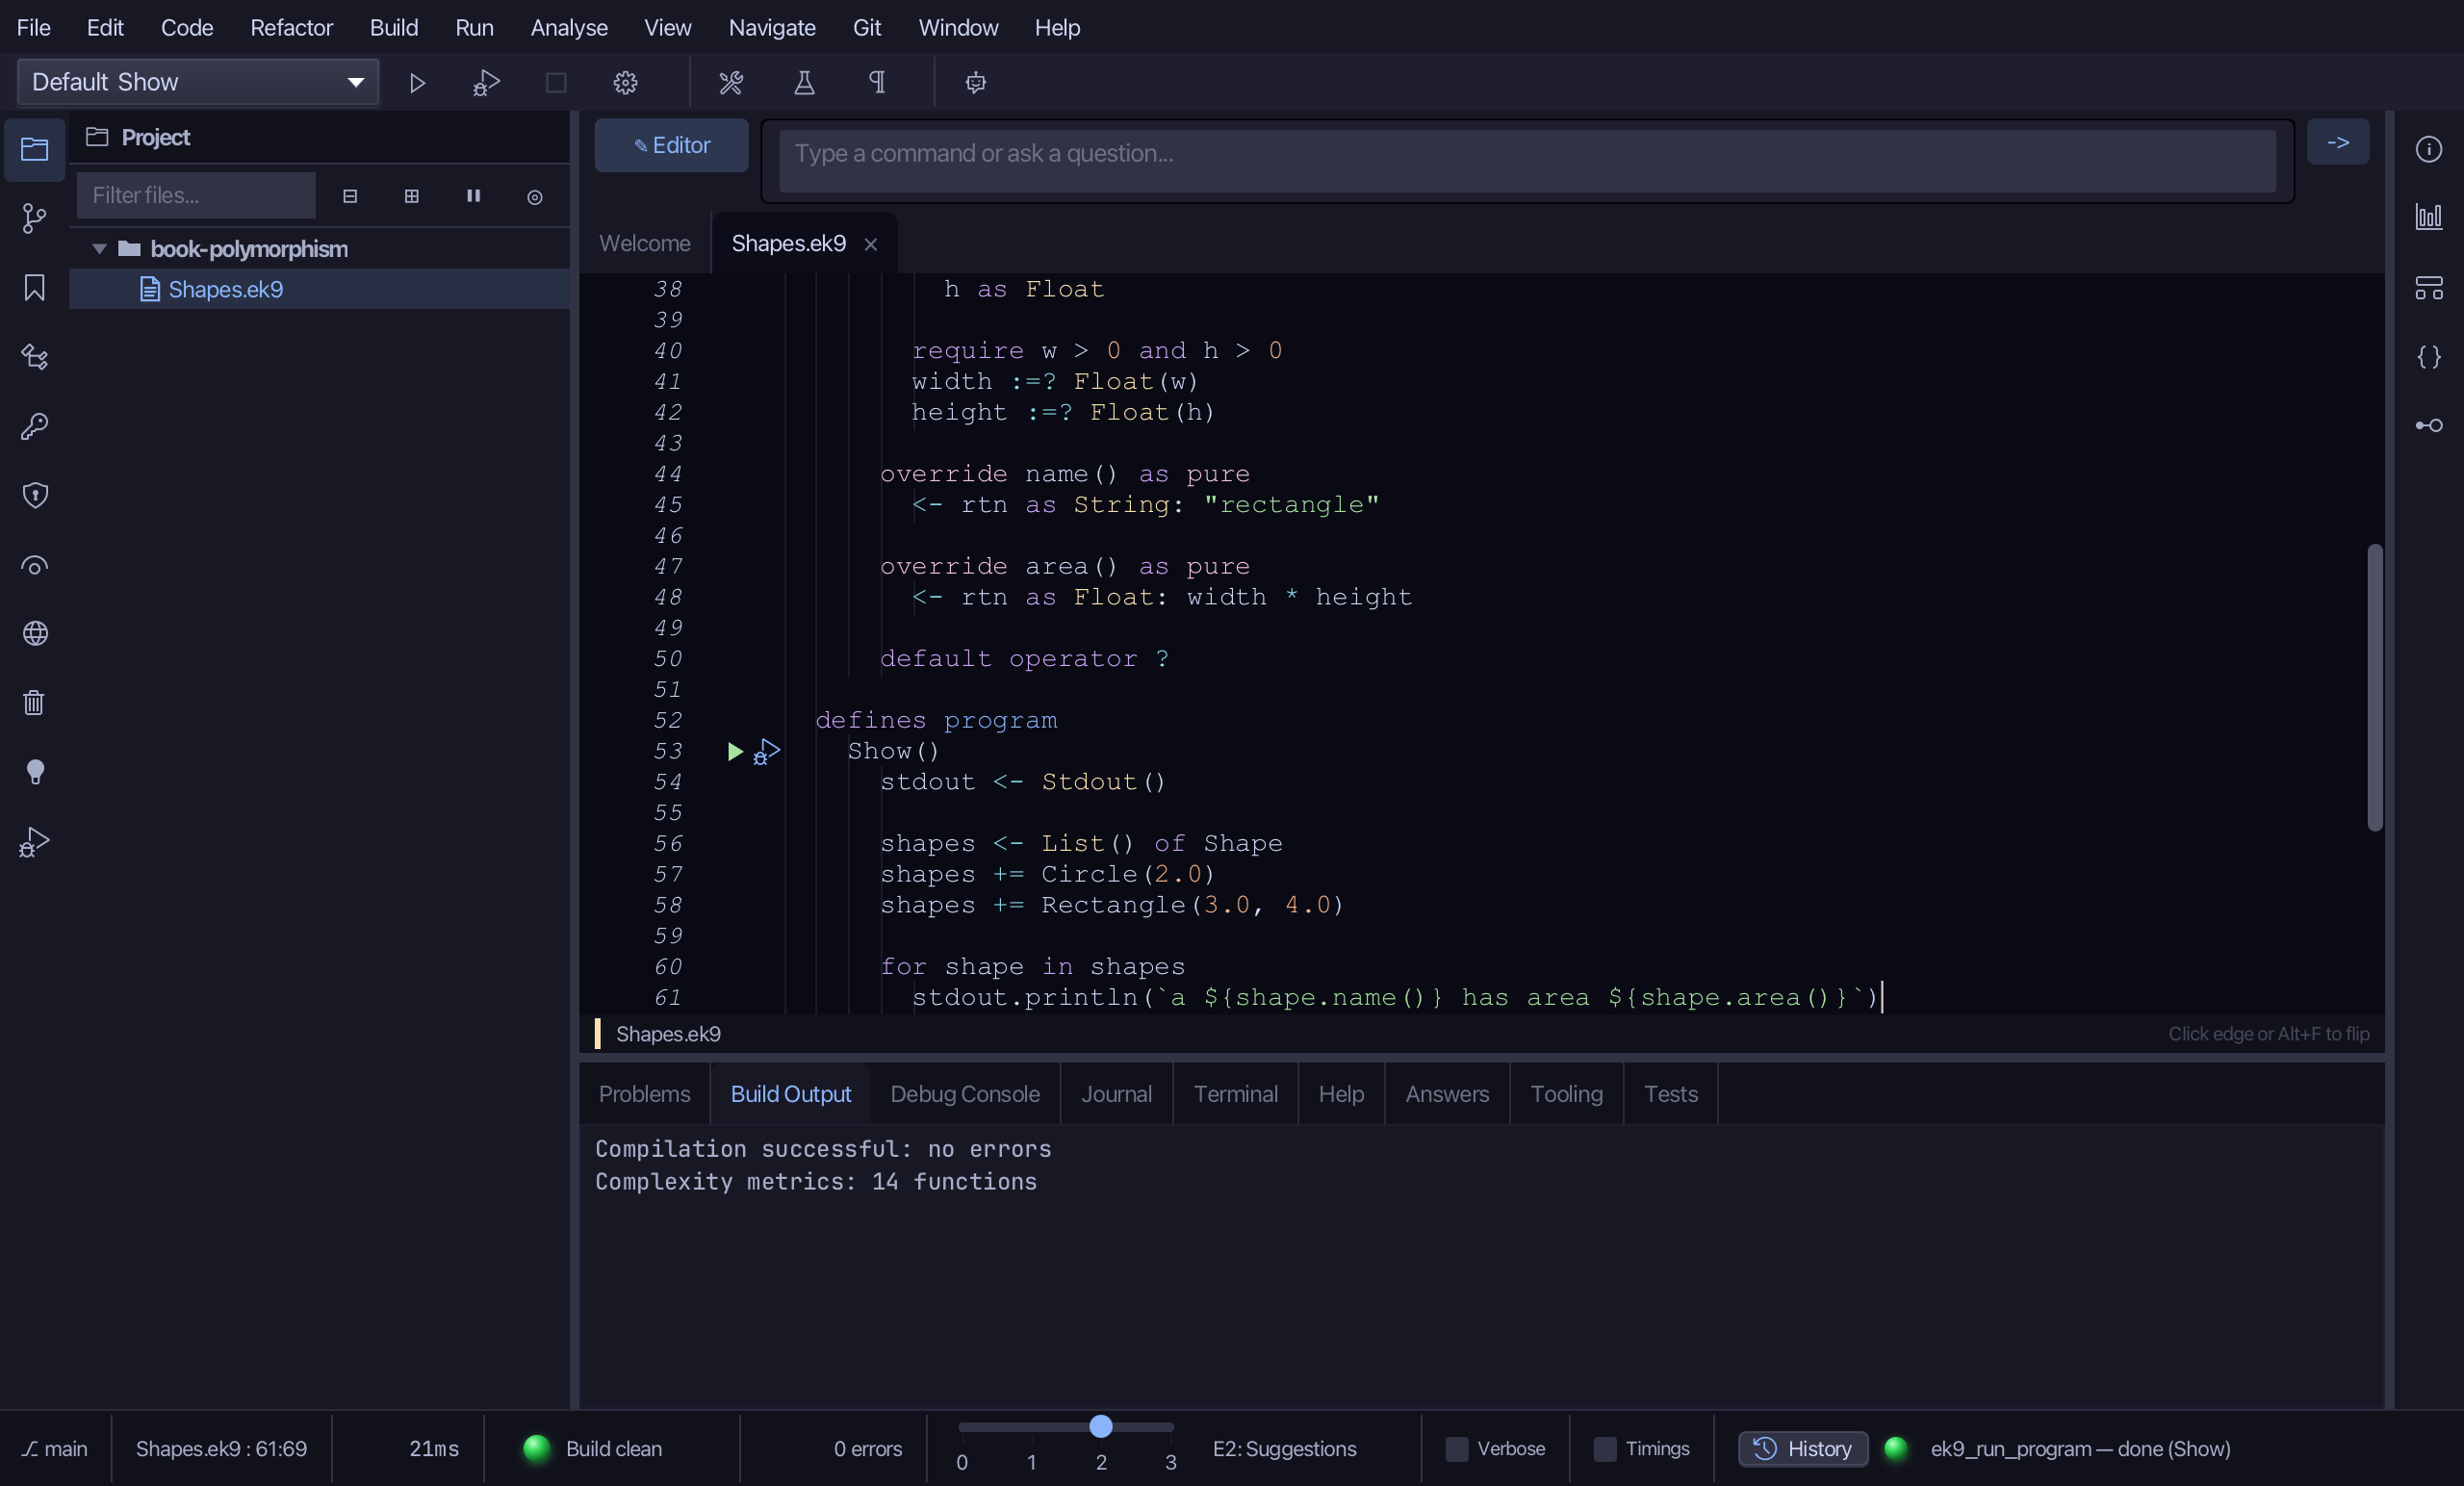
Shapes.ek9 now reads exactly as chapter 17 of Getting Started with EK9 shows it: an abstract Shape the tools built with two abstract methods and no body to type, two subtypes each with its own field, constructor and overrides, and a program that holds both in one List of Shape - logic you typed. The same four tools - ek9_new_construct, ek9_add_field, ek9_add_constructor, ek9_add_method - are what an AI assistant calls to do the same thing.
Where this lesson comes from
- For AI assistants - the MCP tool
ek9_new_construct,ek9_add_field,ek9_add_constructor,ek9_add_method,ek9_add_program.