Help and documentation
The Help menu holds what to read: the paradigm EK9 is built on, the licences, every lesson, and the documentation at ek9.io. This lesson opens the first three, and then takes the caret to a line, which no other lesson does. To play it in the IDE: Help > Lessons > Getting started…, or ek9 -ide -lesson help-and-docs.
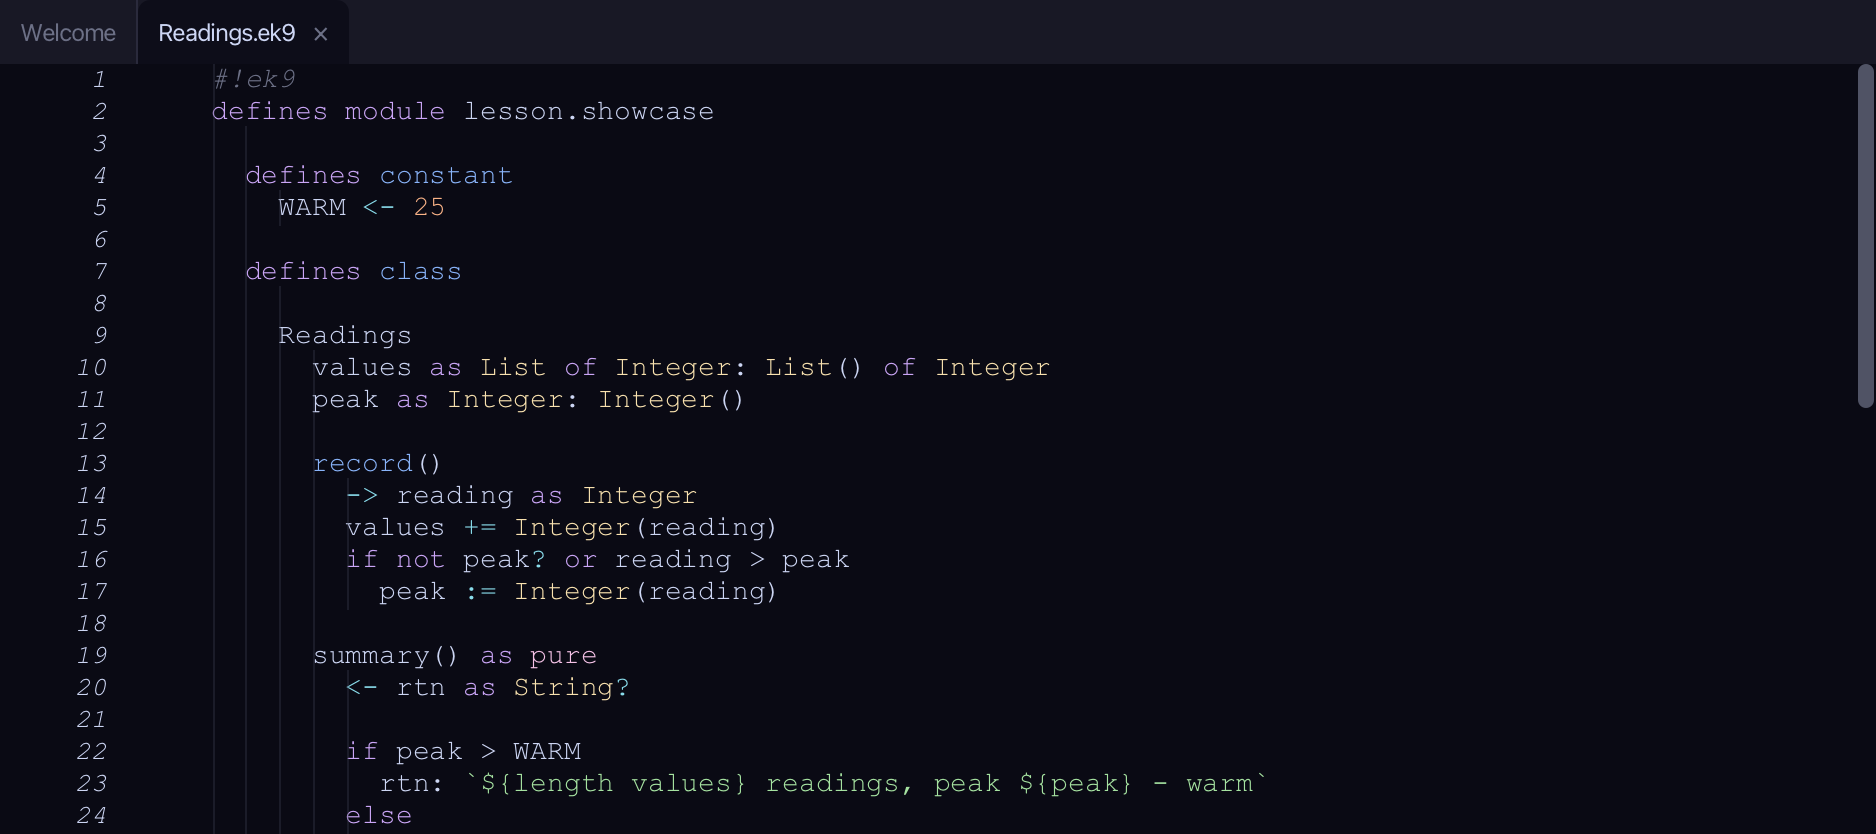
Start from
The code the lesson starts from: copy it into a file of your own and follow the steps.
#!ek9
defines module lesson.showcase

  defines constant
    WARM <- 25

  defines class

    Readings
      values as List of Integer: List() of Integer
      peak as Integer: Integer()

      record()
        -> reading as Integer
        values += Integer(reading)
        if not peak? or reading > peak
          peak := Integer(reading)

      summary() as pure
        <- rtn as String?

        if peak > WARM
          rtn: `${length values} readings, peak ${peak} - warm`
        else
          rtn: `${length values} readings, peak ${peak} - mild`

      warmReadings()
        <- rtn as List of Integer: cat values | filter by isWarm | collect as List of Integer

      operator $ as pure
        <- rtn as String: `Readings: ${length values}, peak ${peak}`

      default operator ?

  defines function

    isWarm() as pure
      -> reading as Integer
      <- rtn as Boolean: reading > WARM

  defines program

    ShowReadings()
      stdout <- Stdout()
      station <- Readings()
      station.record(18)
      station.record(27)
      station.record(30)

      stdout.println(station.summary())
      stdout.println(`Warm readings: ${station.warmReadings()}`)

//EOF
Step 1: EK9 Paradigm
Choose Help > EK9 Paradigm
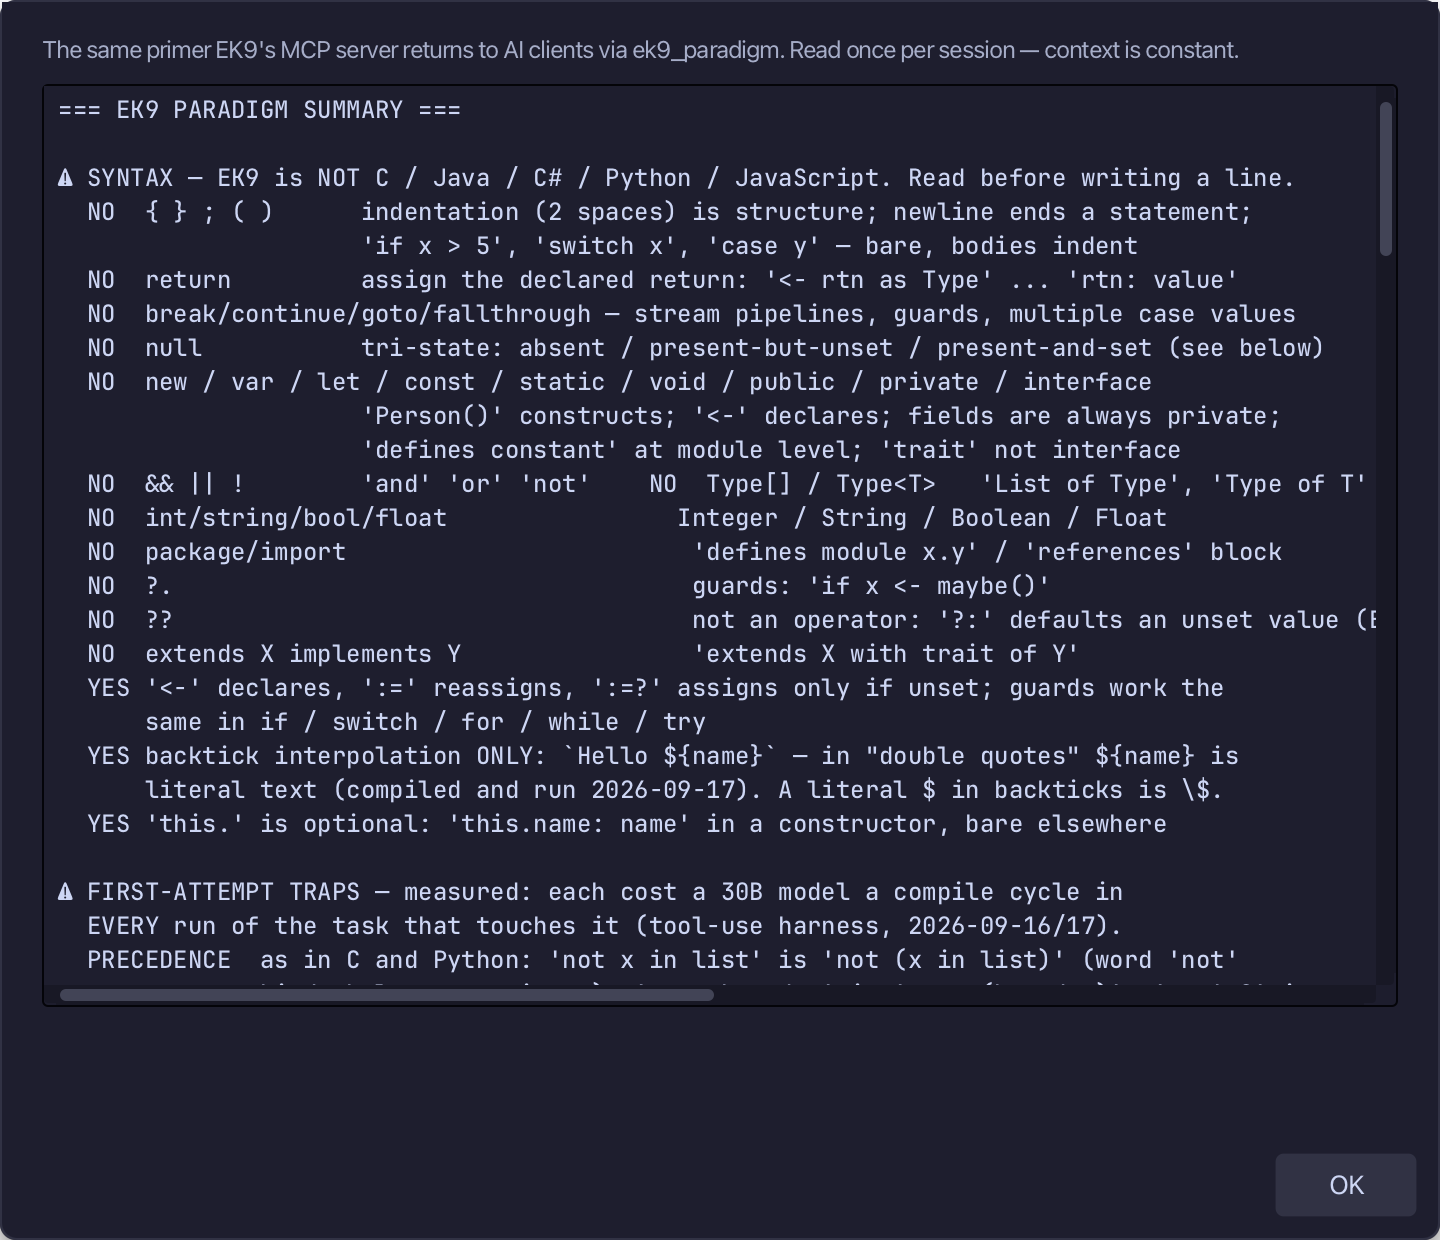
A table of what EK9 has no (return, null, break...) and what it uses instead, and the traps a newcomer meets first - the same primer an AI assistant gets from ek9_paradigm. Read it, then choose OK.
Step 2: Licences
Choose Help > Licences
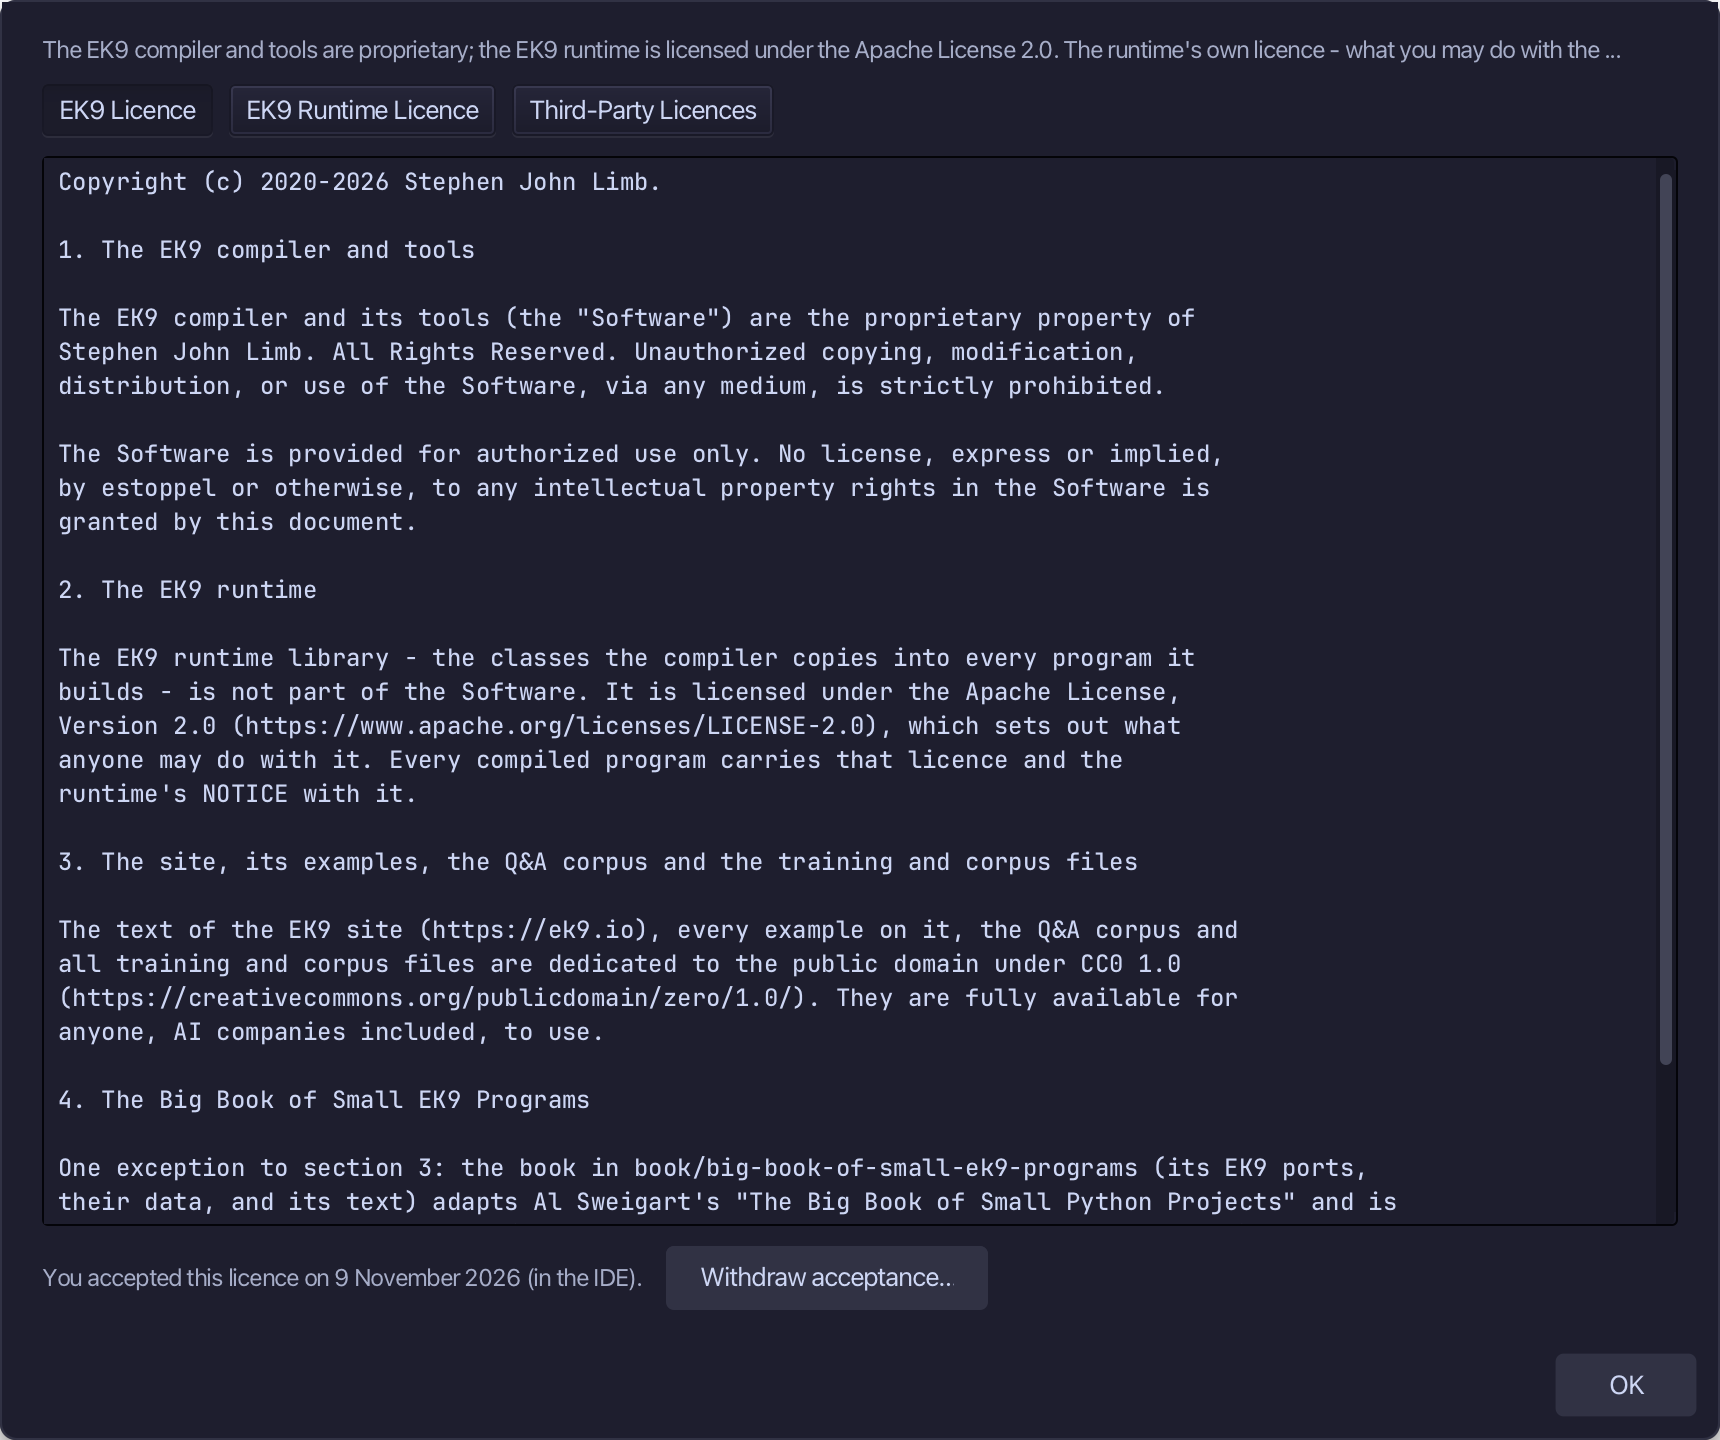
EK9's own licence, the runtime's and the third-party licences, one button each. Read what you need, then choose OK.
Step 3: All the lessons
Choose Help > Lessons > All Lessons…
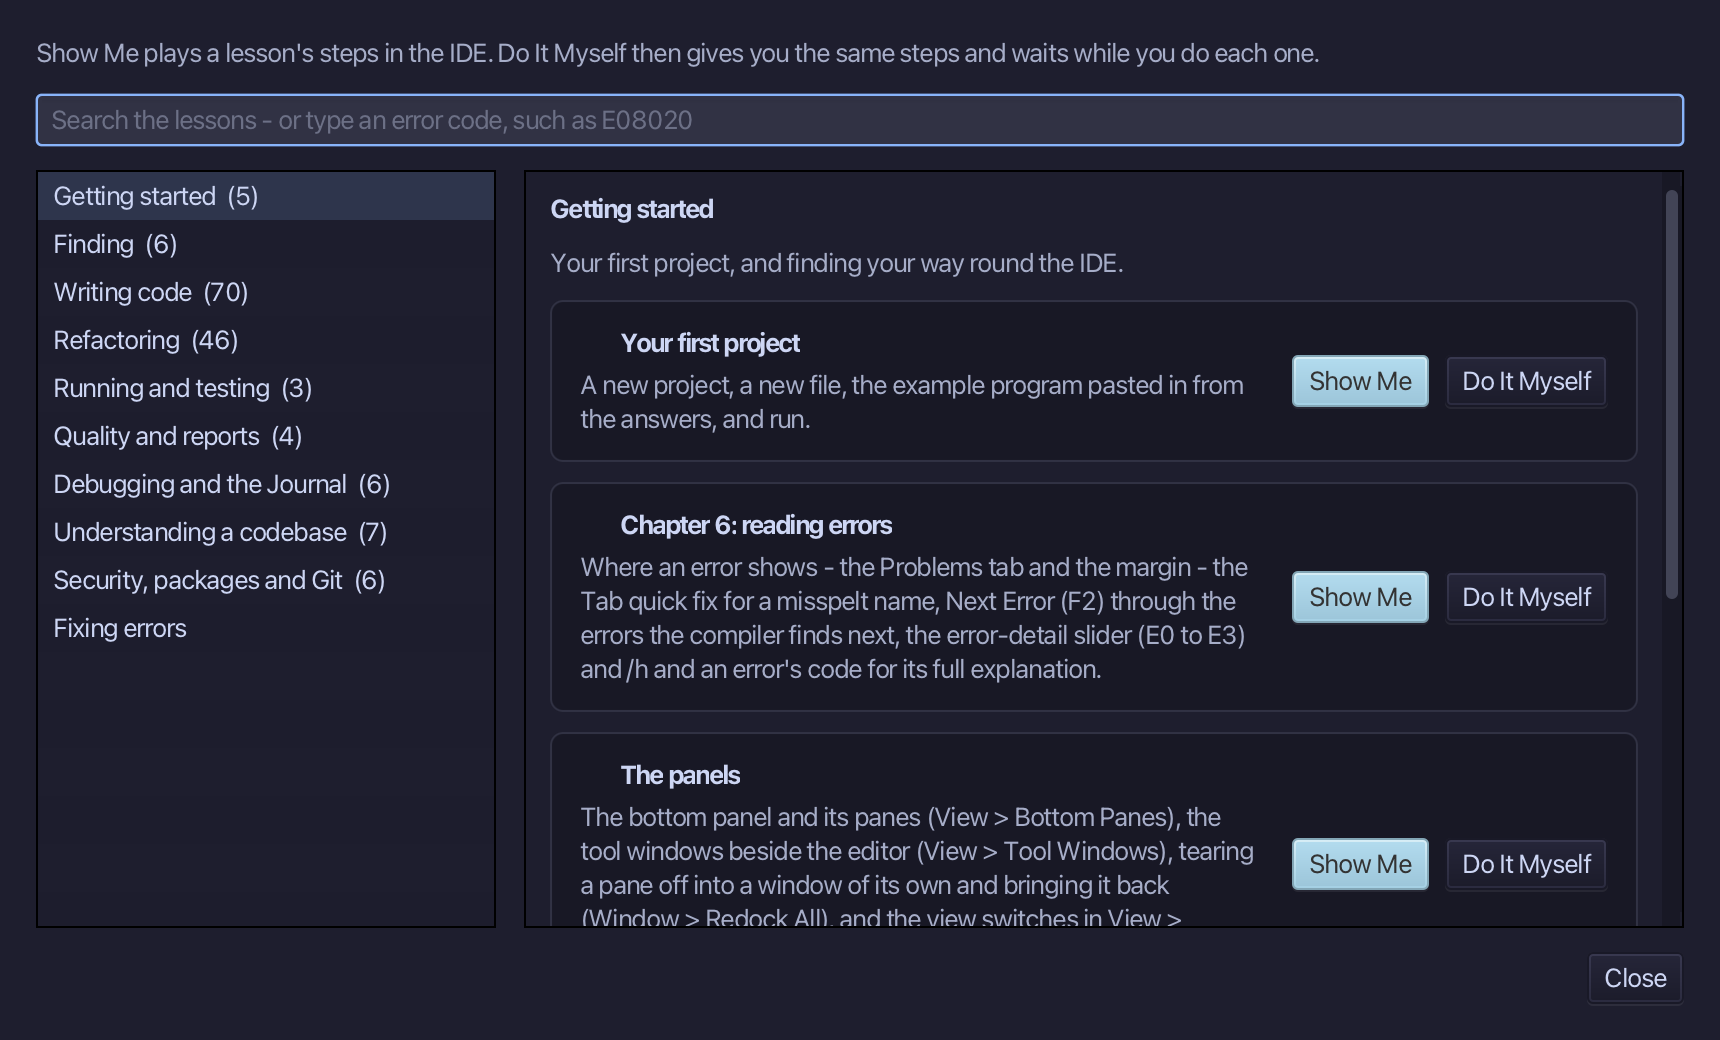
Every lesson, listed by group: choose one for Show me, where the IDE does it, or Do it myself, where it waits for you. Choose Close.
Step 4: Go to a line
Choose Navigate > Go to Line…
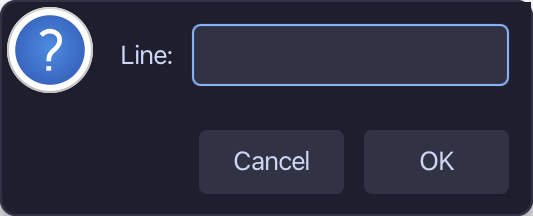
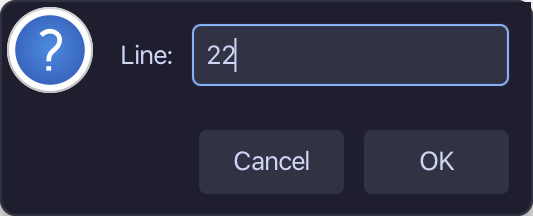
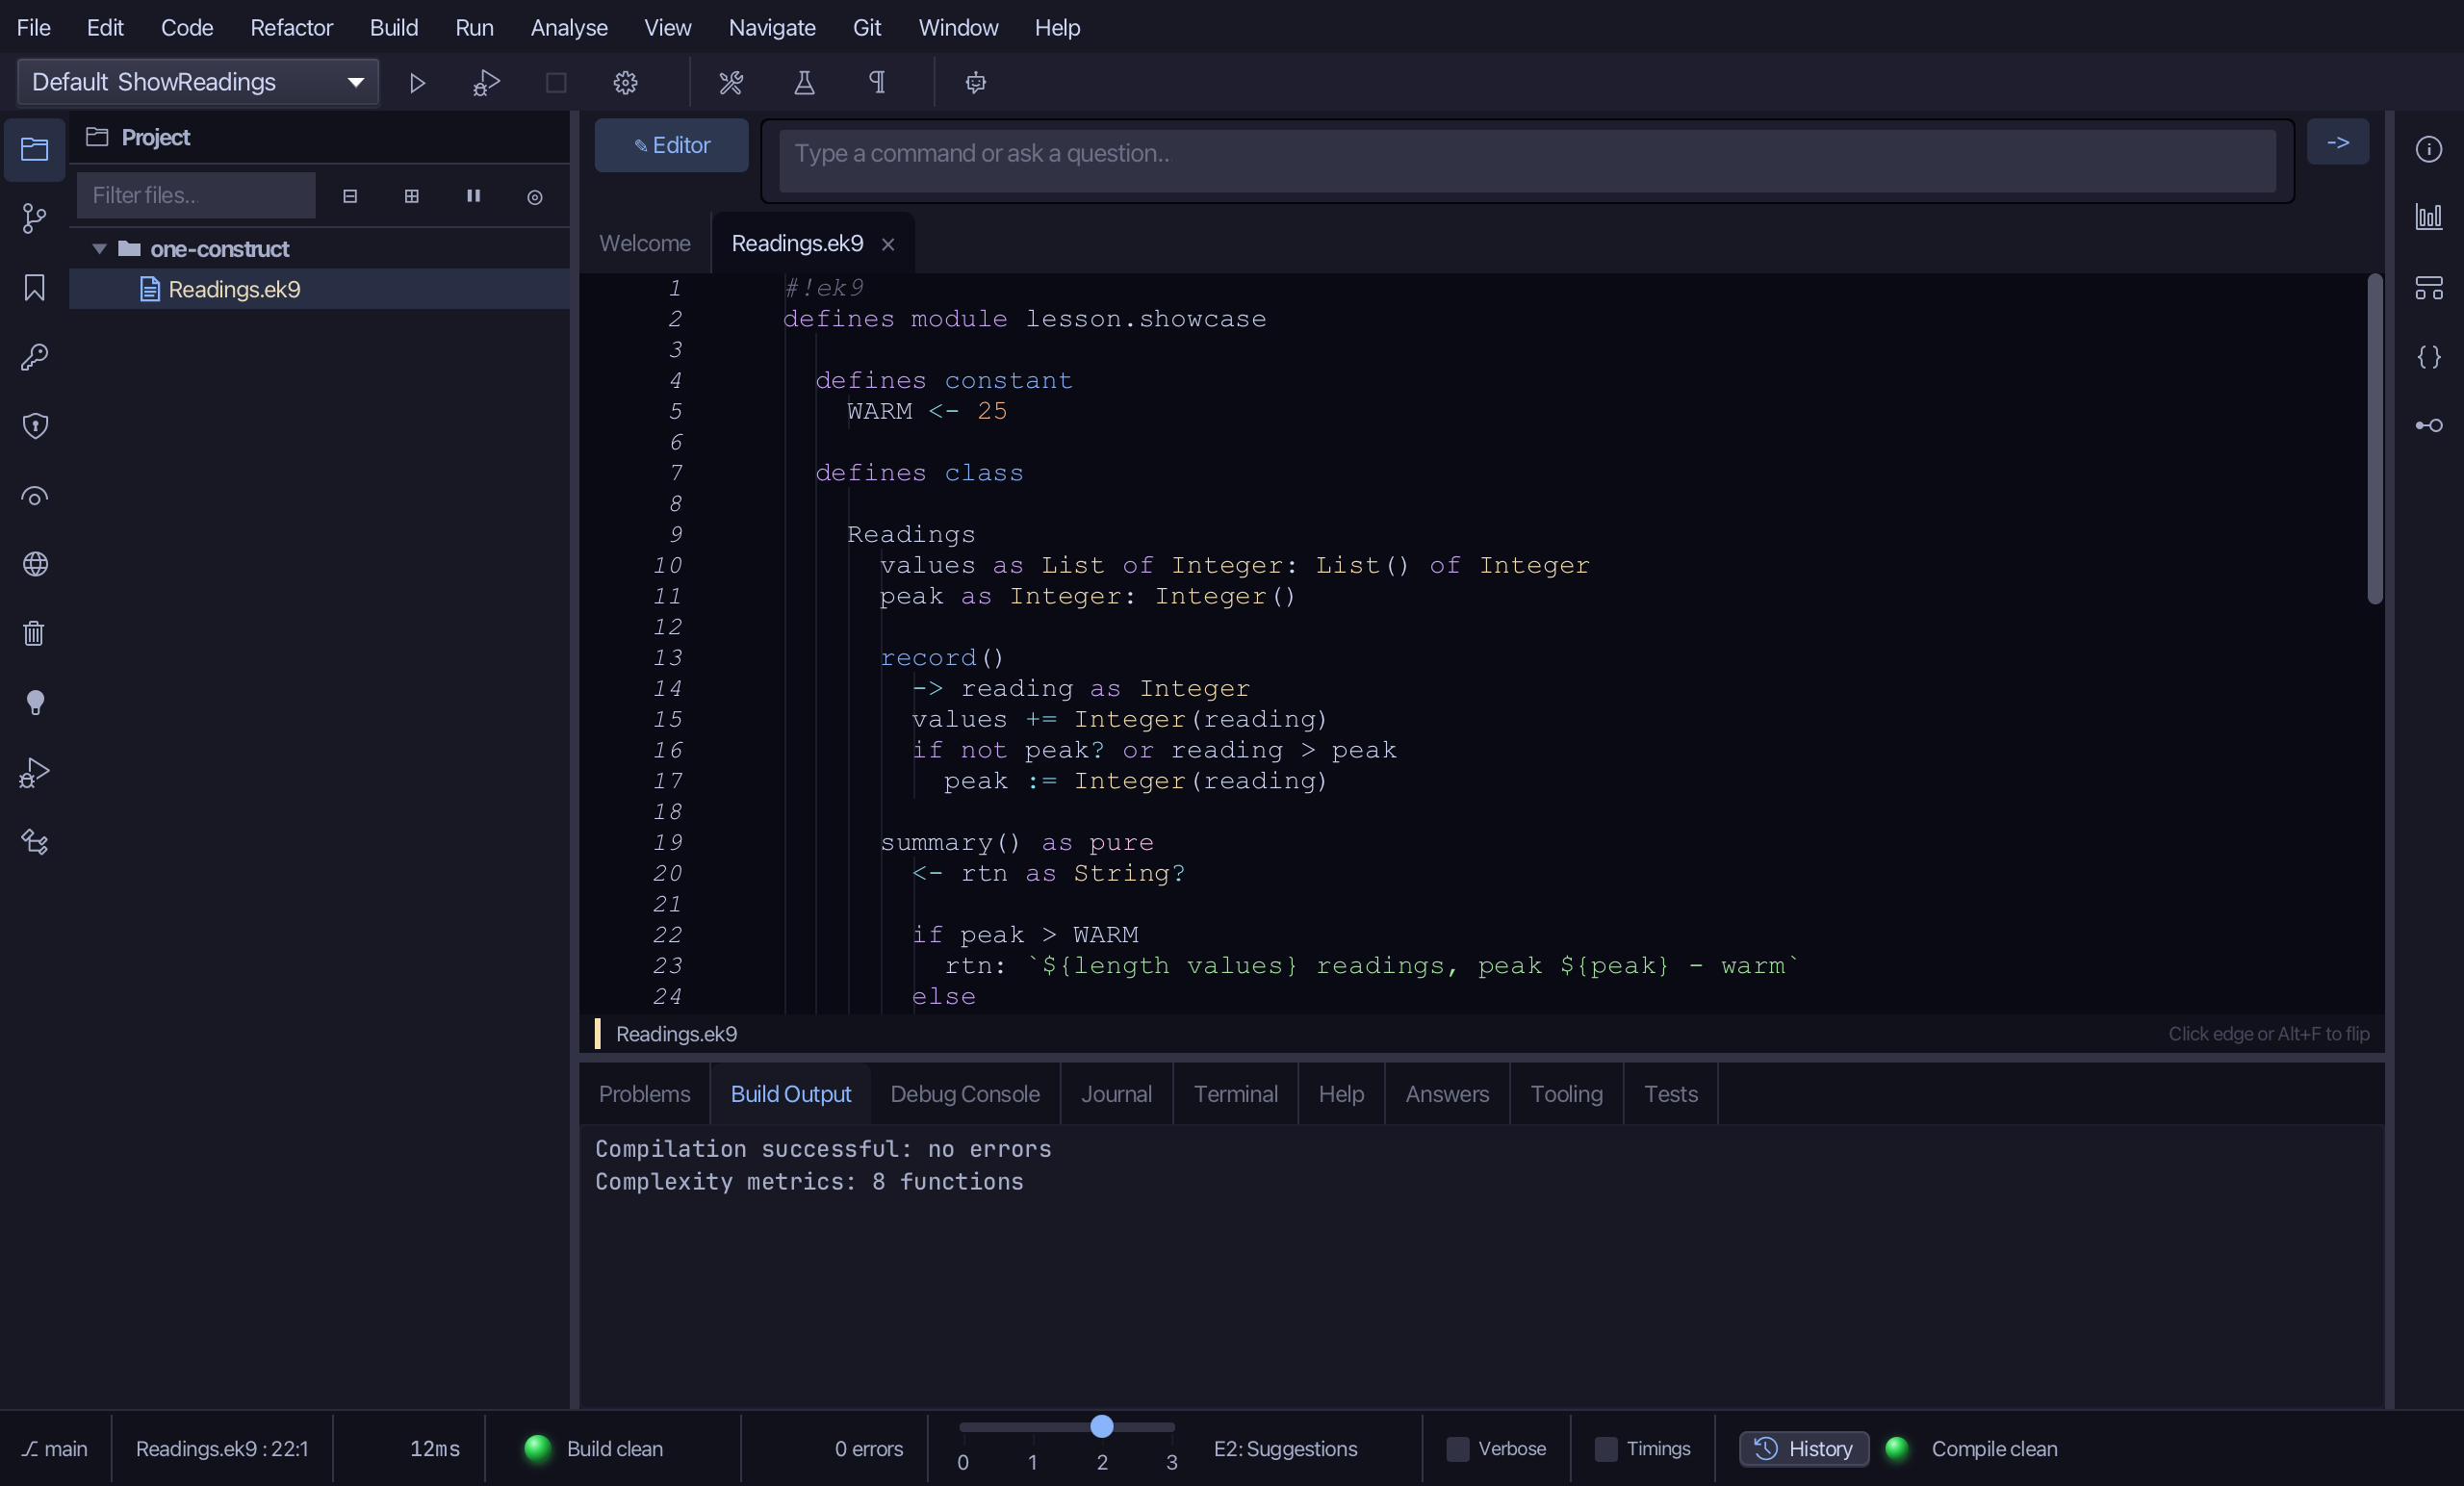
Type 22 and choose OK. The caret moves to that line of the file in front, and the editor scrolls to it.
The result
Help > EK9 Paradigm explains the design decisions, Help > Licences the licences, Help > Lessons > All Lessons… every lesson, and Cmd+L takes the caret to a line. Help > Documentation (ek9.io) opens the web site in your browser, and an installed copy of the IDE has Help > Install ek9 Command…, which adds ek9 to your own terminals - it says exactly which two lines go into which file before it writes them.
Where this lesson comes from
- For AI assistants - the MCP tool
ek9_paradigm.
In the EK9 reference: Command Line in EK9