Chapter 8: greeting in three languages, built
Chapter 8 keeps translations INSIDE the language, where the compiler can see them. Greeting is a text type with one message, welcome, said in English, French and German; the program asks for each by its locale. The IDE's tools build the structure - the program, then Greeting itself, created the moment it is first needed, then a locale cloned from an existing one - so what is left to type is the wording. To play it in the IDE: Help > Lessons > Getting Started with EK9…, or ek9 -ide -lesson book-greetings.
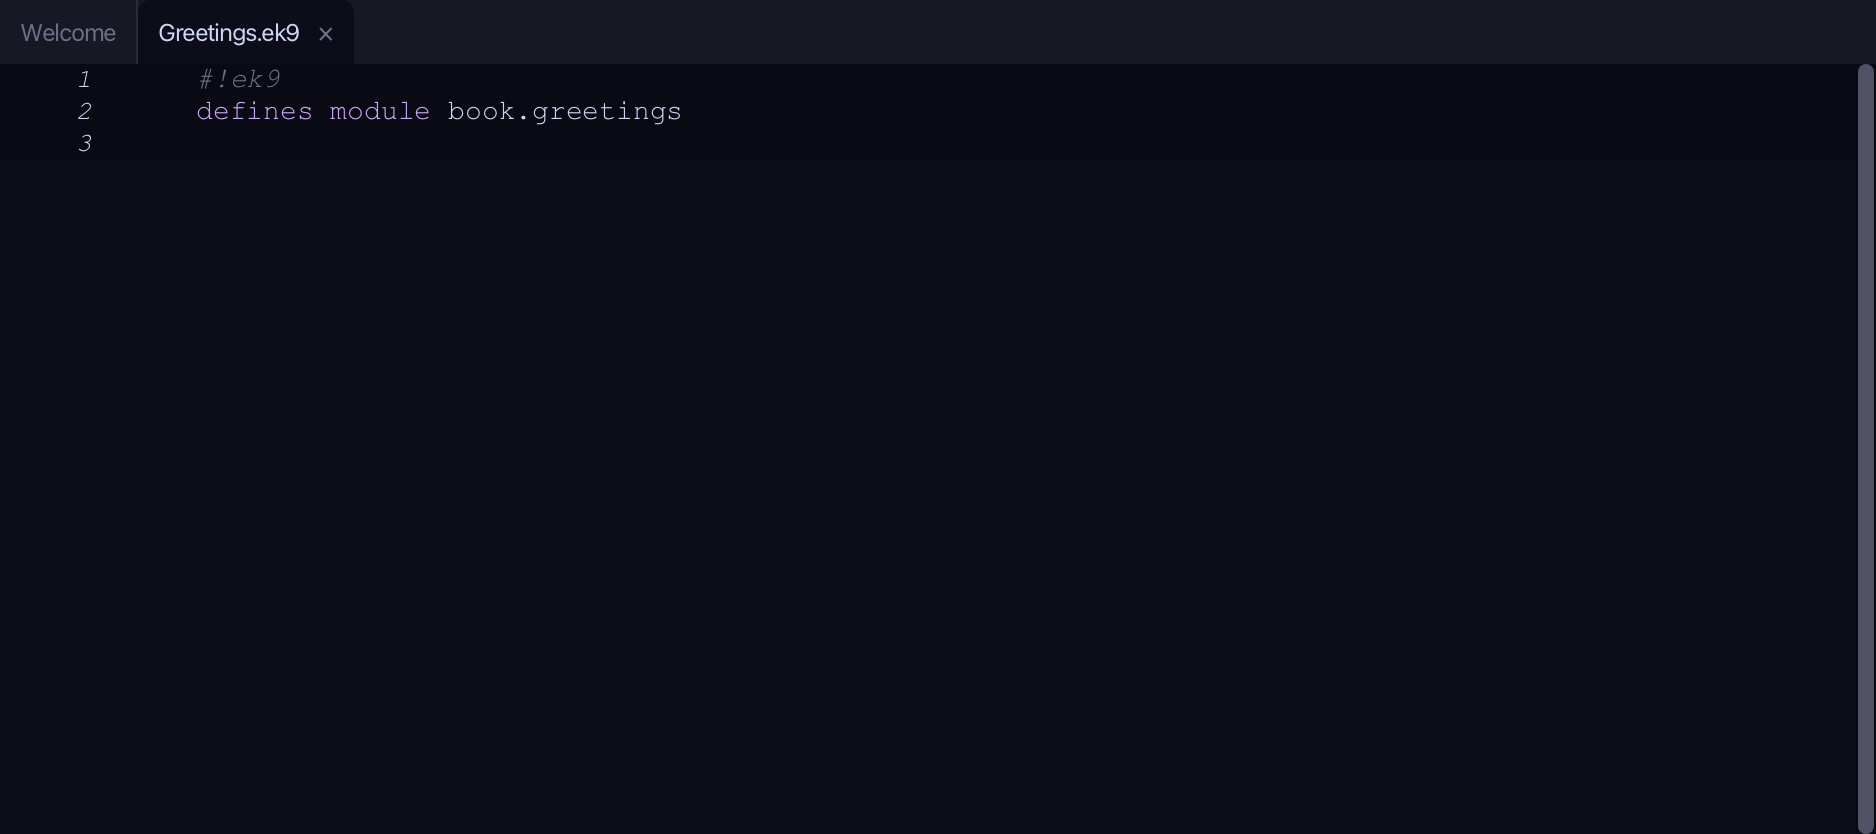
What you'll build
The lesson builds this program from a file holding only its module line - the finished file, as the book prints it.
#!ek9
defines module book.greetings

  defines text for "en"
    Greeting
      welcome()
        -> name as String
        `Hello, ${name}! Welcome to EK9.`

  defines text for "fr"
    Greeting
      welcome()
        -> name as String
        `Bonjour, ${name} ! Bienvenue dans EK9.`

  defines text for "de"
    Greeting
      welcome()
        -> name as String
        `Hallo, ${name}! Willkommen bei EK9.`

  defines program
    Greet()
      stdout <- Stdout()
      me <- "Ada"

      english <- Greeting("en")
      stdout.println(english.welcome(me))

      french <- Greeting("fr")
      stdout.println(french.welcome(me))

      german <- Greeting("de")
      stdout.println(german.welcome(me))
Step 1: The program, hard-coding English
Choose Code > New Construct > Program…
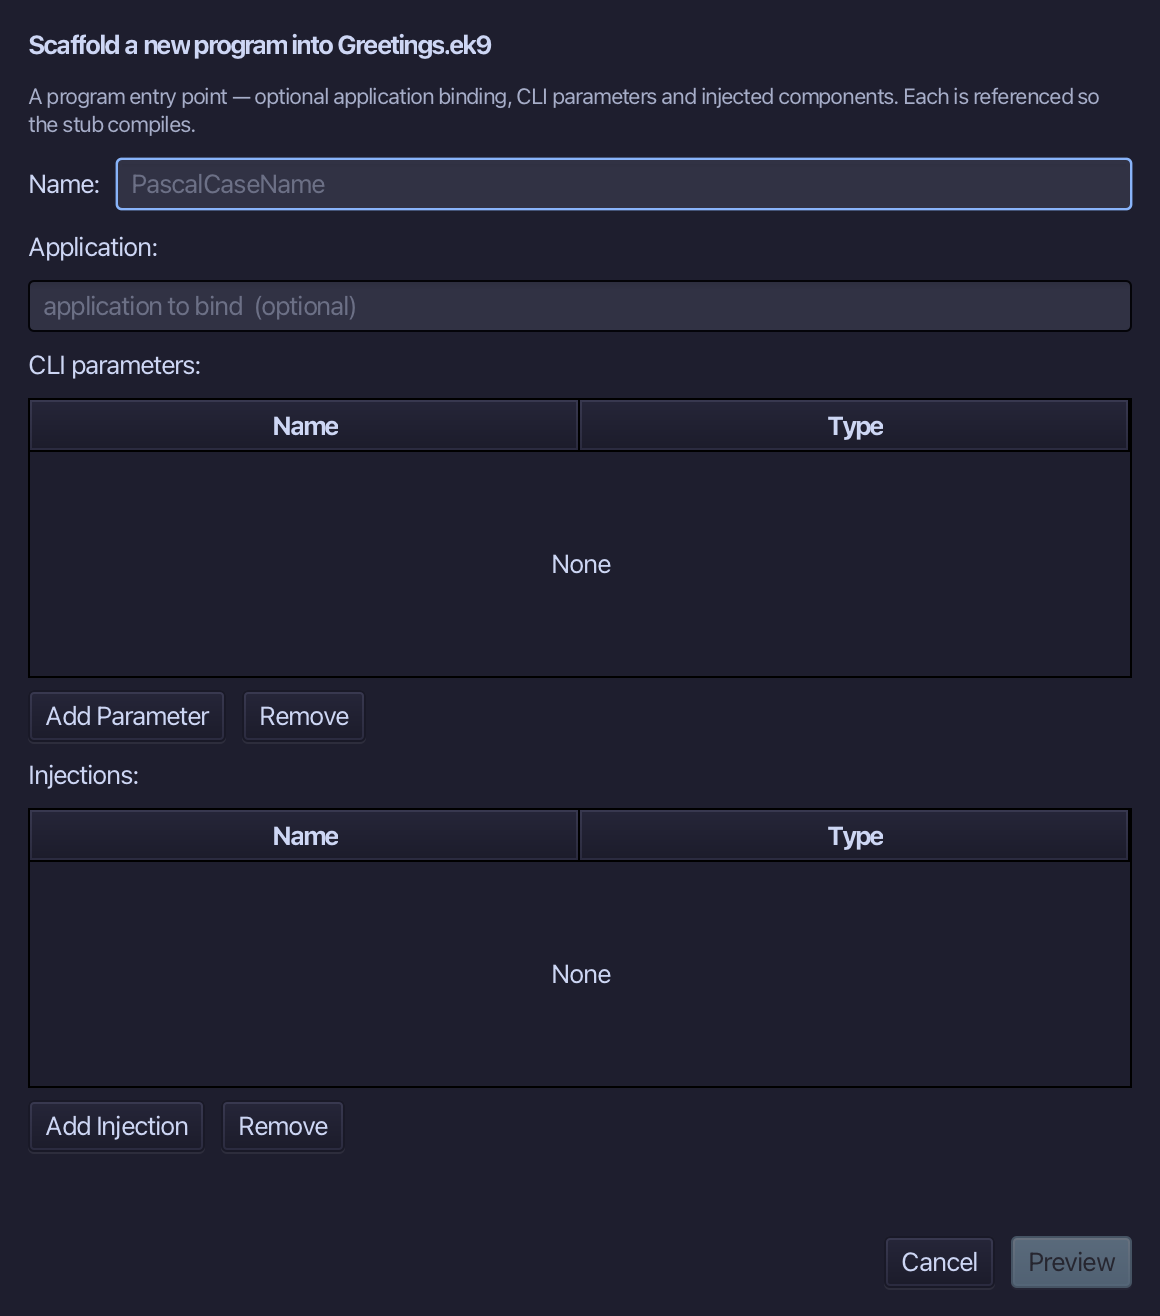
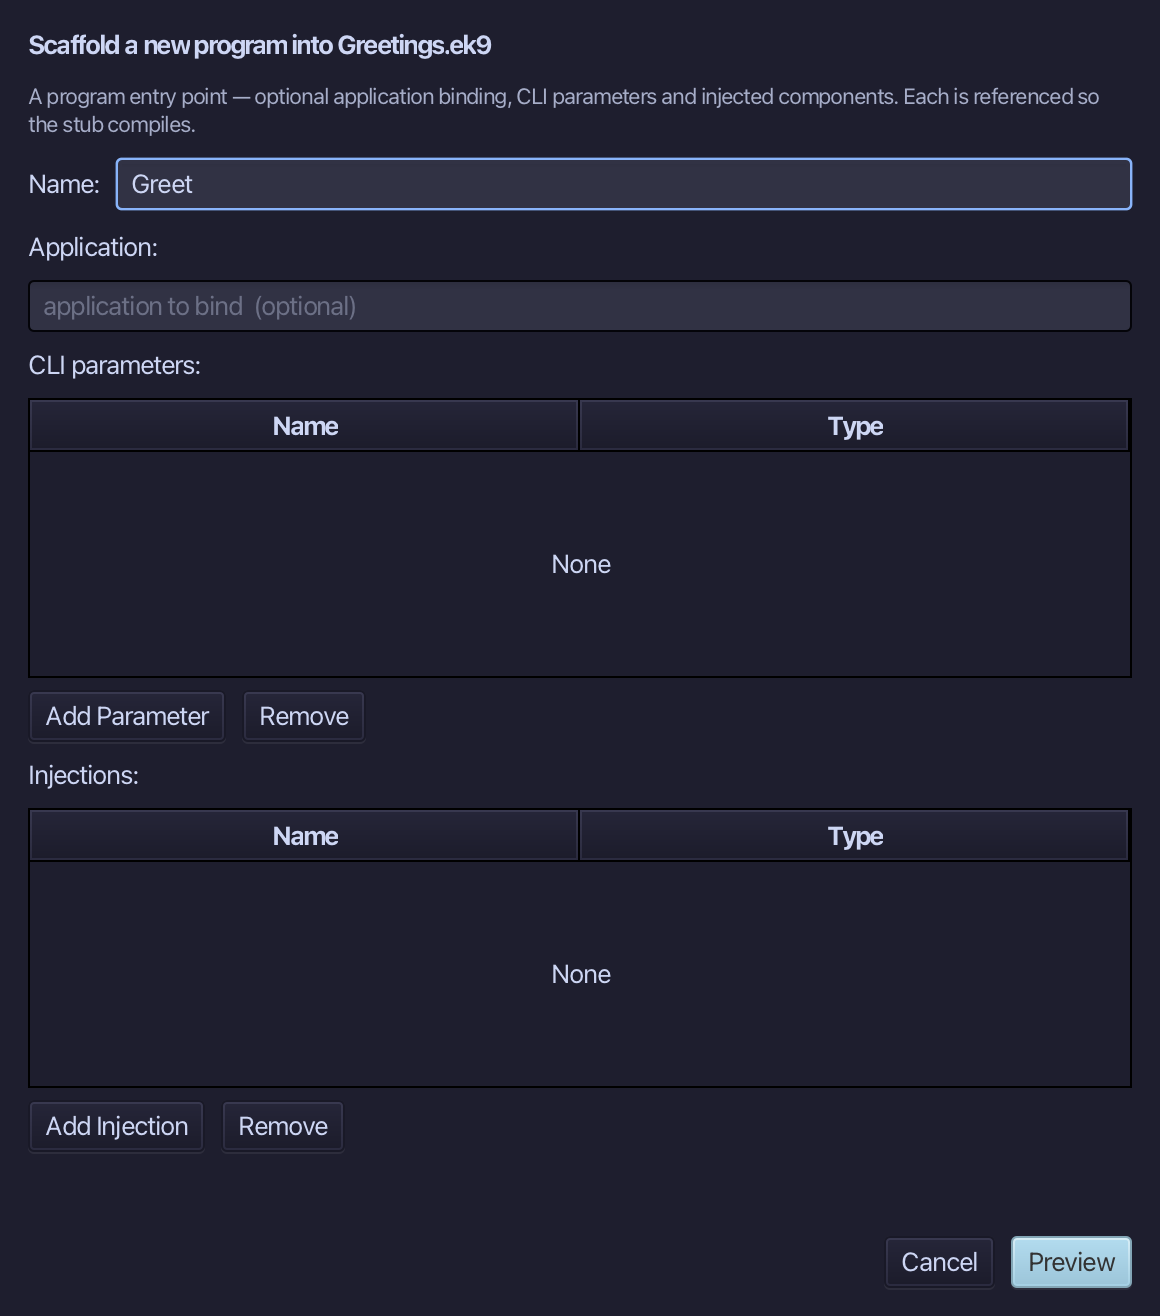
Greet is the program's name - no application to bind, no parameters, nothing injected. Type Greet and choose Preview.
The preview shows Greet about to be written. Choose Apply.
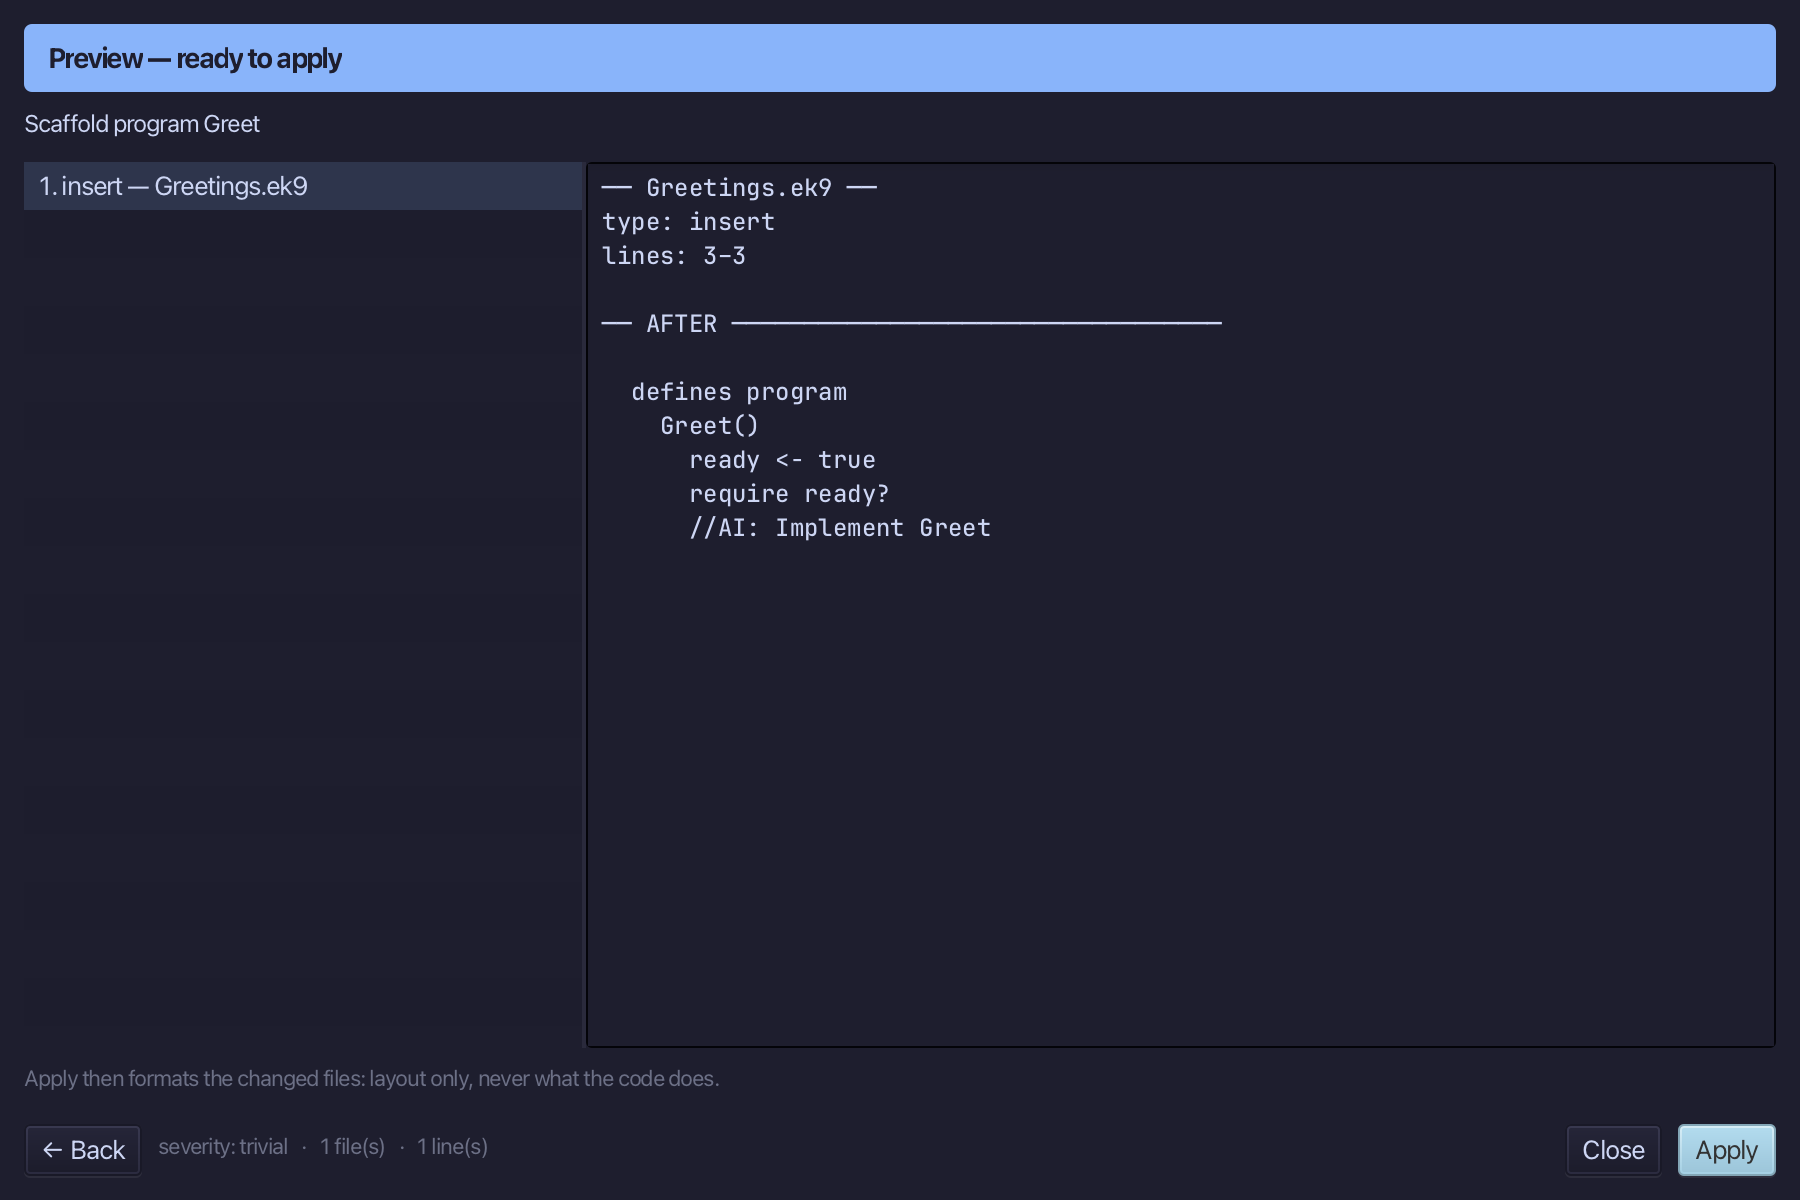
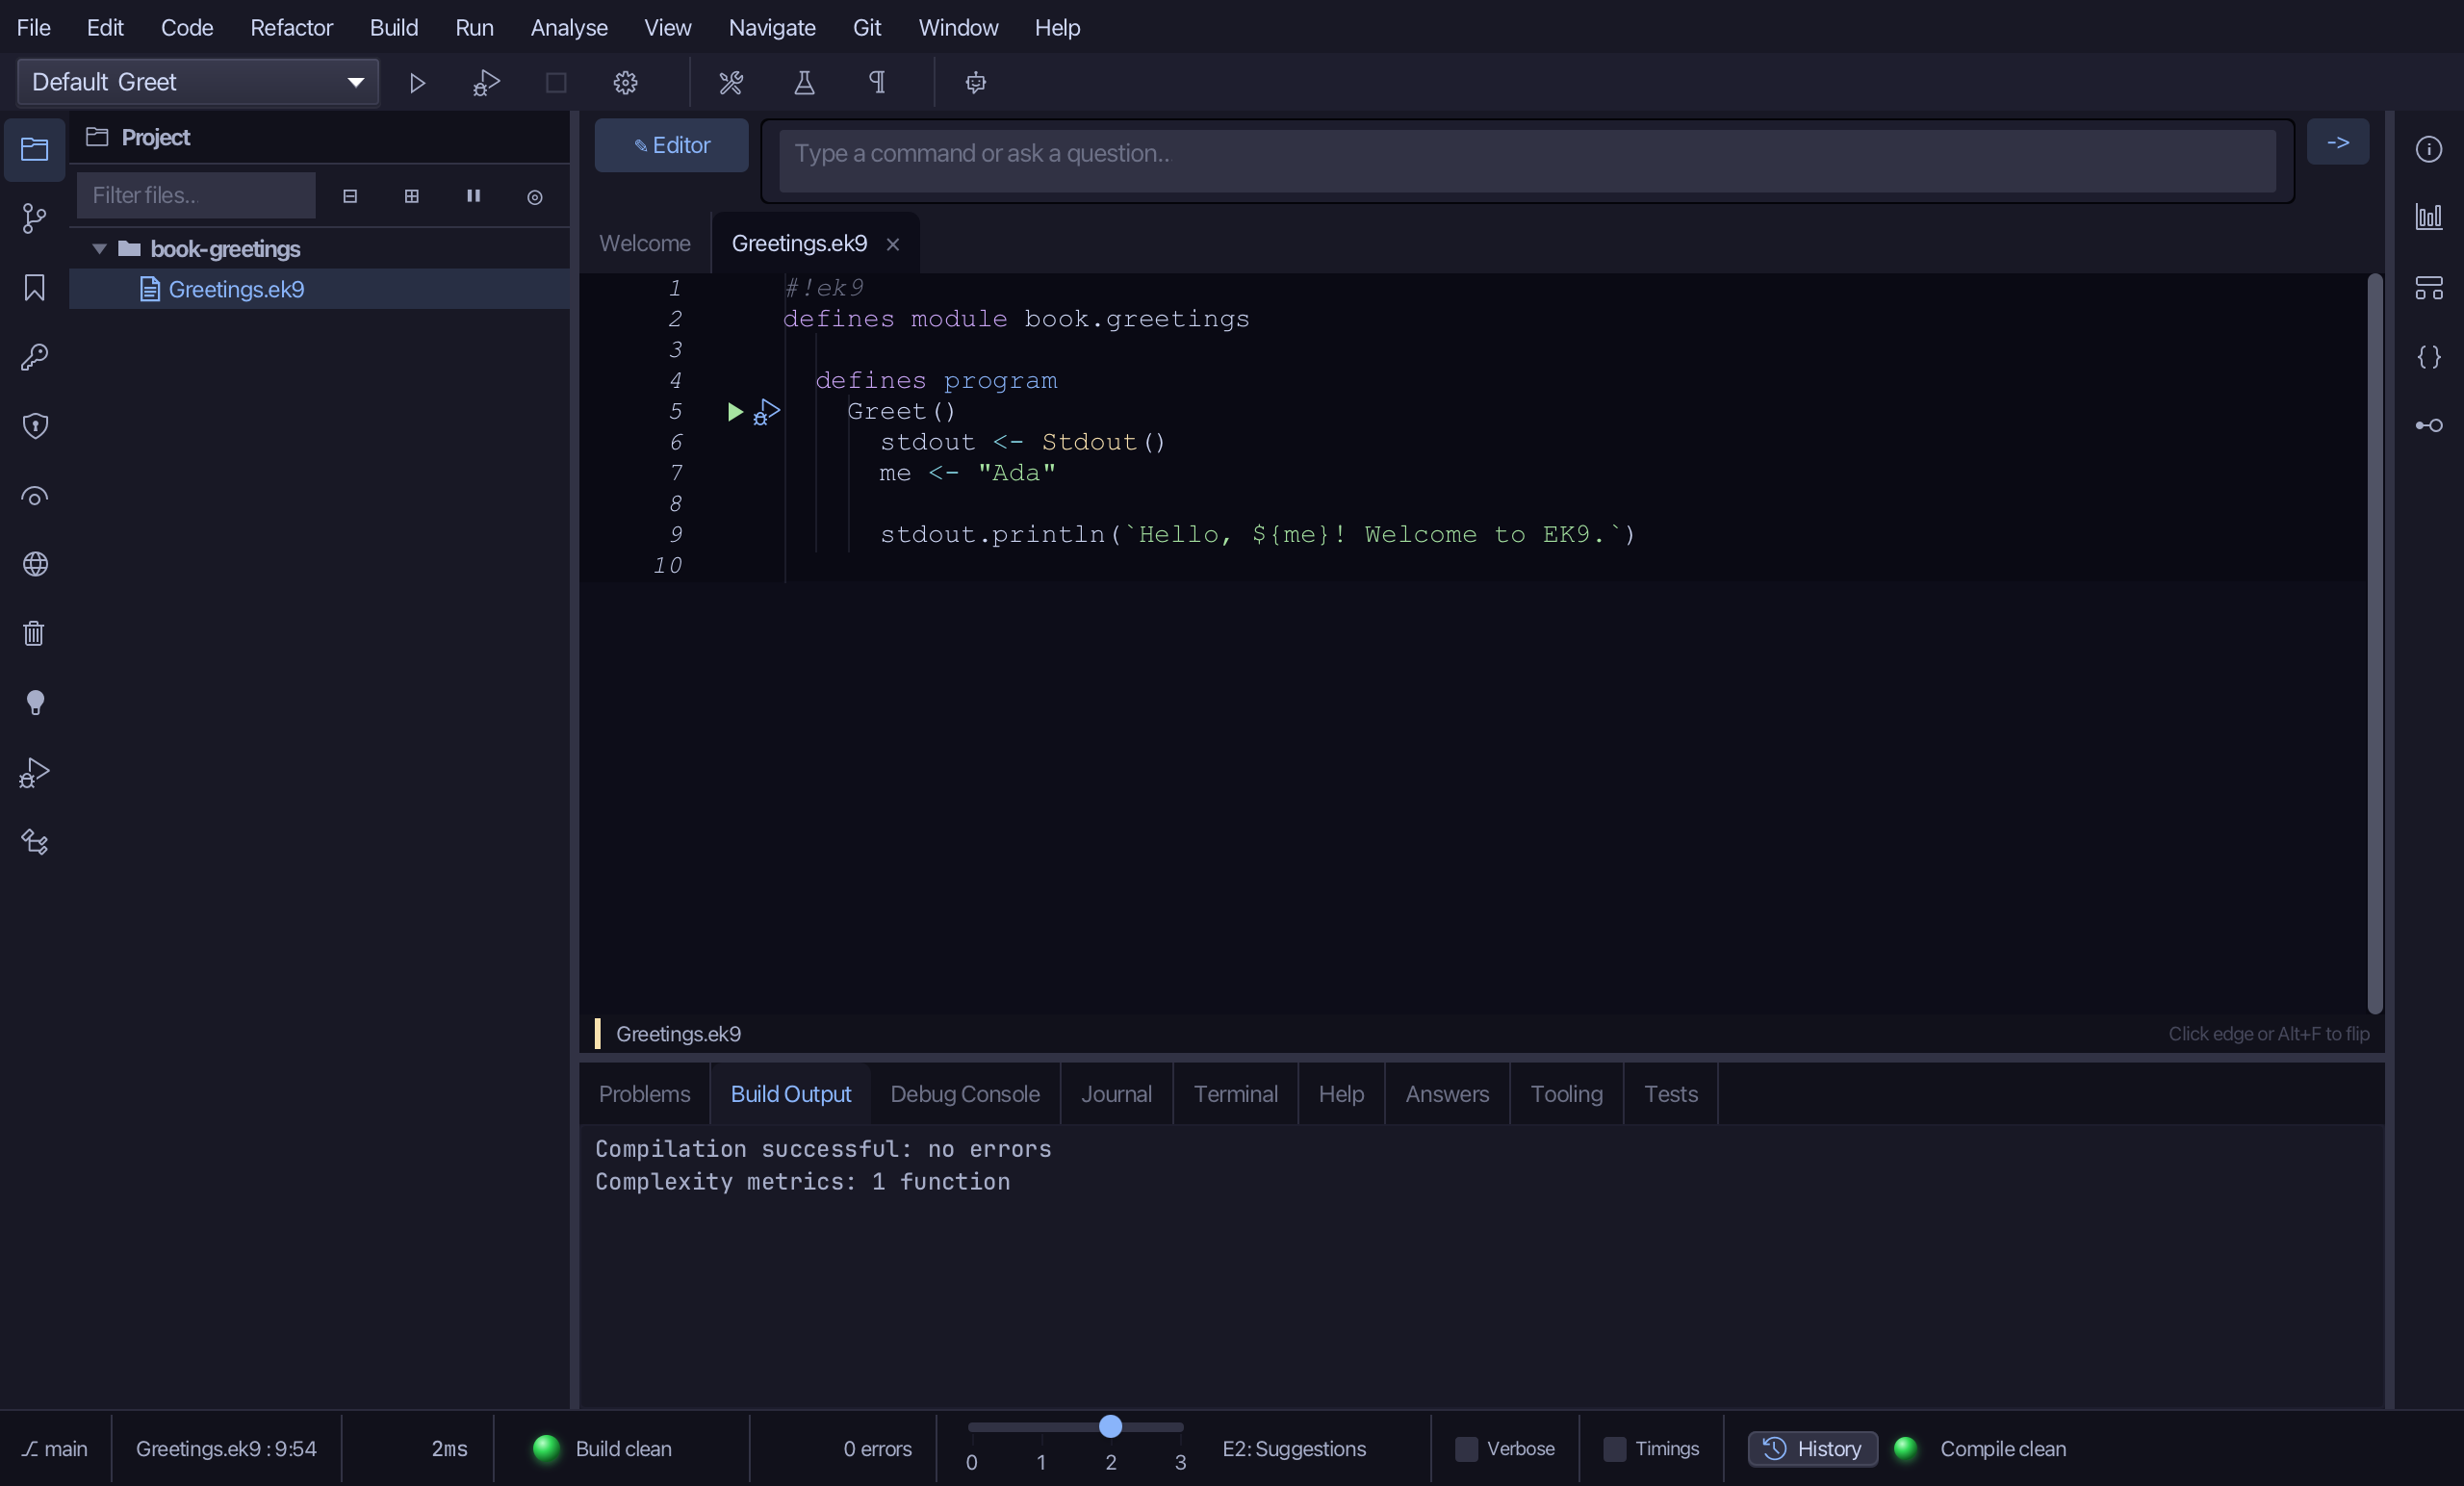
Select the stub, from ready <- true down to its //AI line, and type Greet's body: a Stdout, the name Ada, and the English greeting hard-coded, before any text type exists to hold it. Saves when typed.
Step 2: welcome - the real message
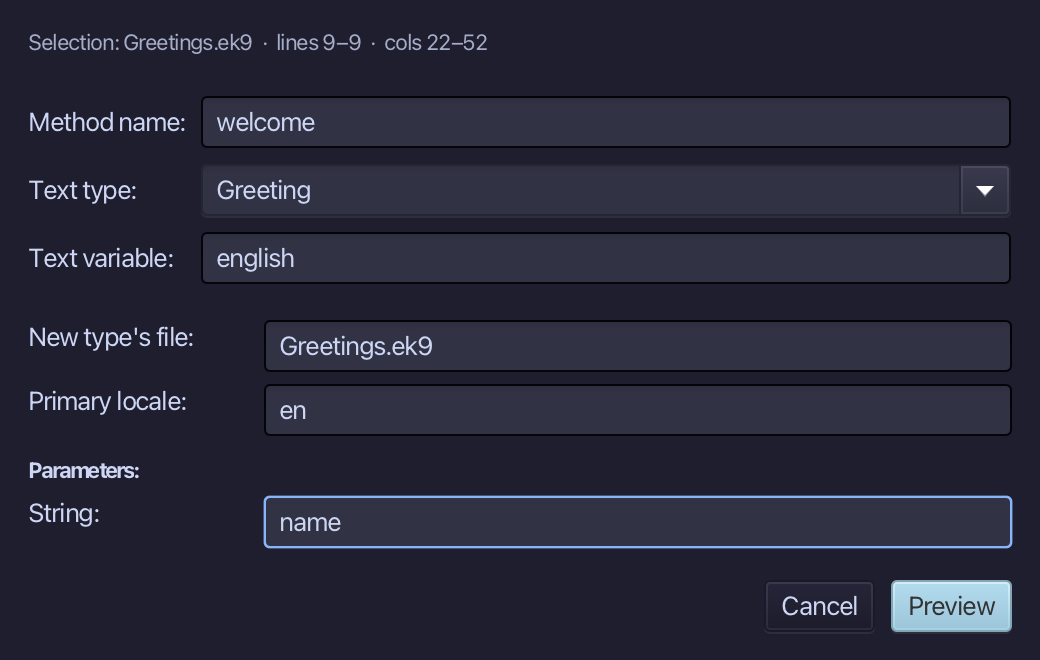
Select the hard-coded greeting, right-click it and choose Localisation ▸ Extract to Localized Text…. Name the method welcome; type Greeting as the text type - new, so the dialog offers its first locale (en); name english as the text variable - not declared yet, the tool declares it for you. The Parameters table shows me, inferred from the greeting - retype it to name, then choose Preview.
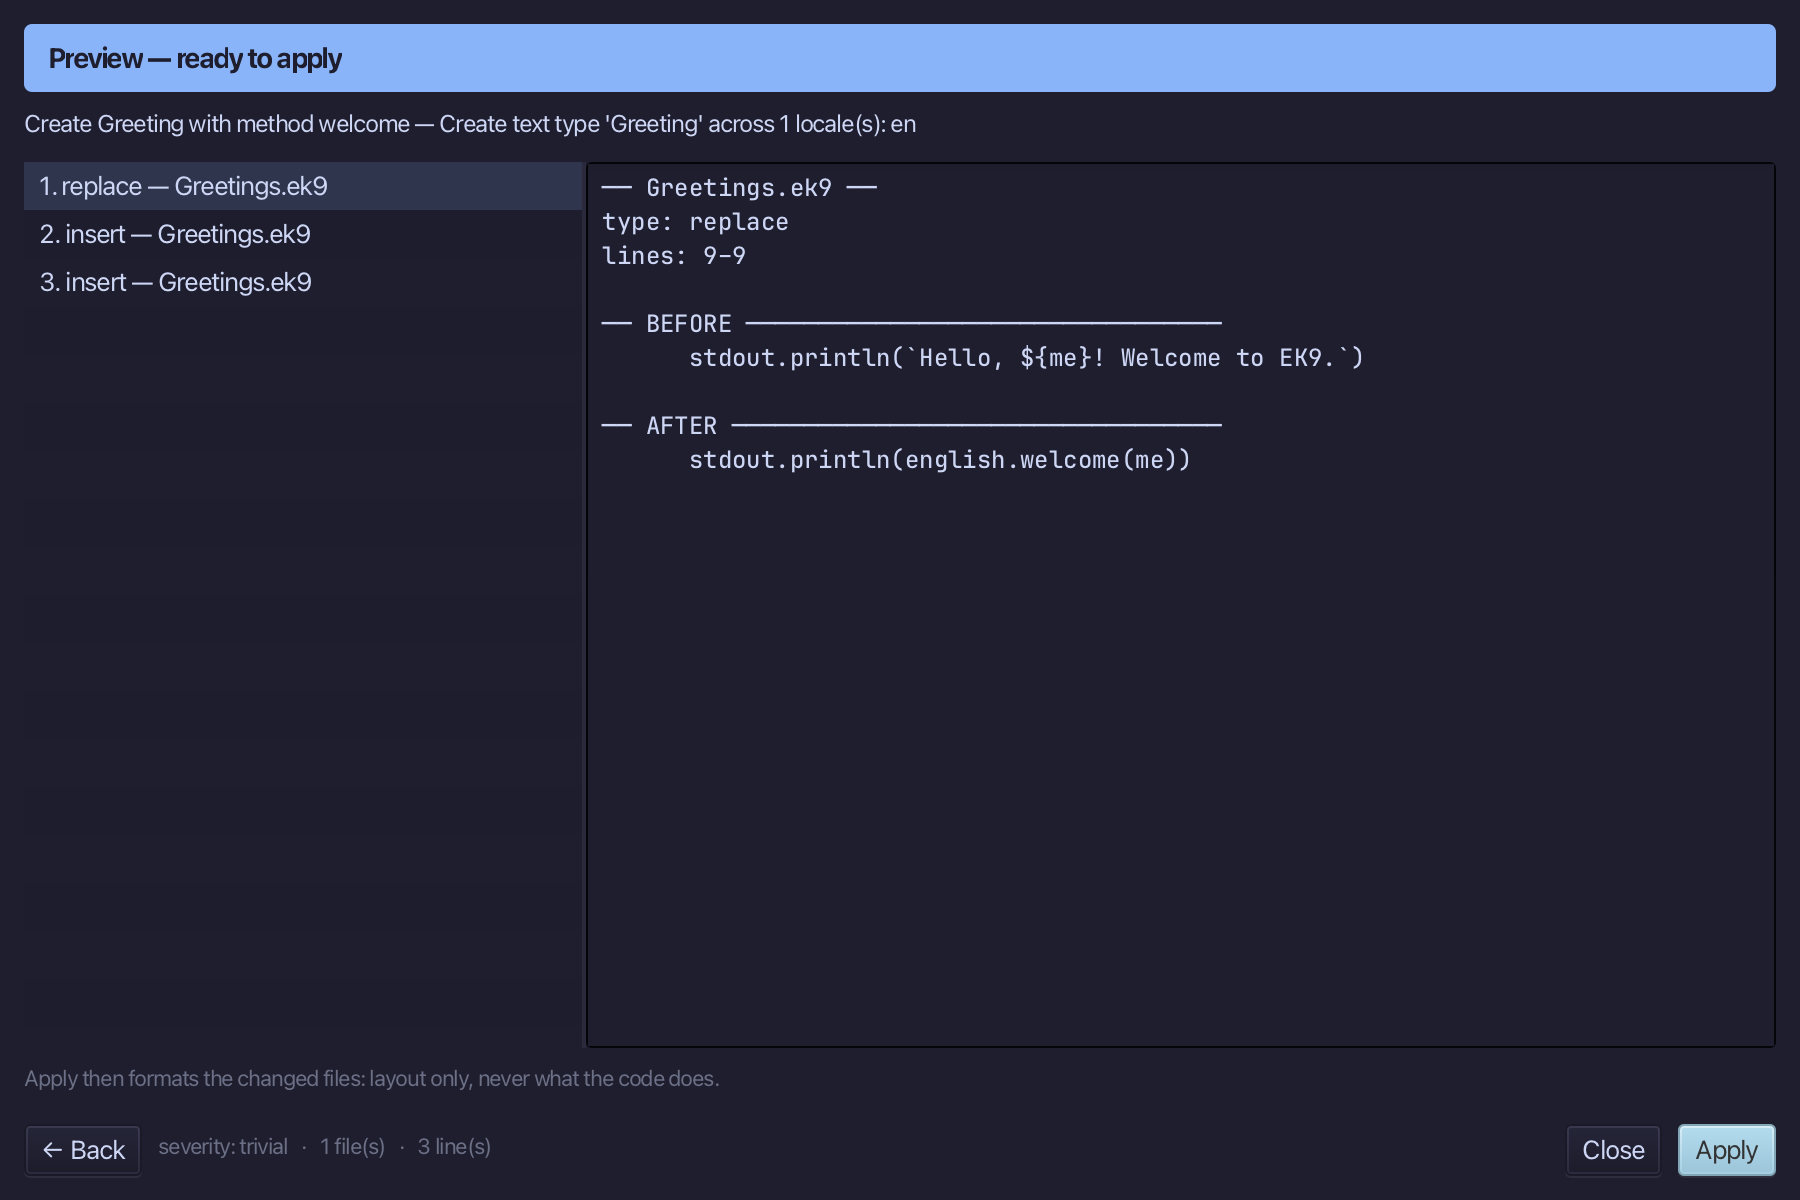
The preview shows Greeting created with its welcome() message, english declared right above the statement that uses it, and the greeting gone from Greet. Choose Apply.
Step 3: Adding French
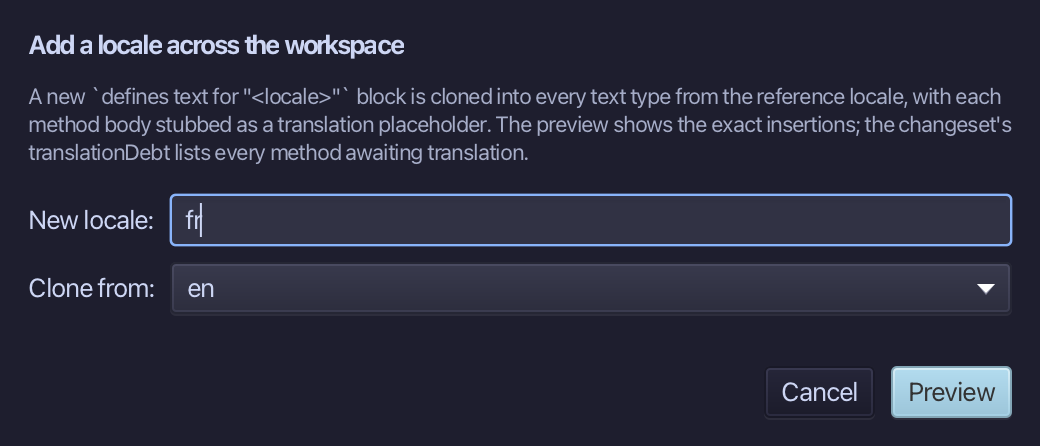
Choose Code > Localisation > Add Locale…
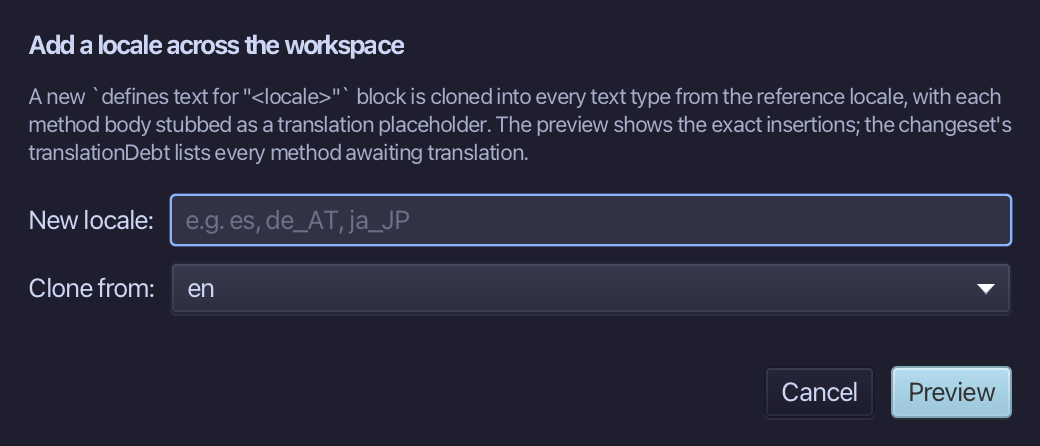
Adding French, cloned from en - a stub, //AI: translate the message, waits where the real words go. Type fr as the new locale - en is already chosen to clone from, the only locale so far. Choose Preview.
The preview shows fr cloned from en, stubbed for translation. Choose Apply.
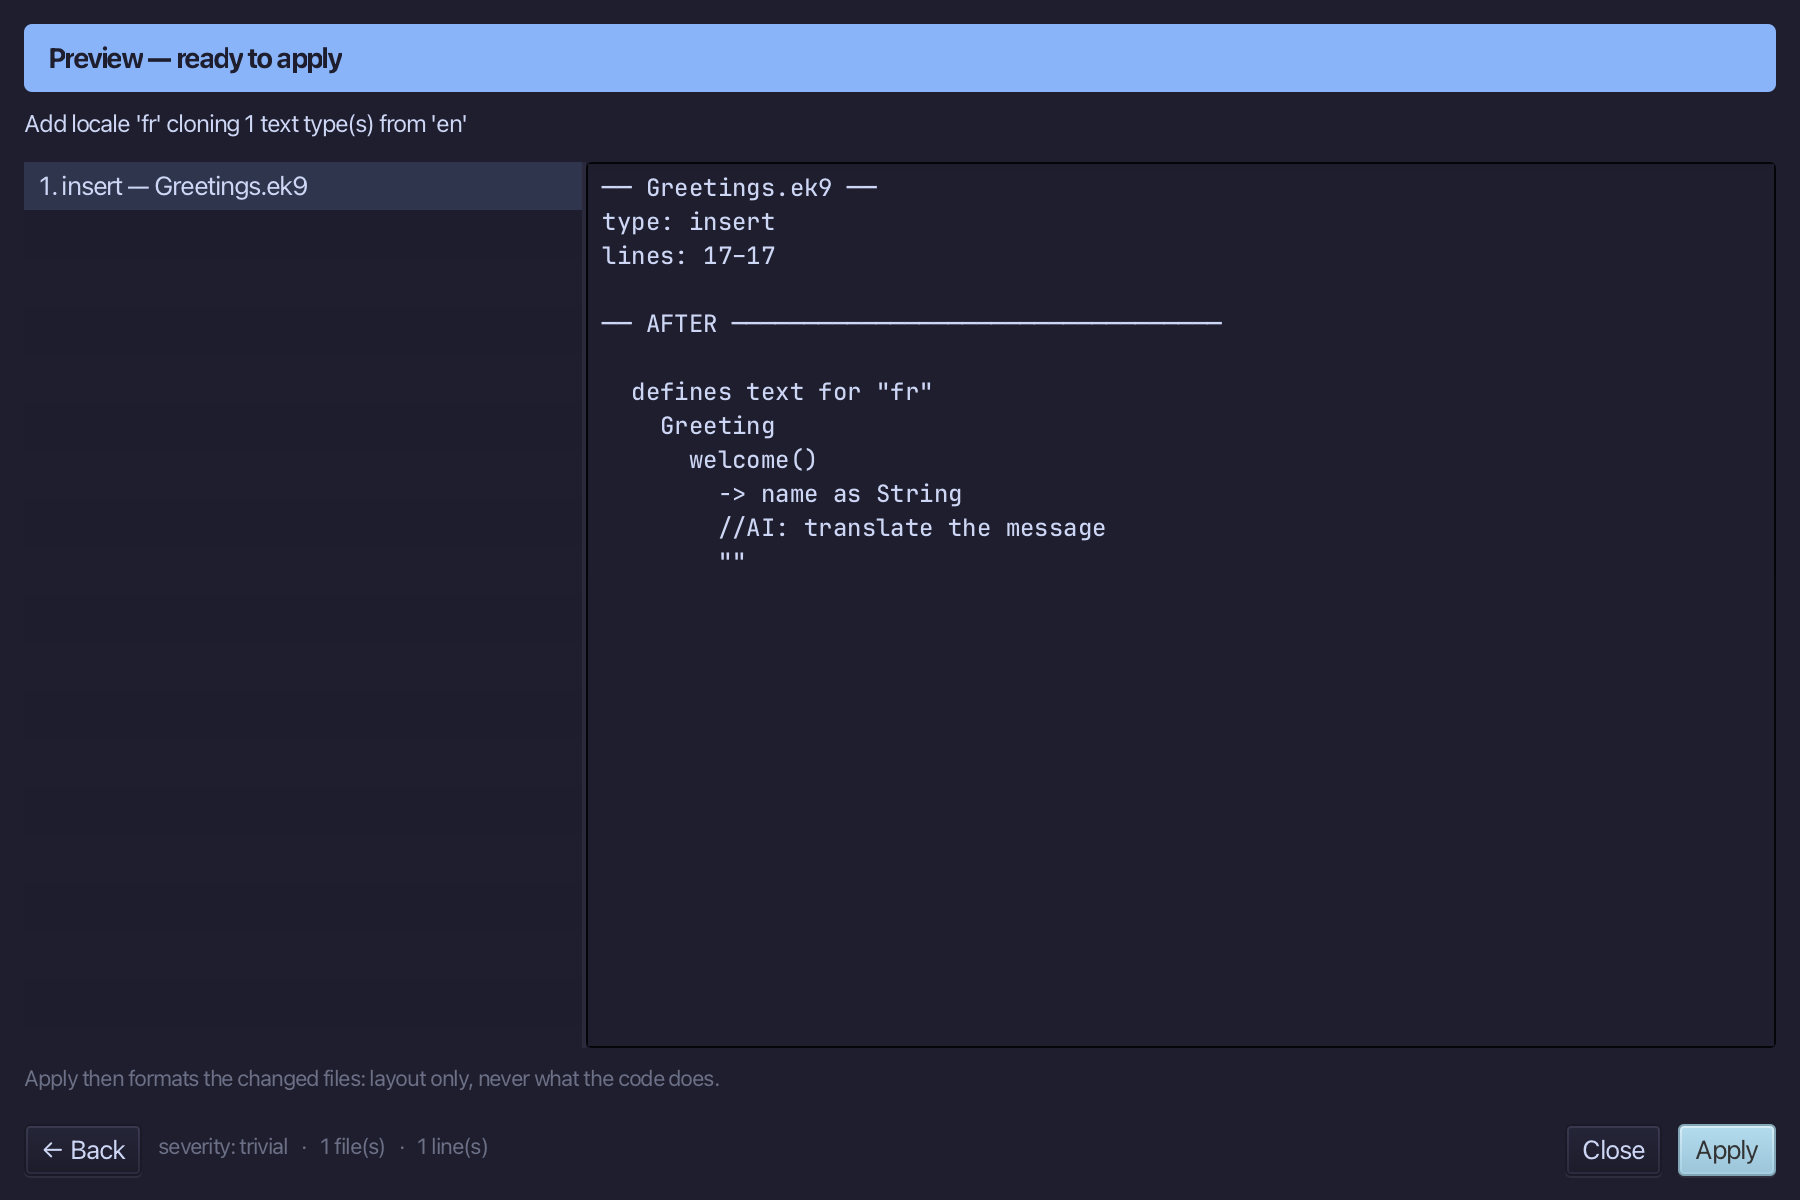
Select the stub, from //AI: translate the message down to its empty "", and type the French line. Saves when typed.
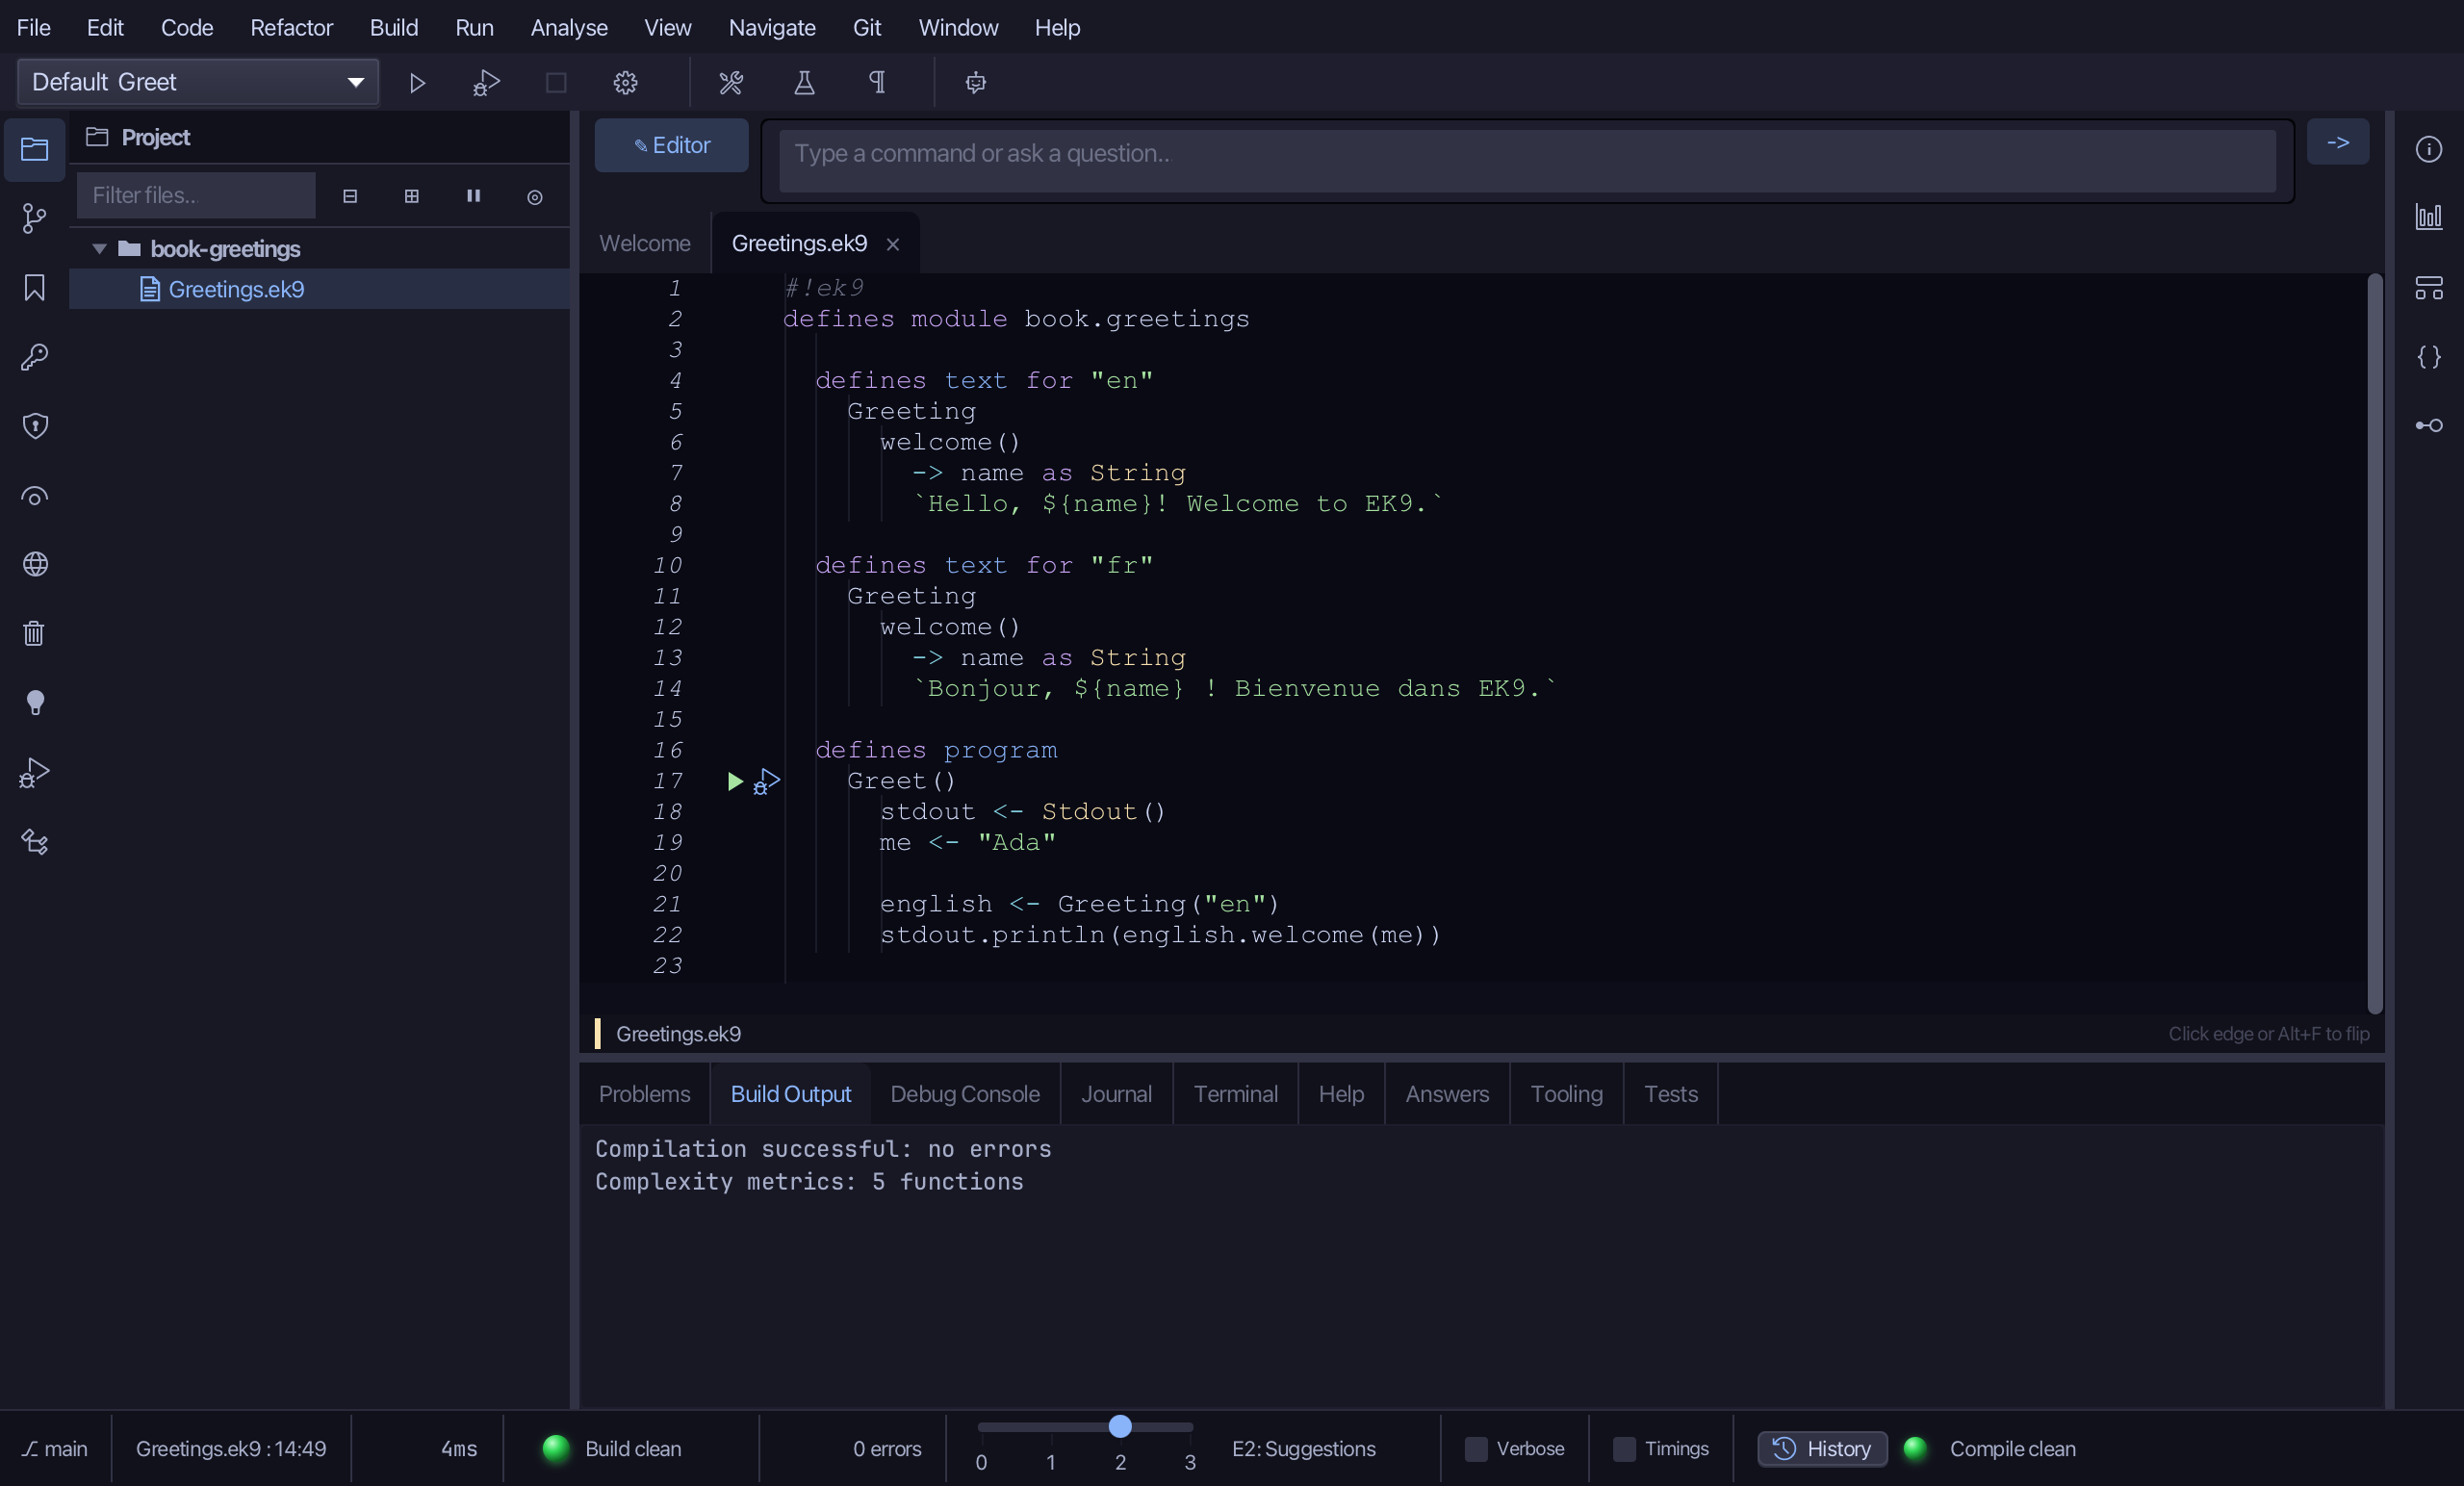
Step 4: Adding German
Choose Code > Localisation > Add Locale…
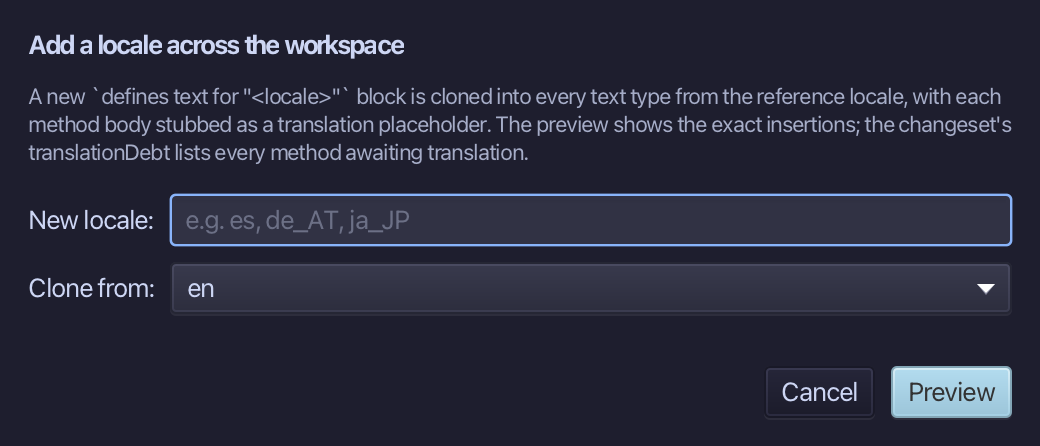
Adding German, cloned from en the same way. Type de as the new locale - en is already chosen to clone from, the only locale so far. Choose Preview.
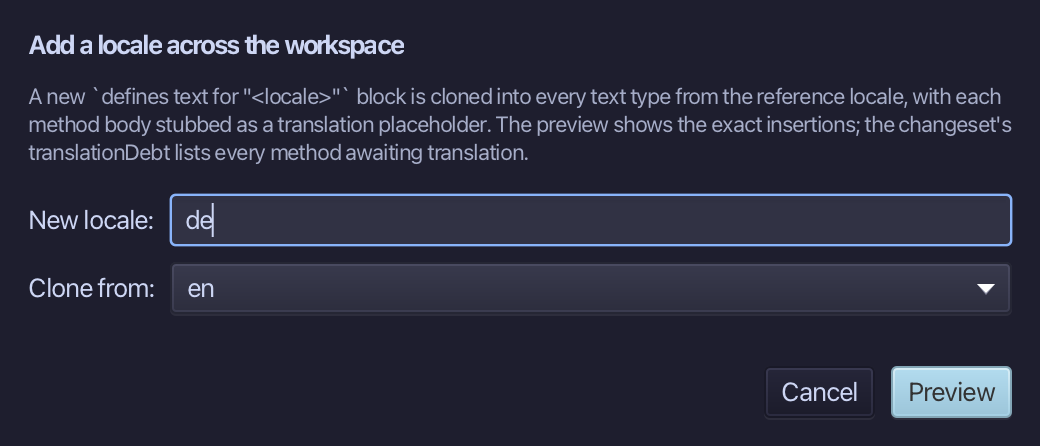
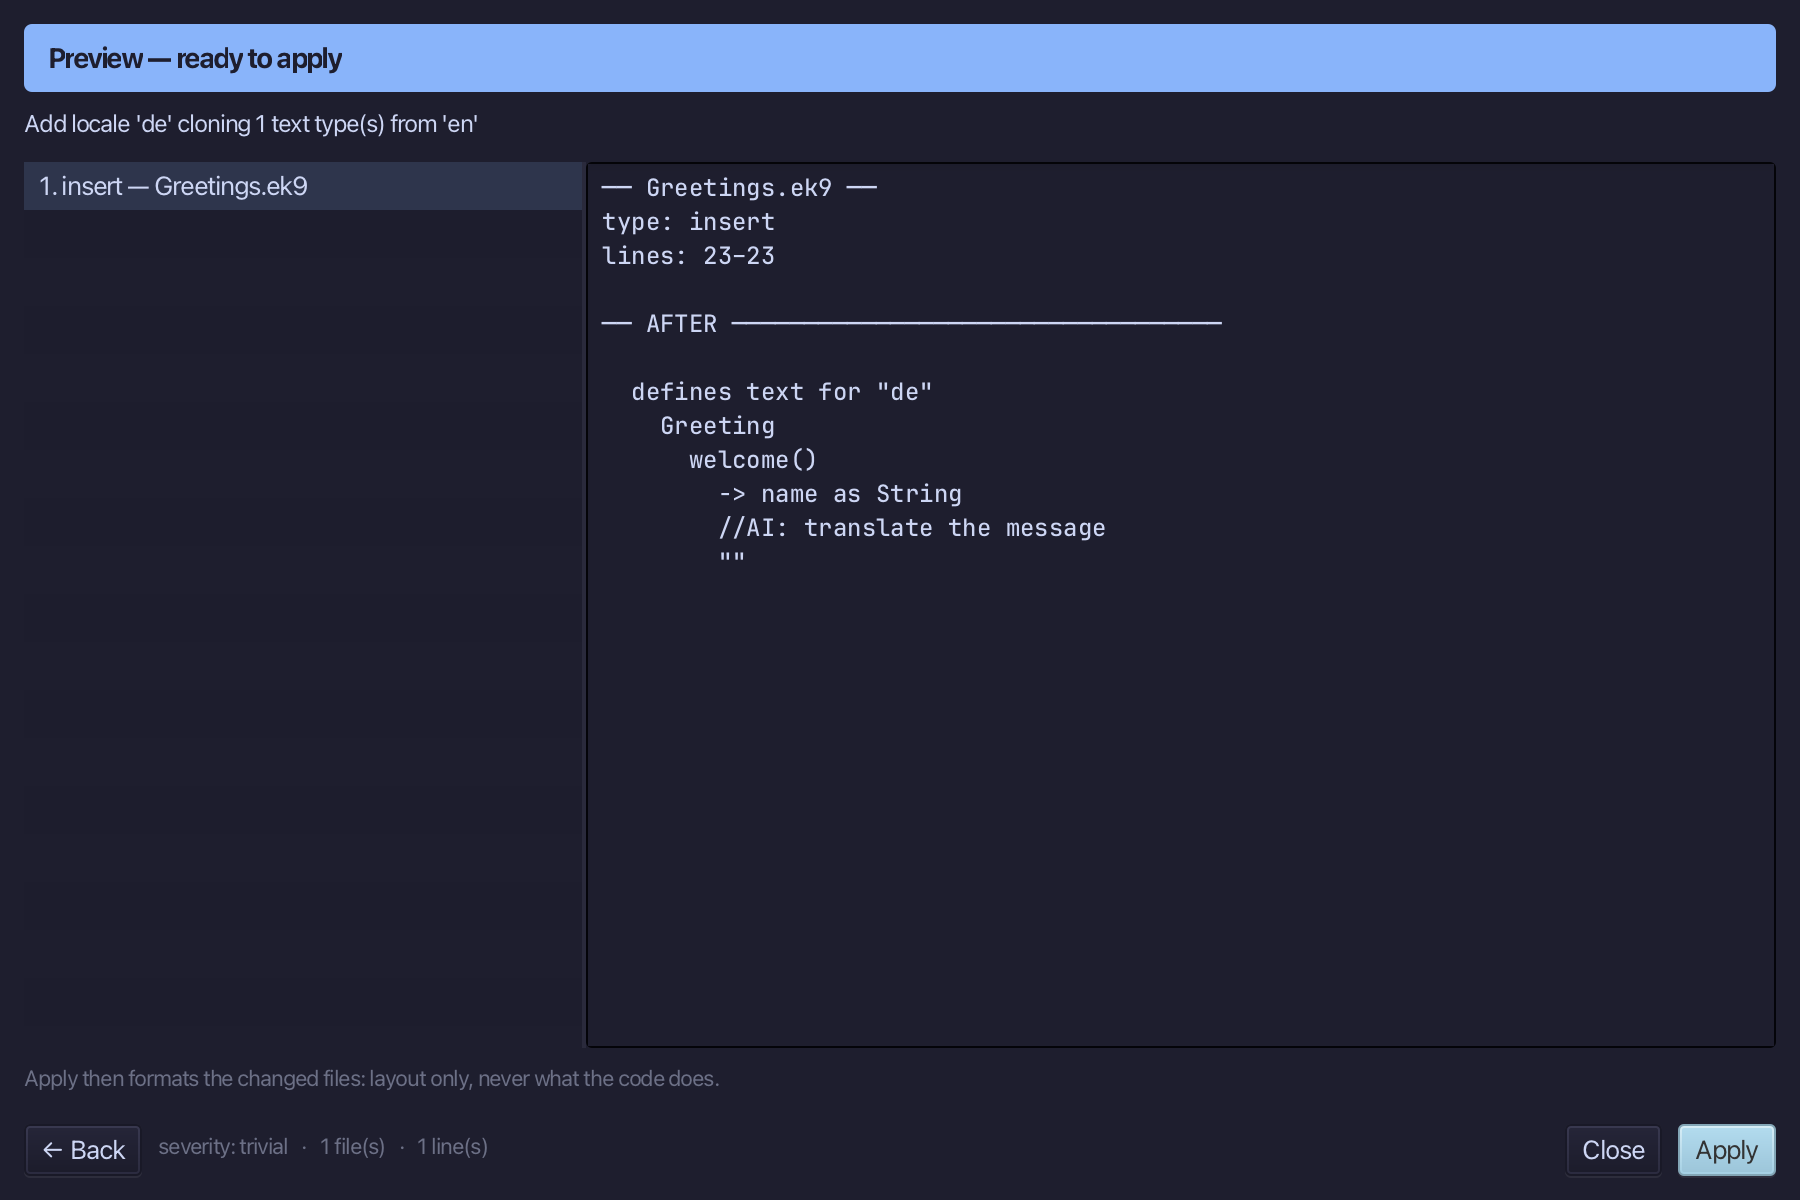
The preview shows de cloned from en, stubbed for translation. Choose Apply.
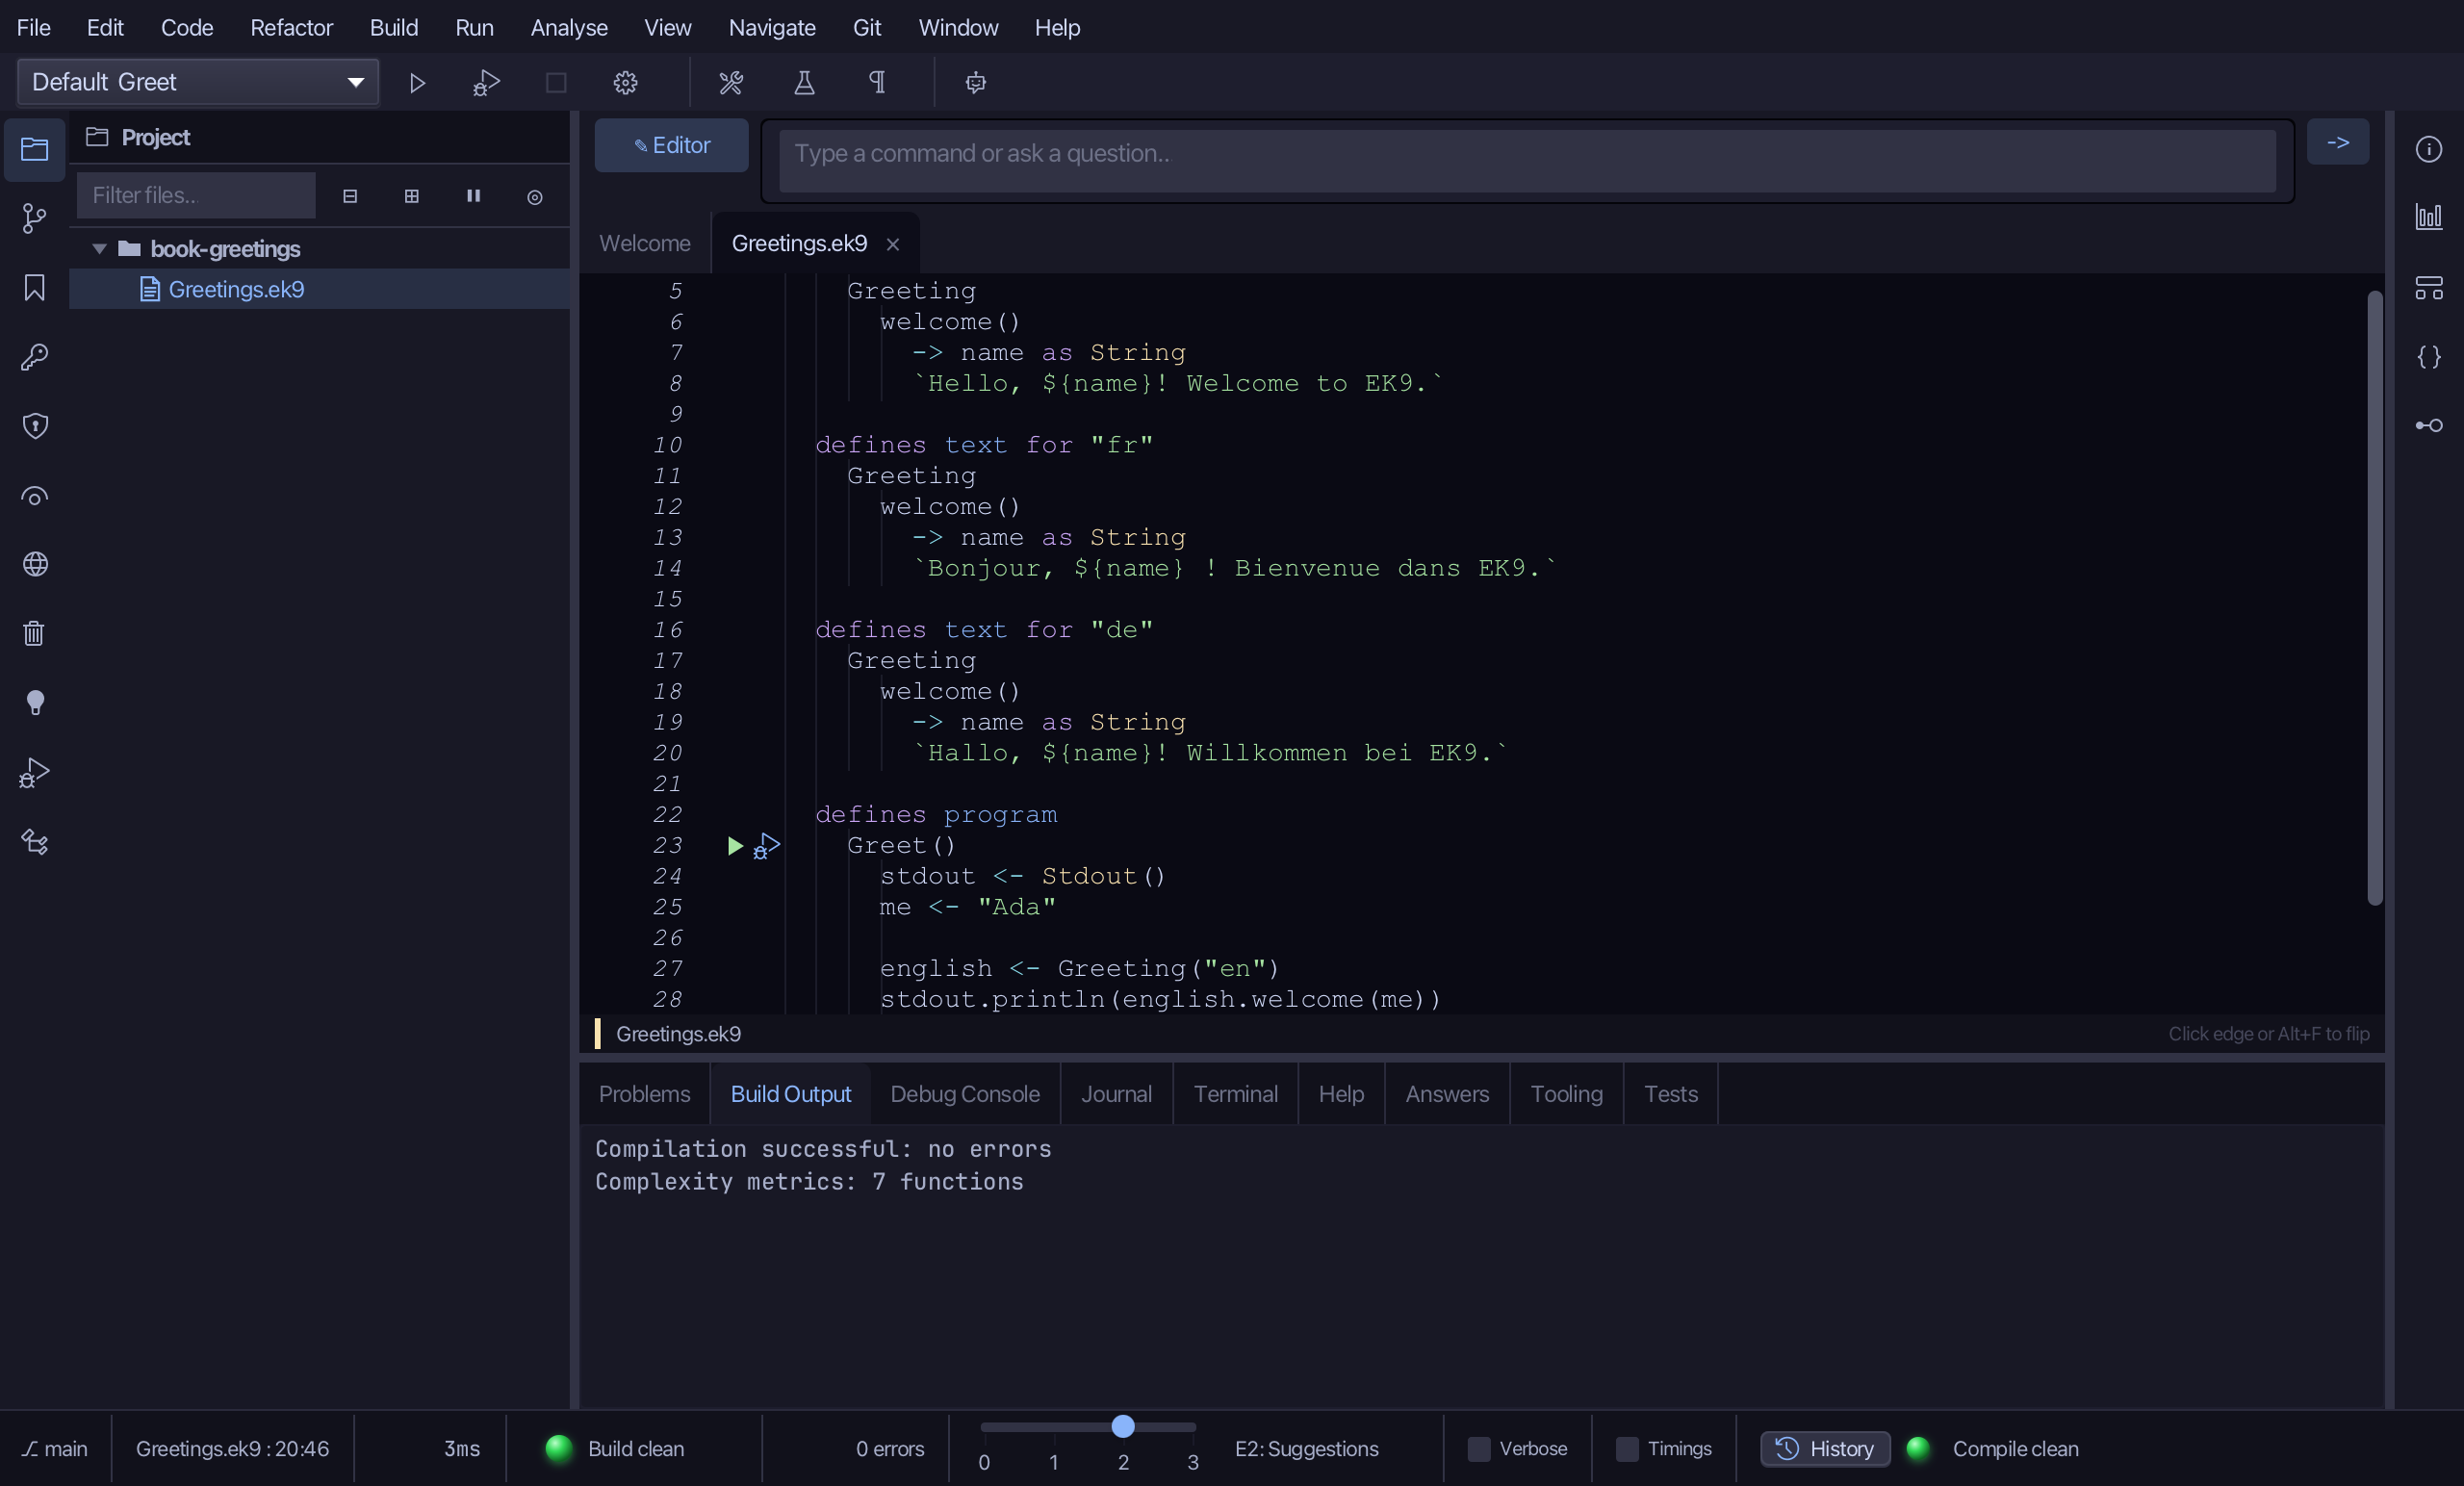
Select the stub, from //AI: translate the message down to its empty "", and type the German line. Saves when typed.
Step 5: Greeting in every language
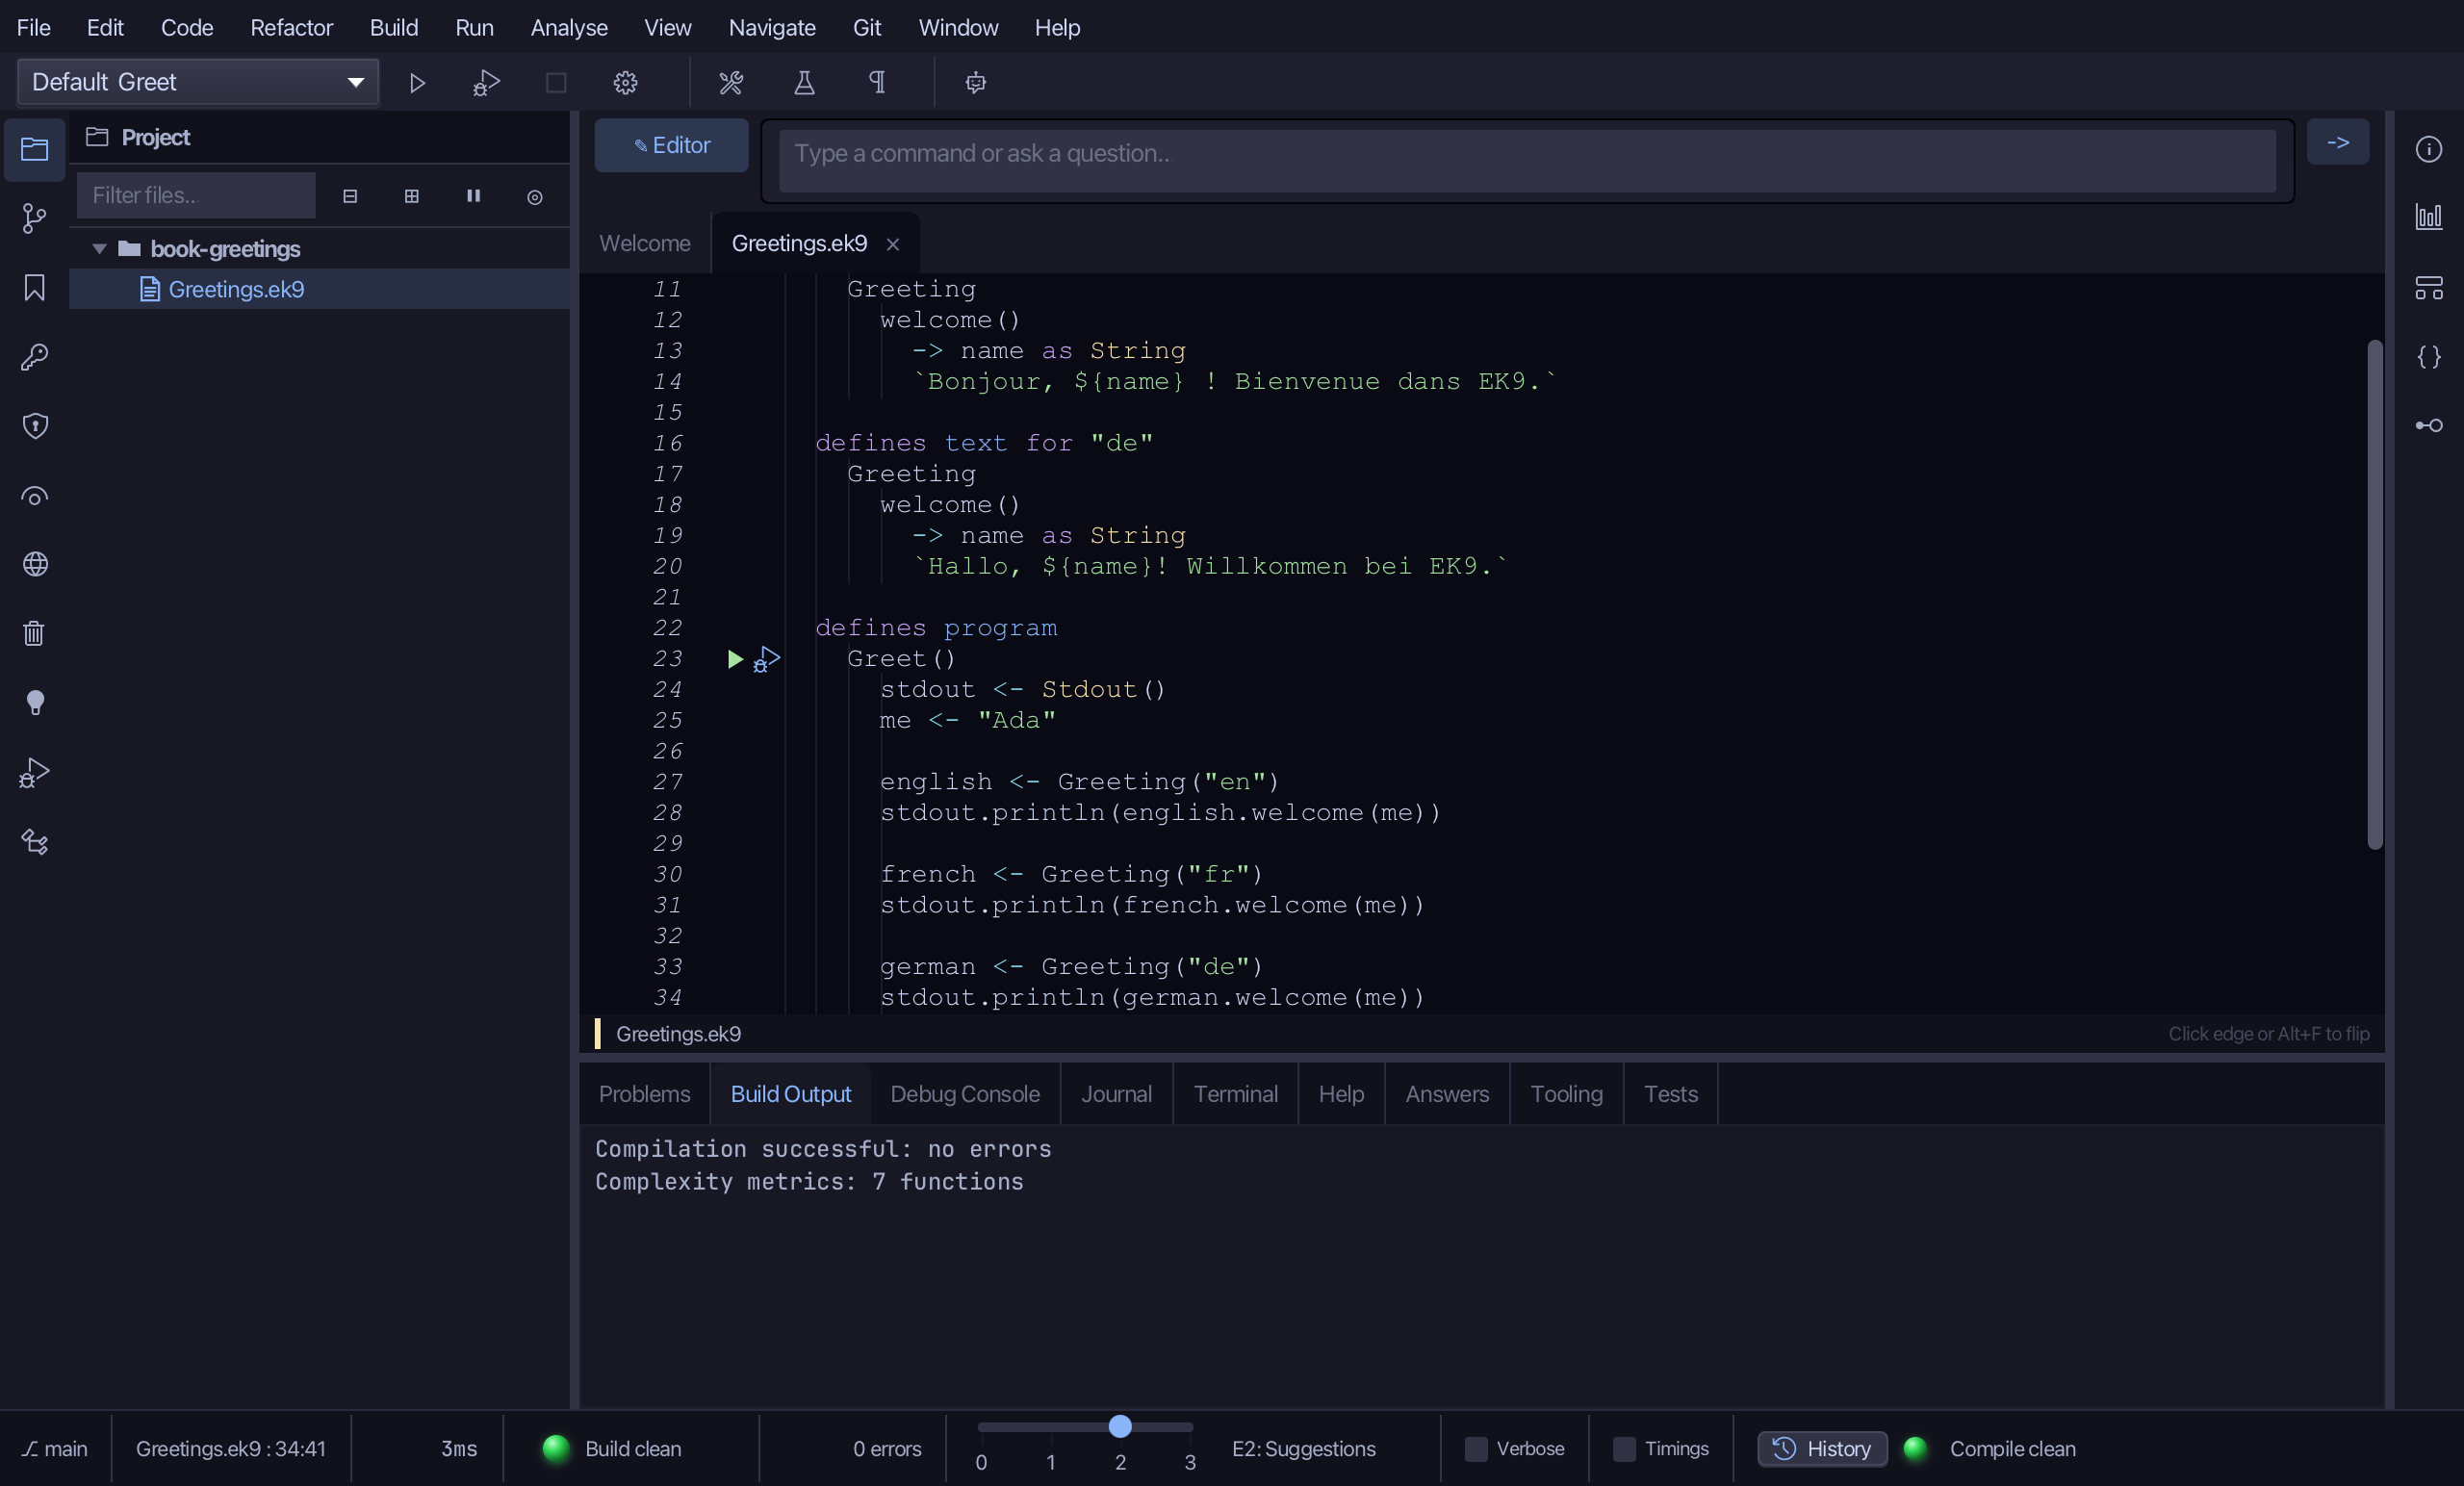
Three languages now exist; Greet still only greets in English. Select the english line and type the French and German greetings after it, each from its own accessor - Greeting("fr") and Greeting("de").
Step 6: Run it
Choose Run > Run Program…
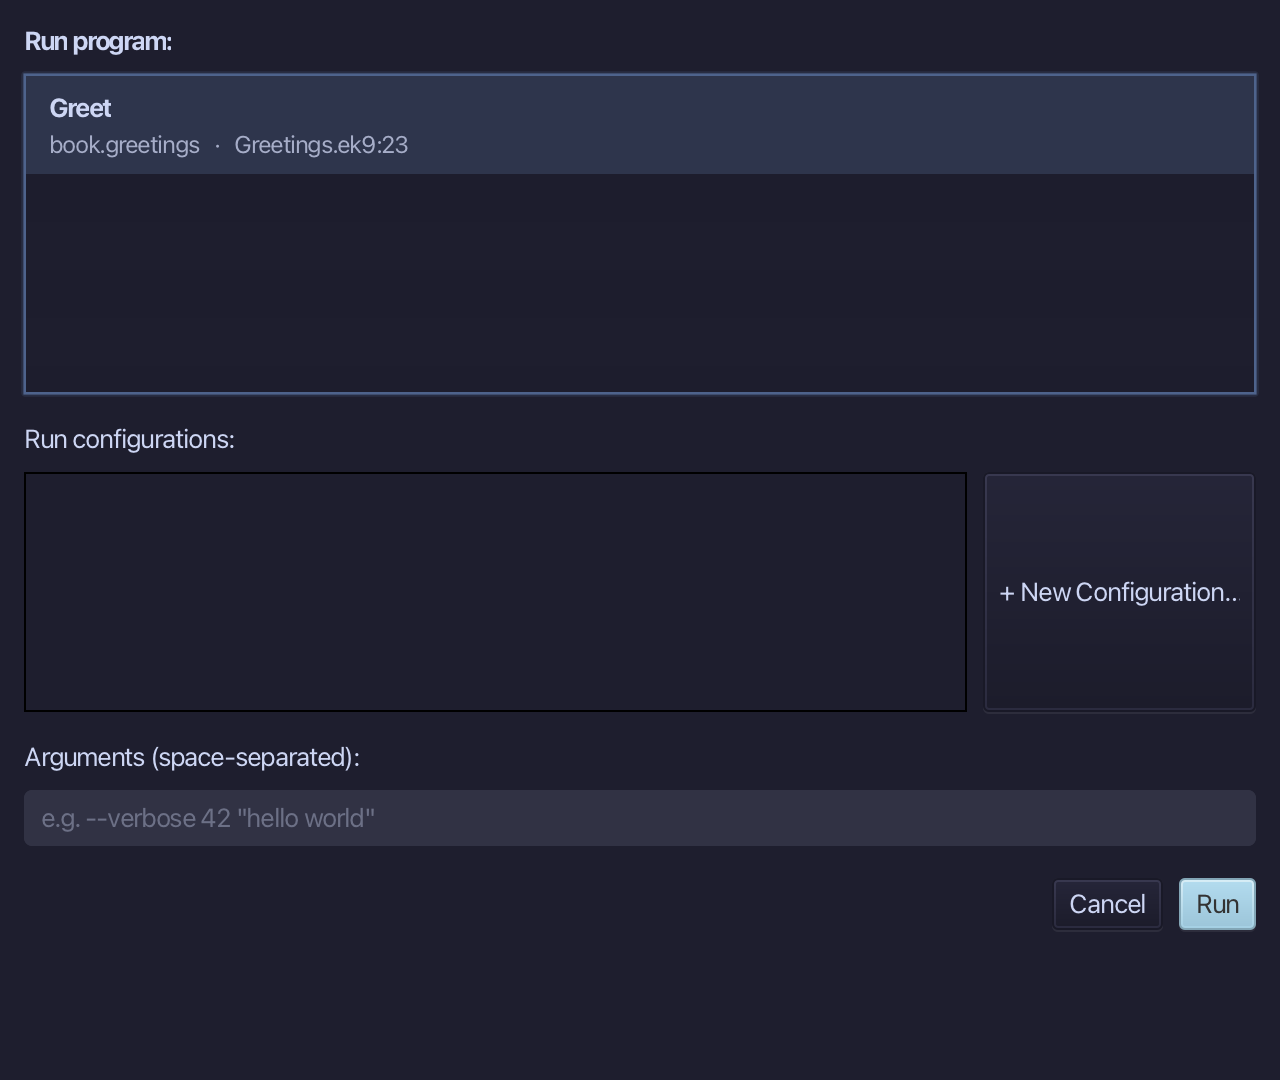
The project's only program is already chosen. Choose Run.
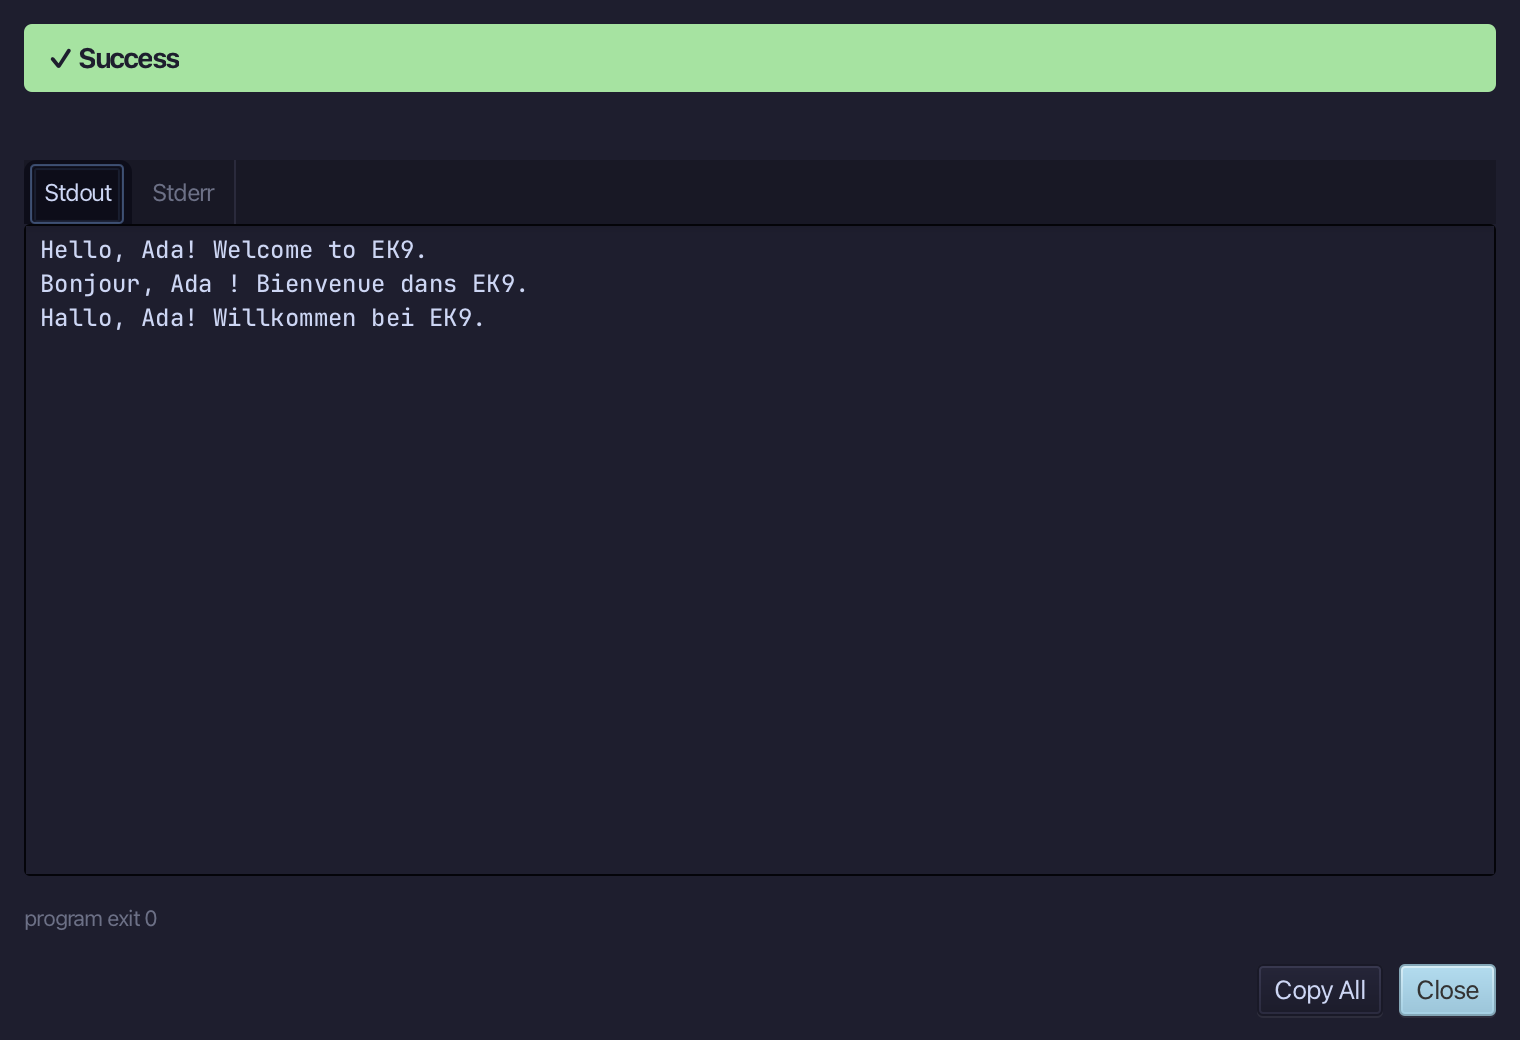
Ada is welcomed three times, once per language. Choose Close.
The result
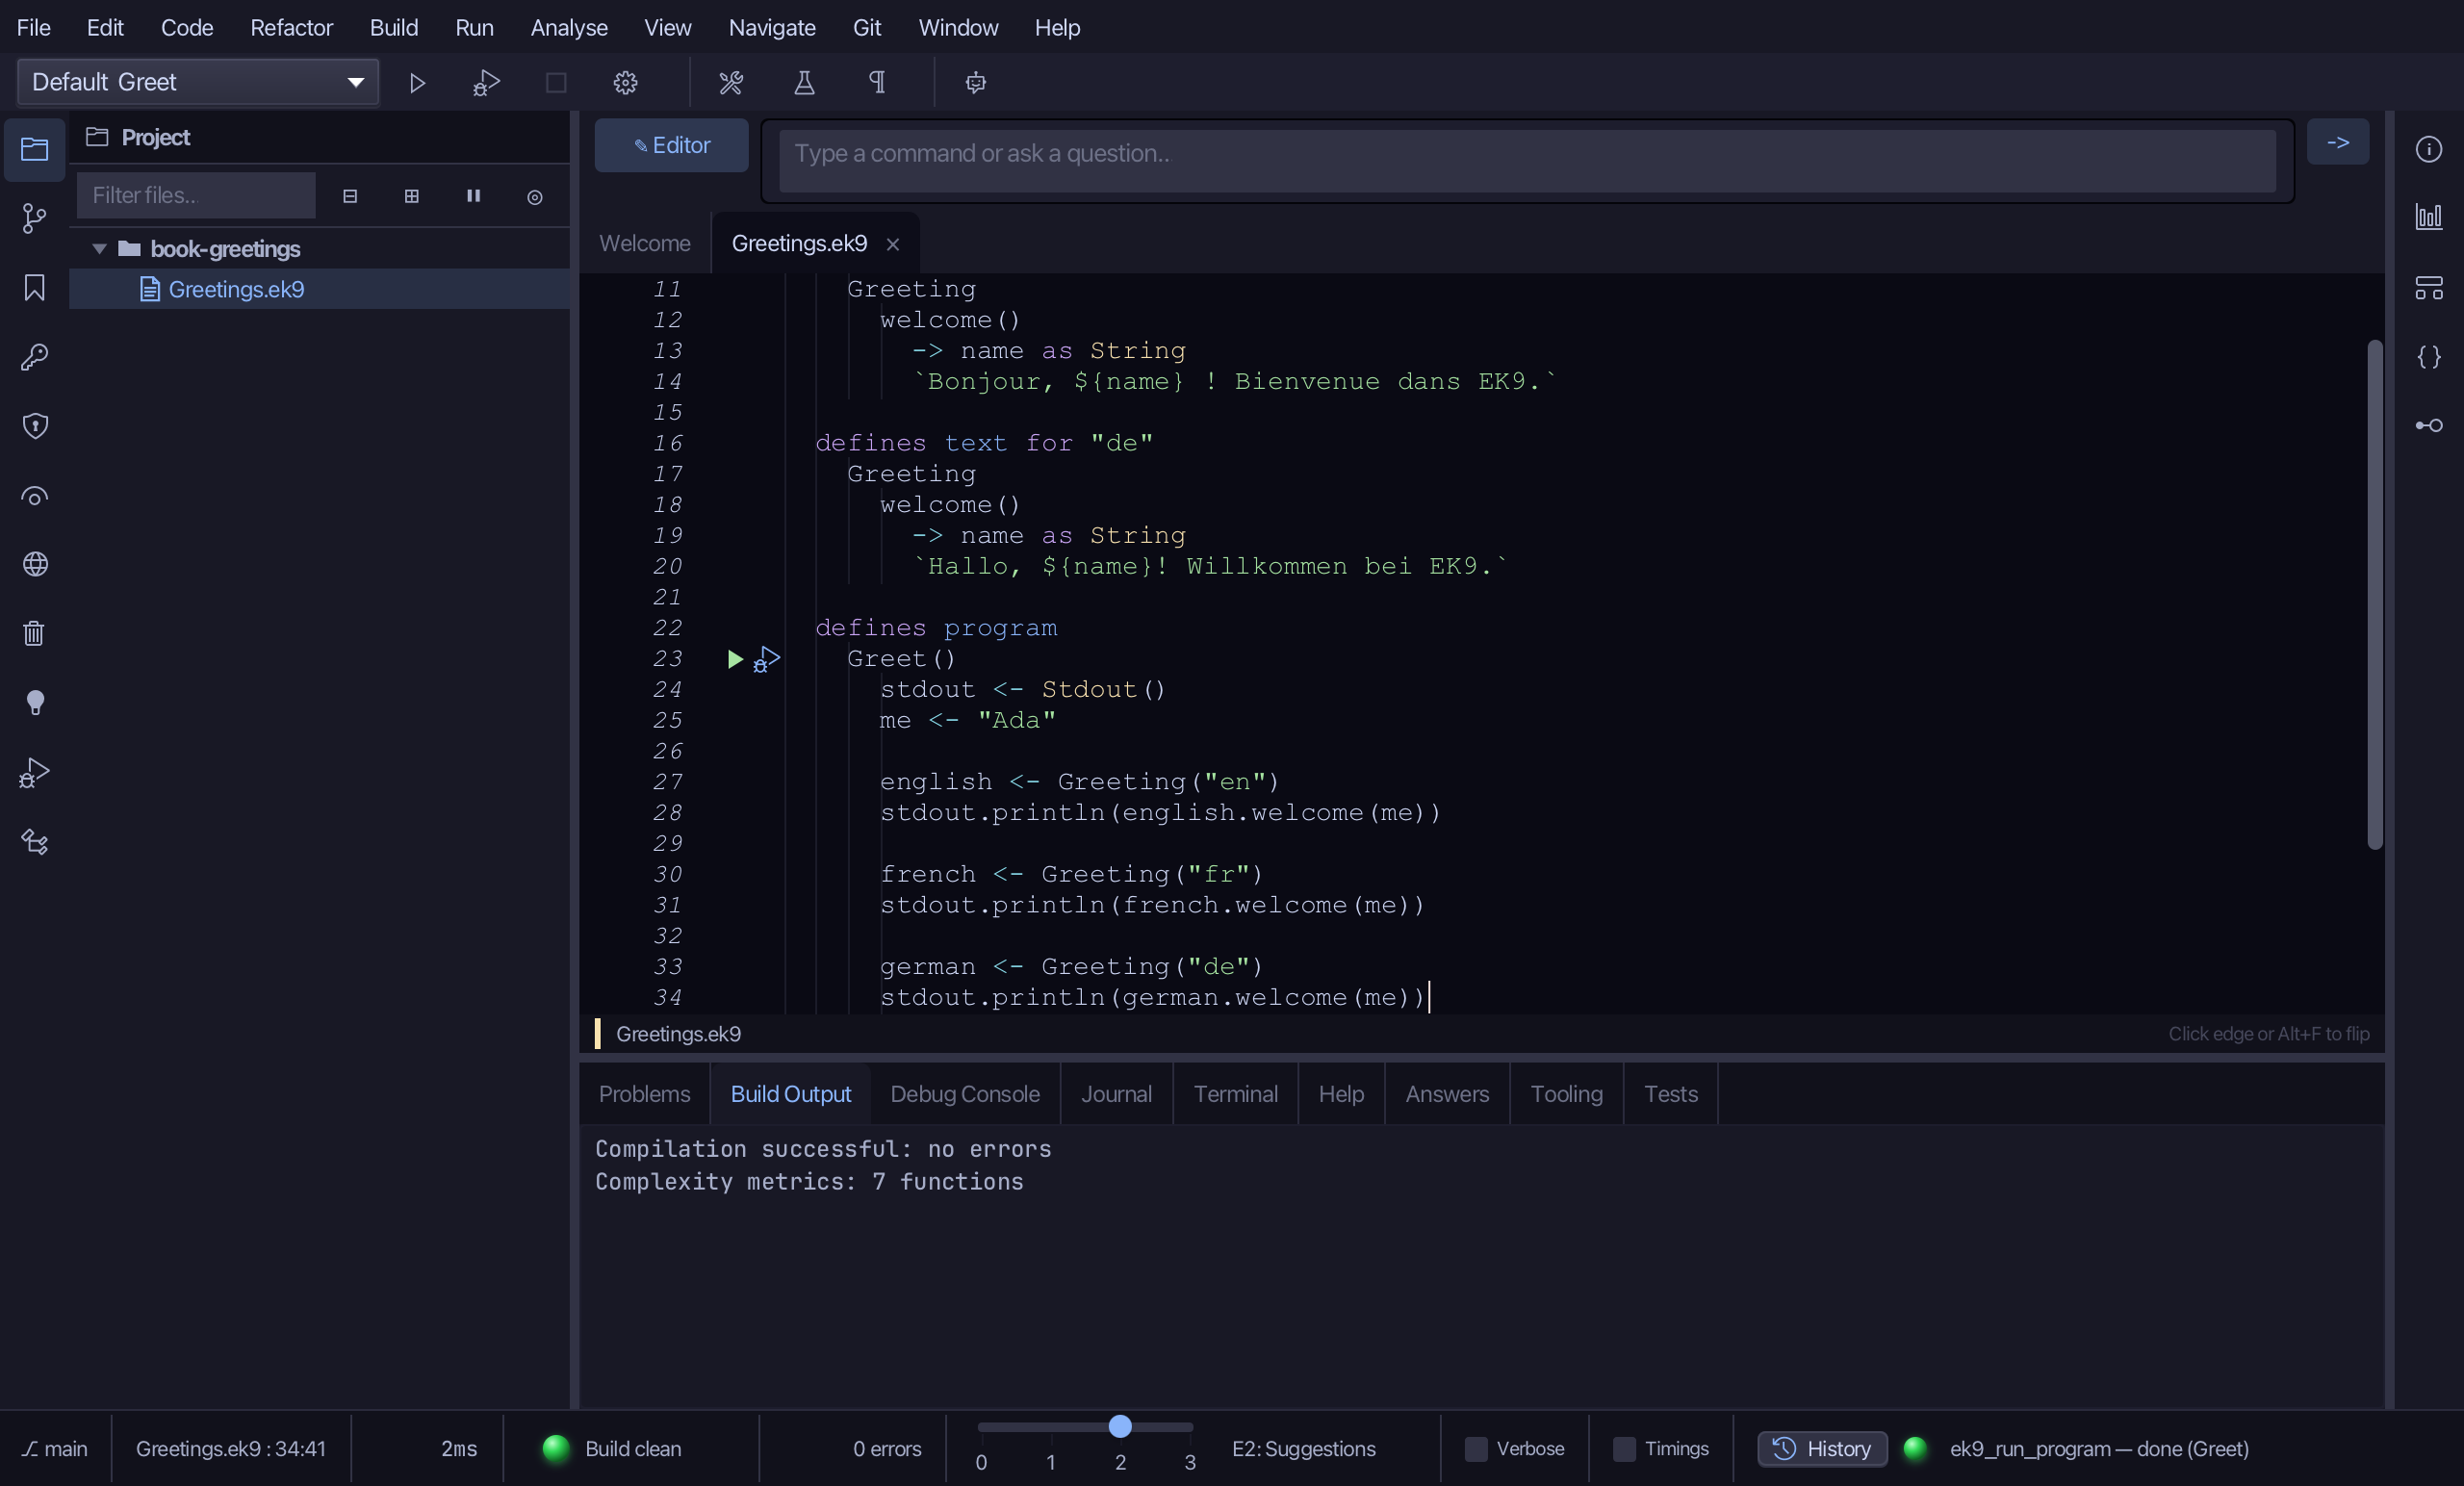
Greetings.ek9 now reads exactly as chapter 8 of Getting Started with EK9 shows it: a Greeting text type with one welcome message in three languages, and a program that asks for each language by name. The tools wrote the structure - the program, the type, the english accessor, two more locales - and only the wording and the two further greetings were typed. The same tools - ek9_add_program, ek9_extract_to_localized_text and ek9_edit_localized_text - are what an AI assistant calls to do the same thing.
Where this lesson comes from
- For AI assistants - the MCP tool
ek9_add_program,ek9_extract_to_localized_text,ek9_edit_localized_text.
In the EK9 reference: Text Properties in EK9